Hello, little artists! Today, we’re going to draw a delicious Blueberry. Whether you’ve tasted these juicy berries in a pie or seen them in the grocery store, we’re going to capture their round shape and vibrant color on paper.
Follow my simple steps, grab your drawing tools, and let’s create our own mouthwatering Blueberry artwork together! 🎨🫐
How to Draw a Blueberry
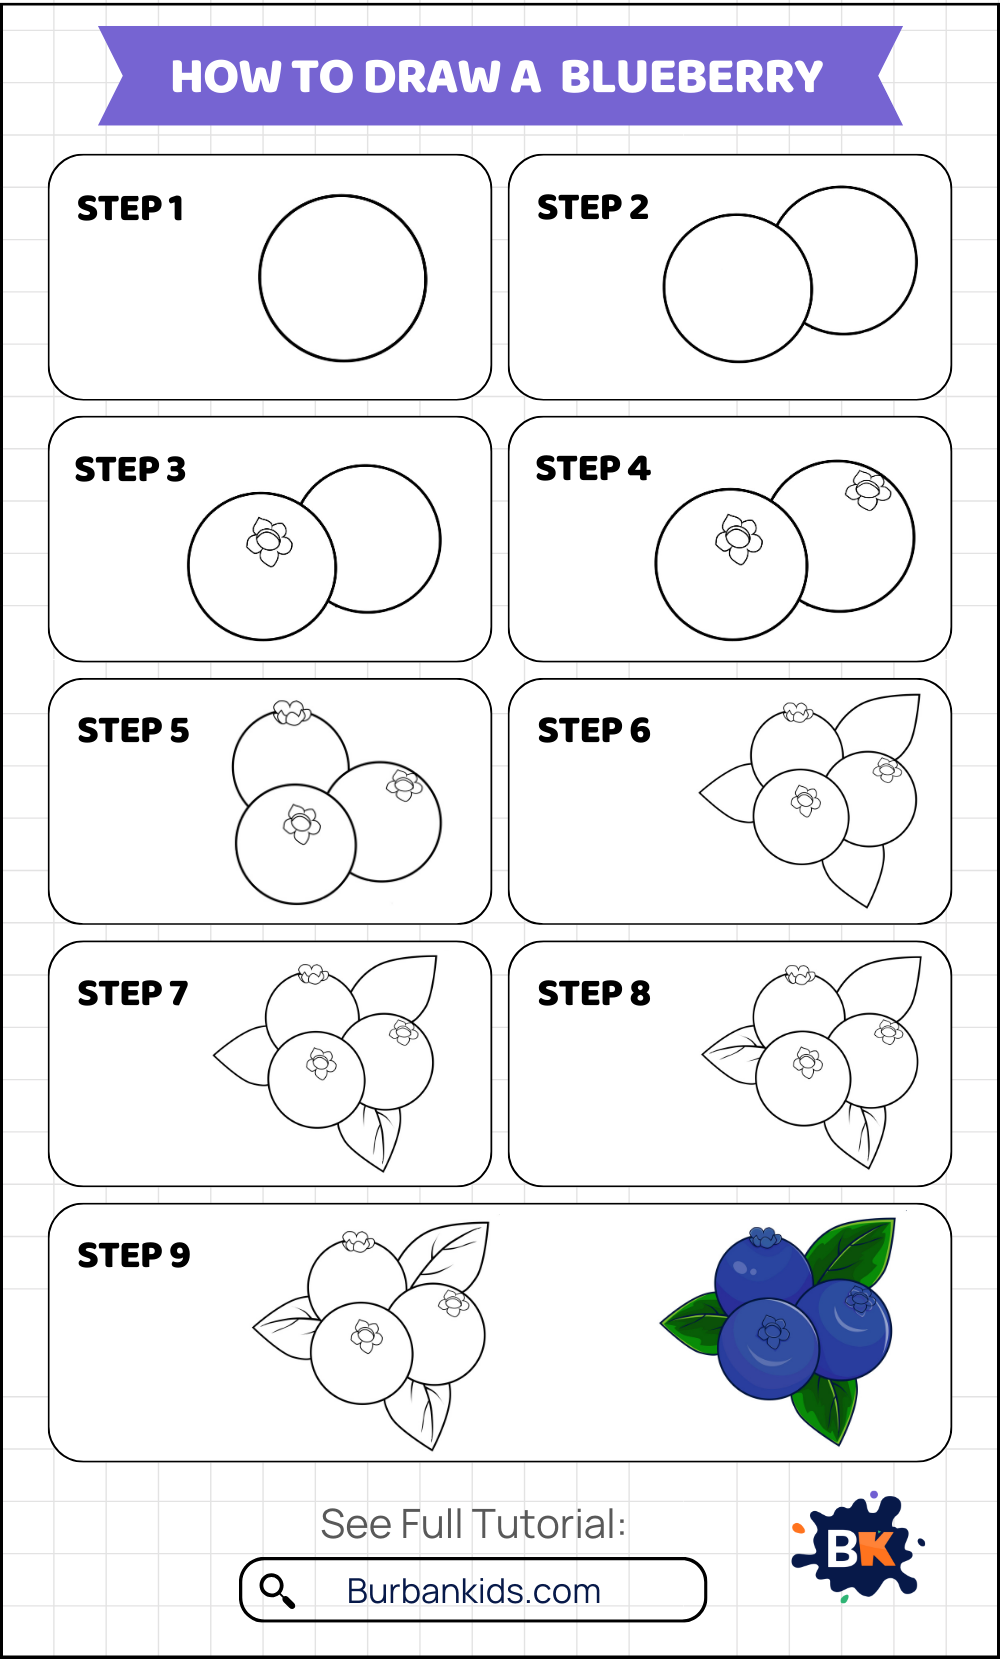
Step 1:
Draw a simple, clean circle. This will form the main body of the blueberry.

Step 2:
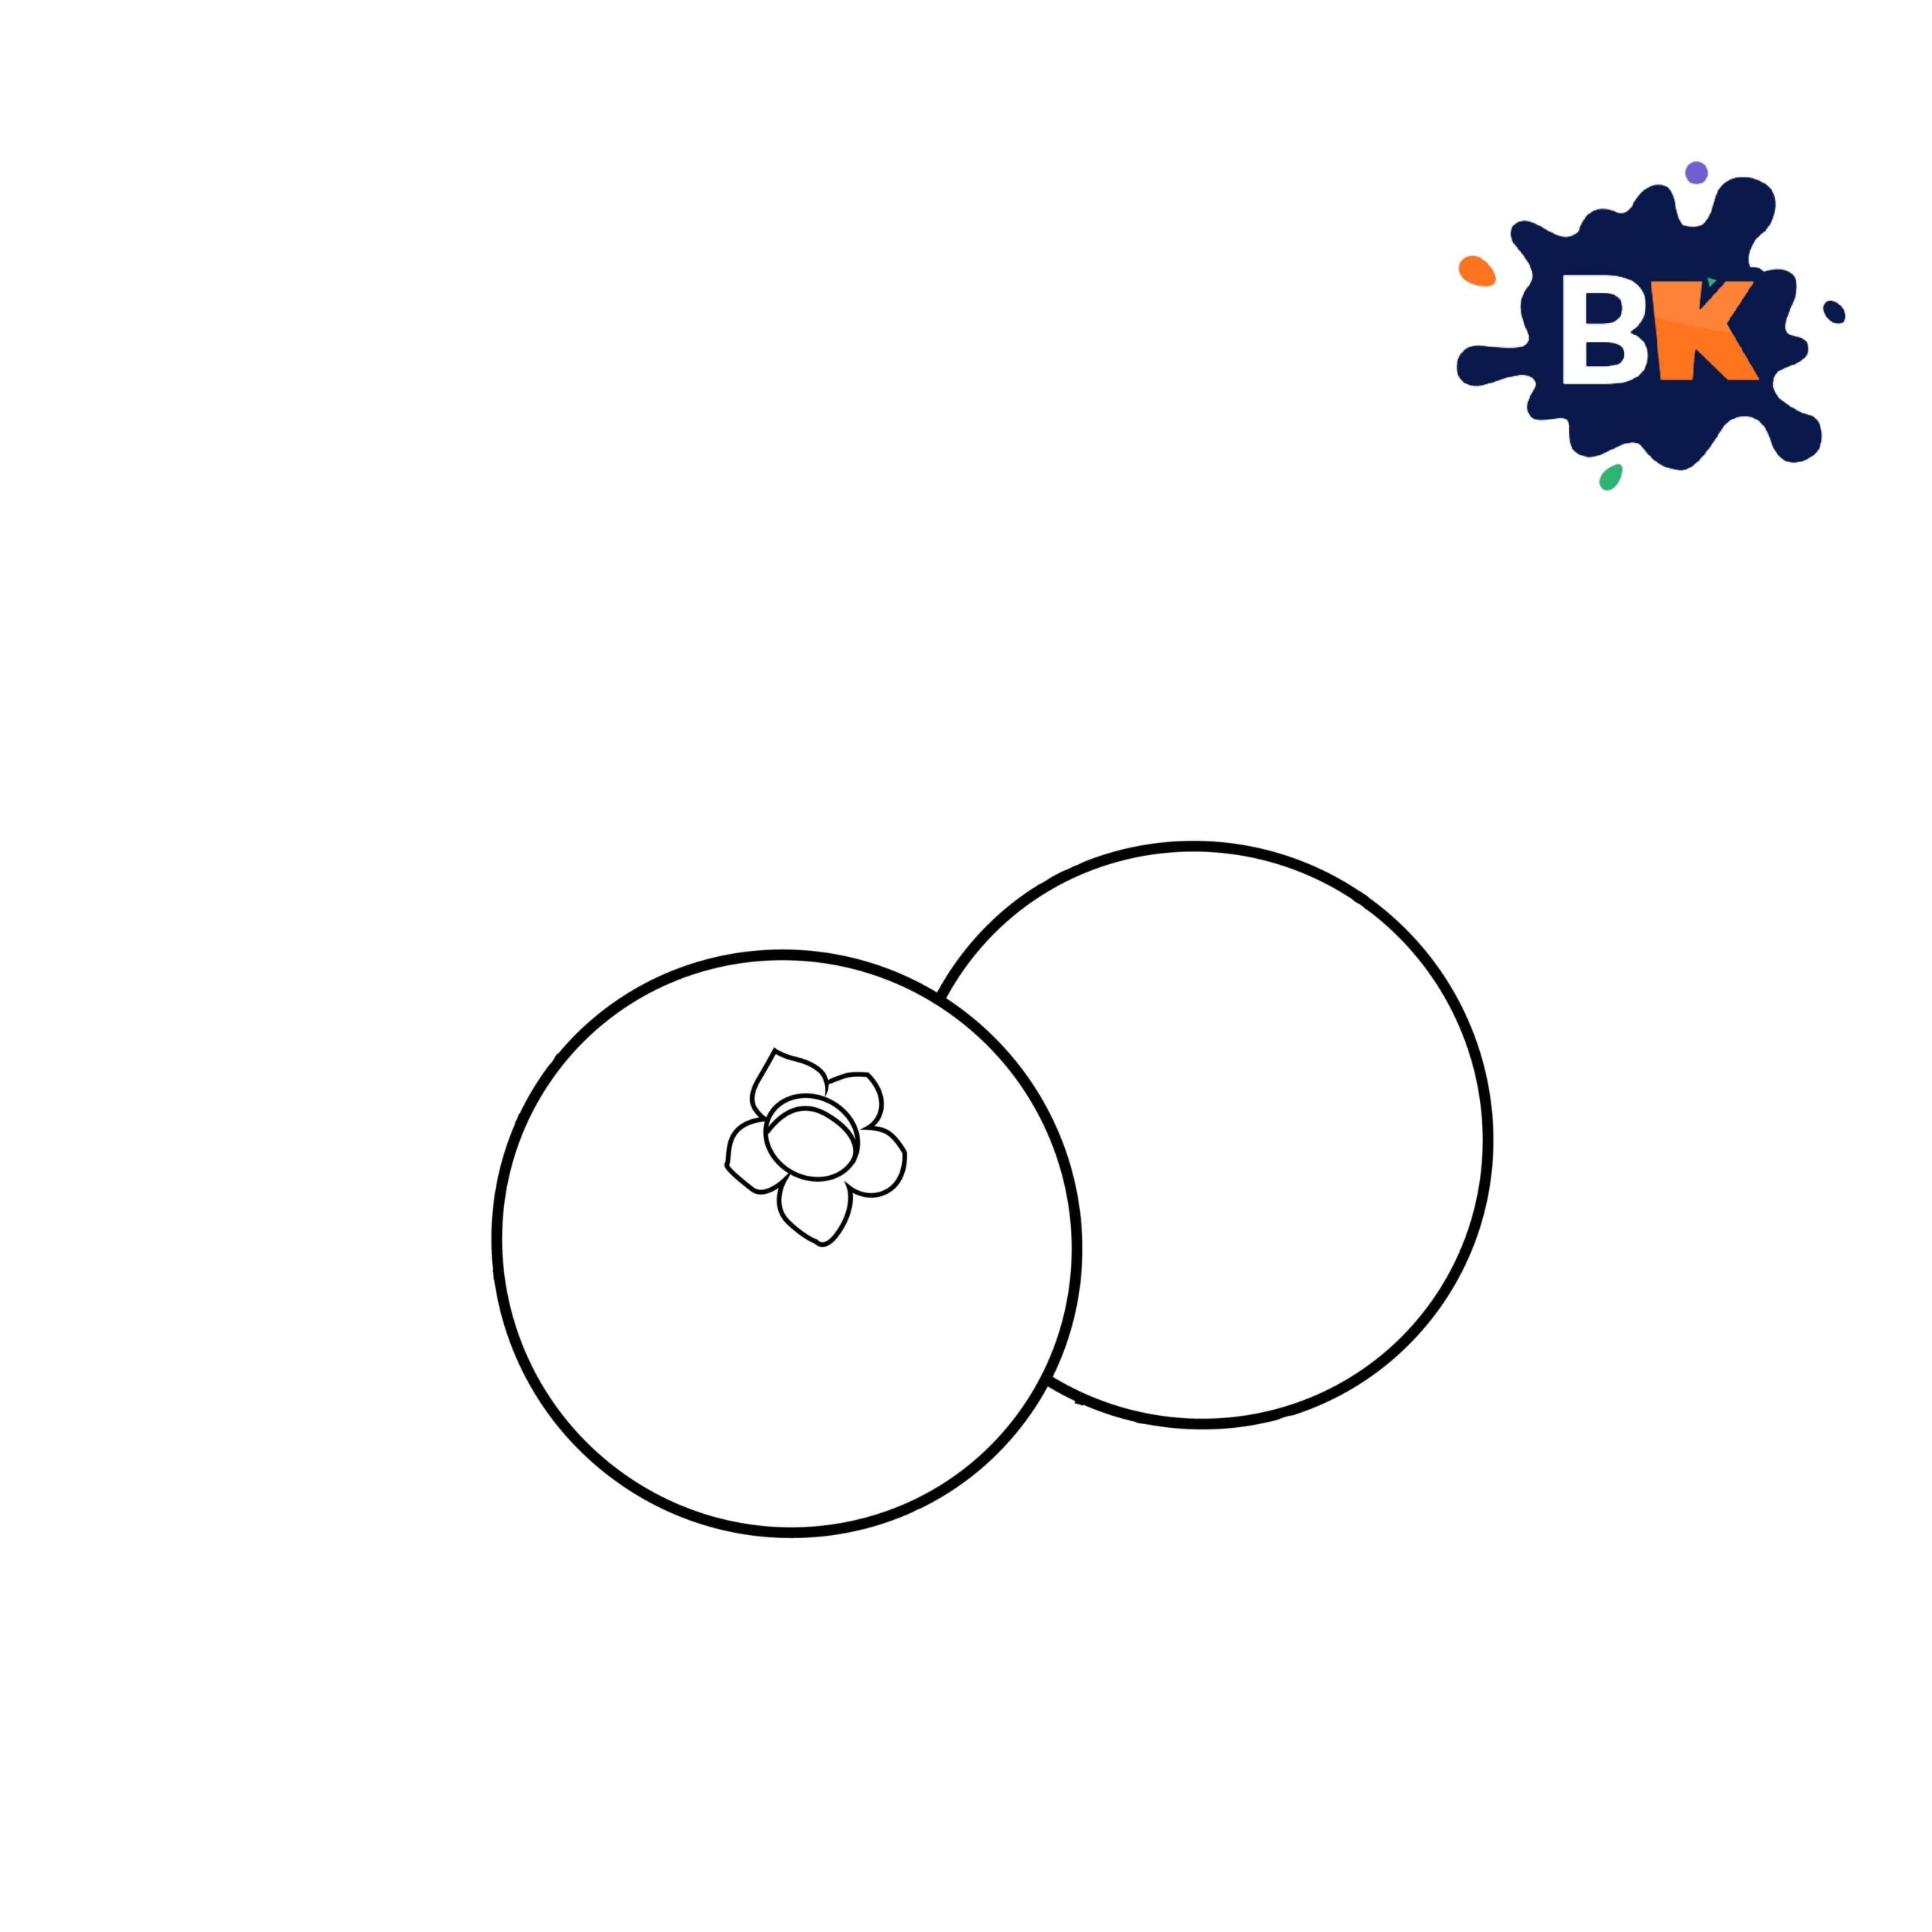
Draw a second circle overlapping the first one on its edge. This adds dimension, making it look like two blueberries are attached.

Step 3:
Inside the first circle, sketch a small flower shape. This represents the calyx at the top of the blueberry.
Step 4:
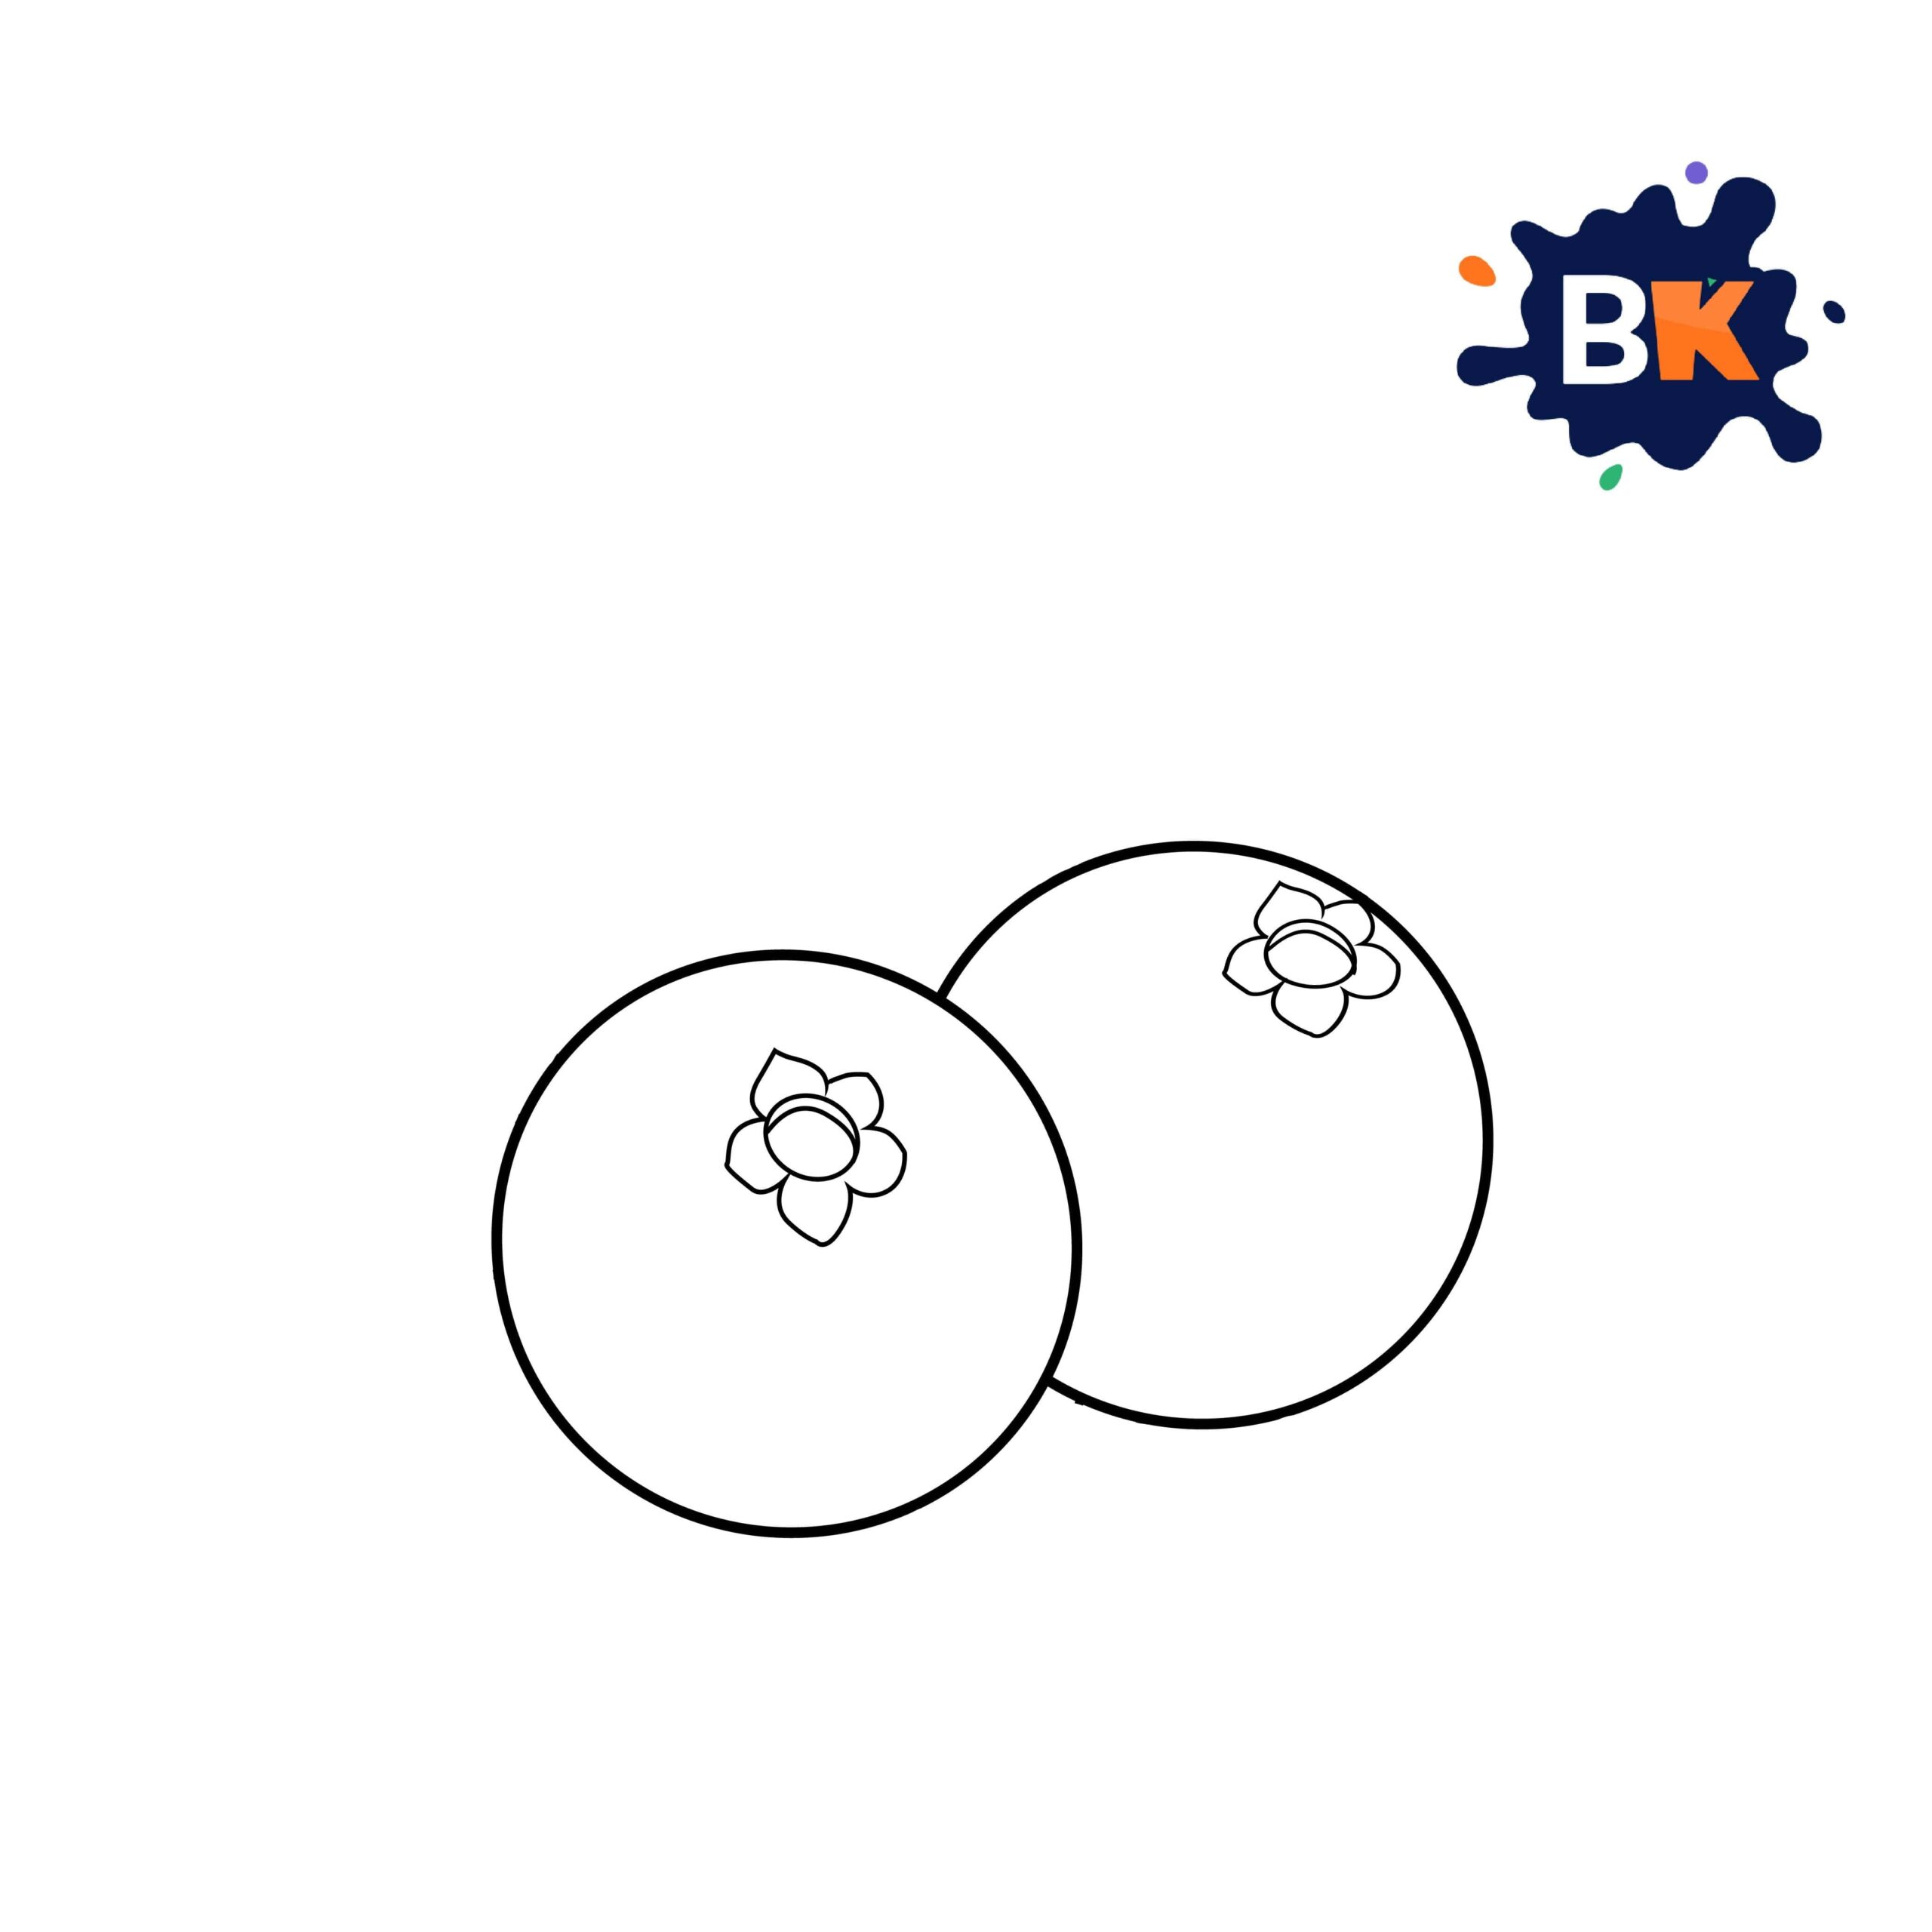
Draw a smaller flower shape inside the second circle, similar to the first, maintaining the perspective.
Step 5:
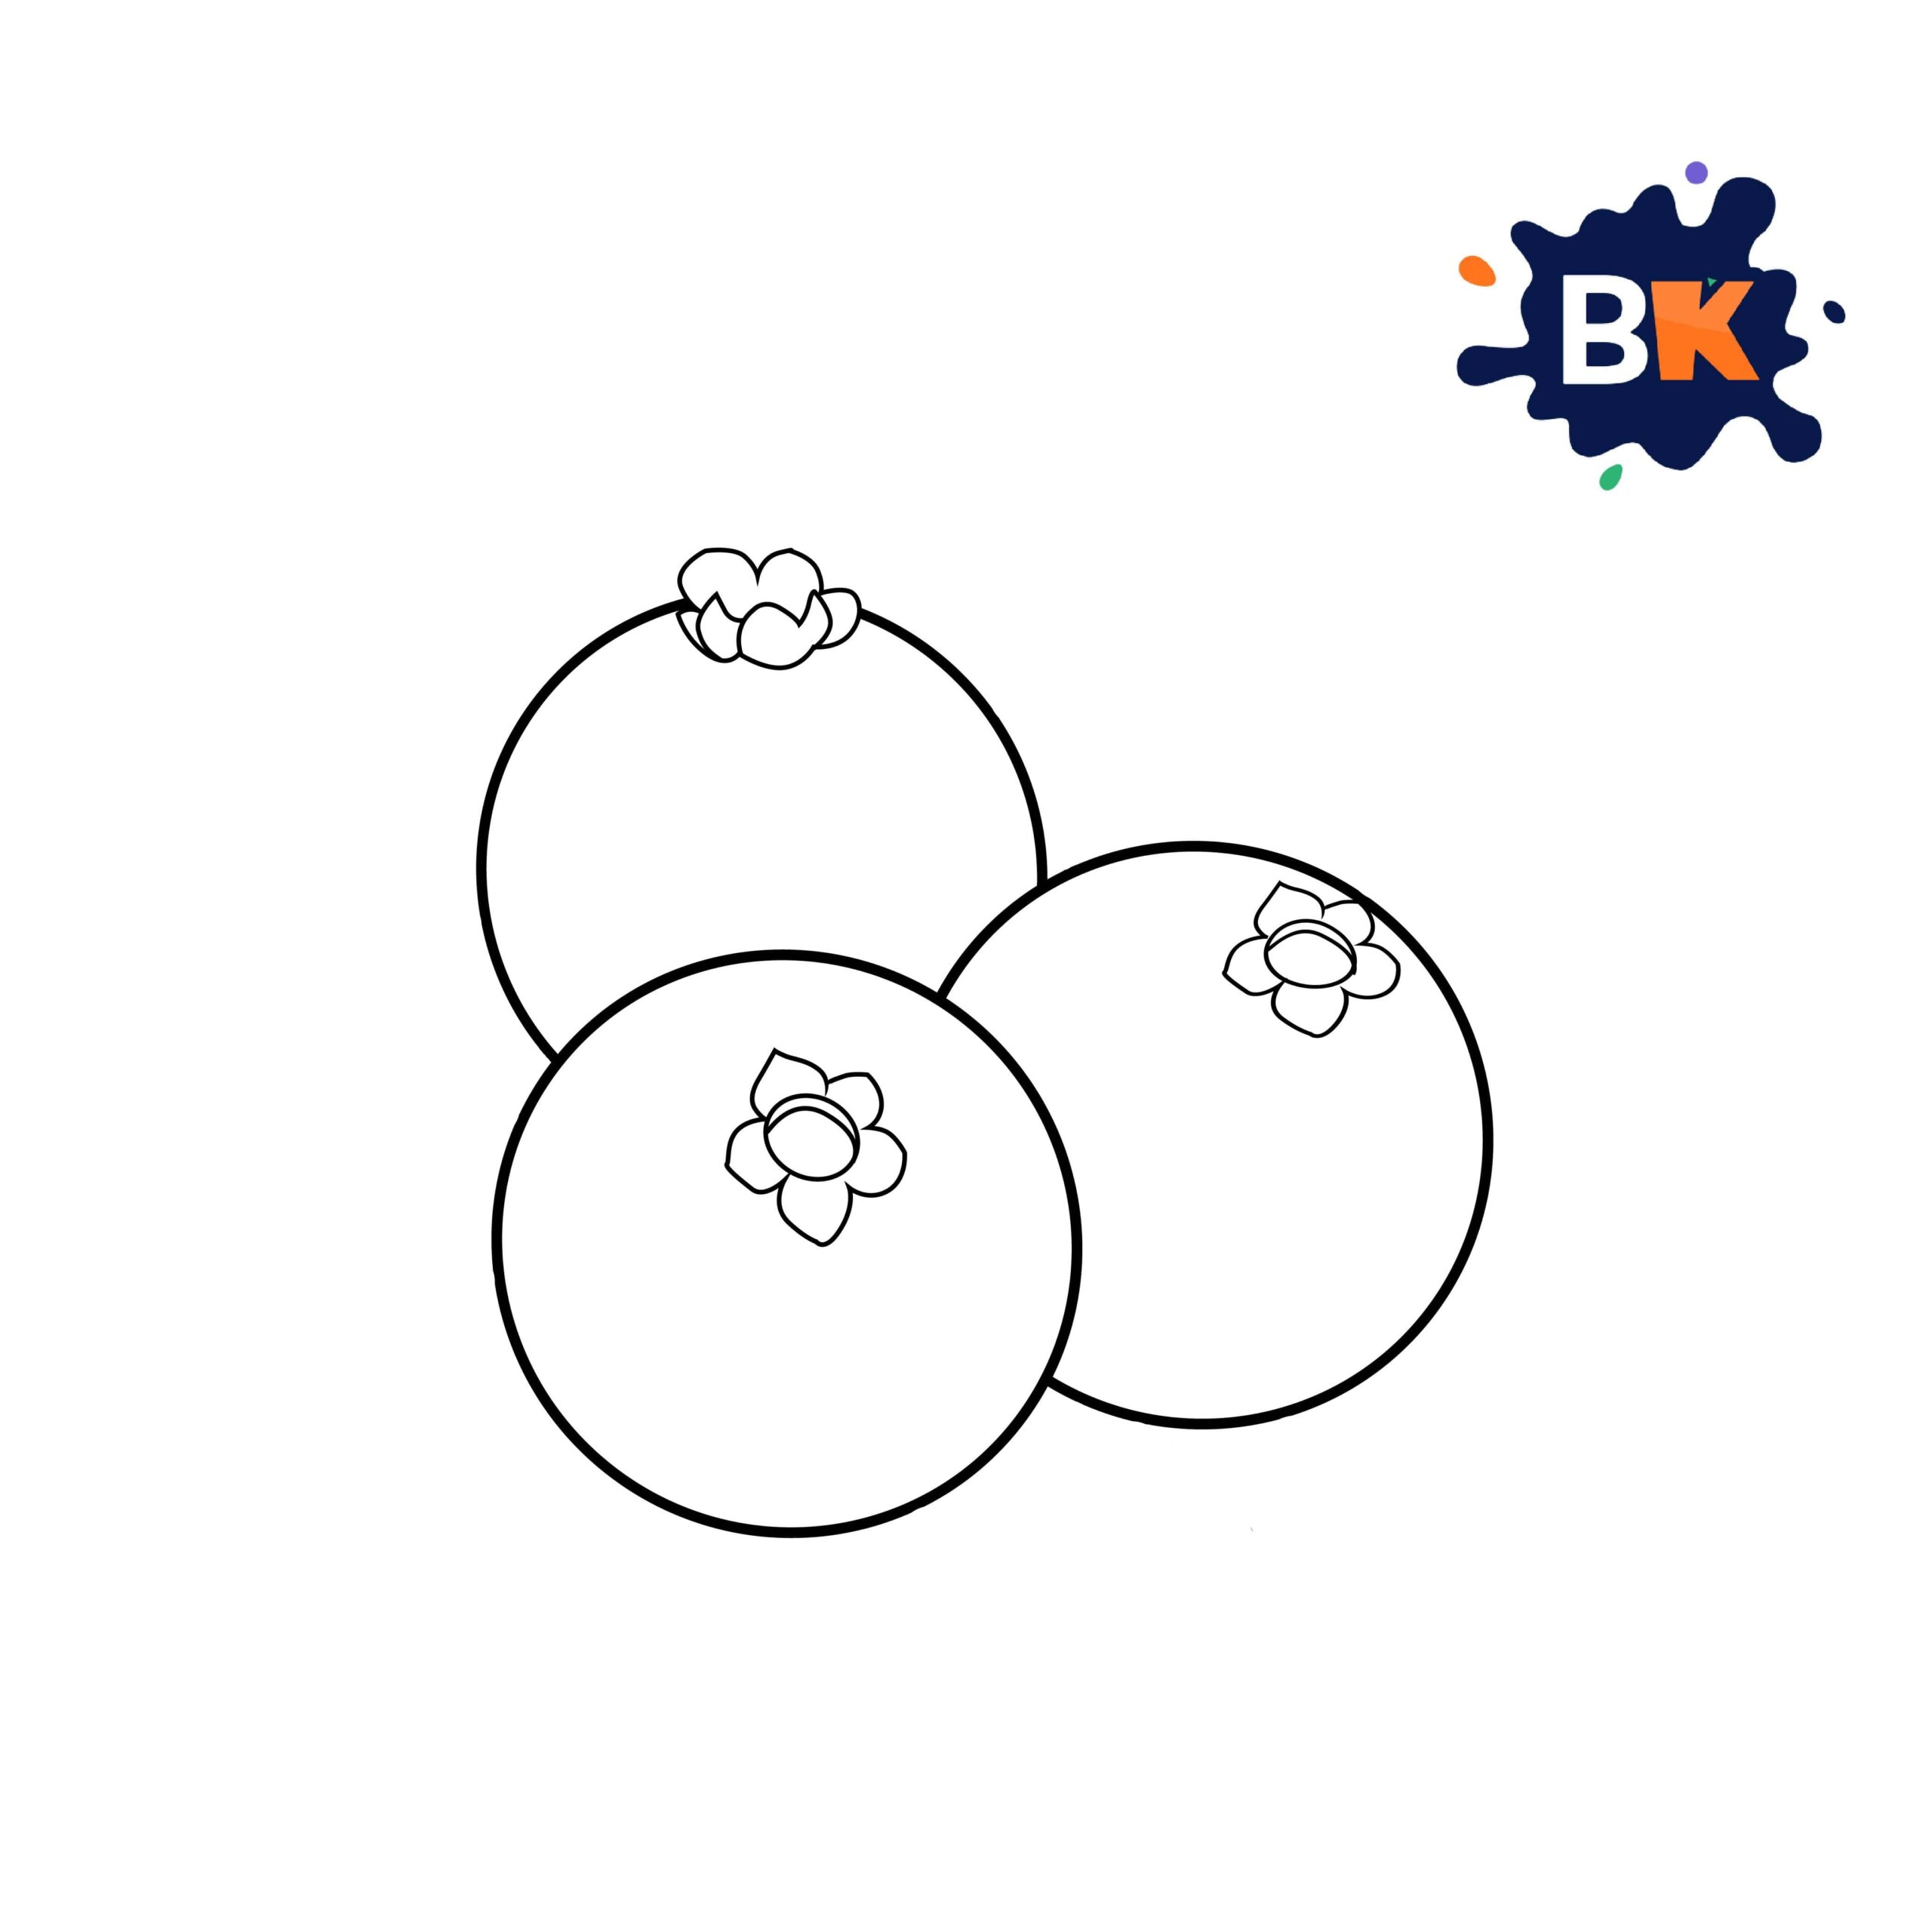
Add a third circle, partially hidden behind the first two, and repeat the flower shape inside it.
Step 6:
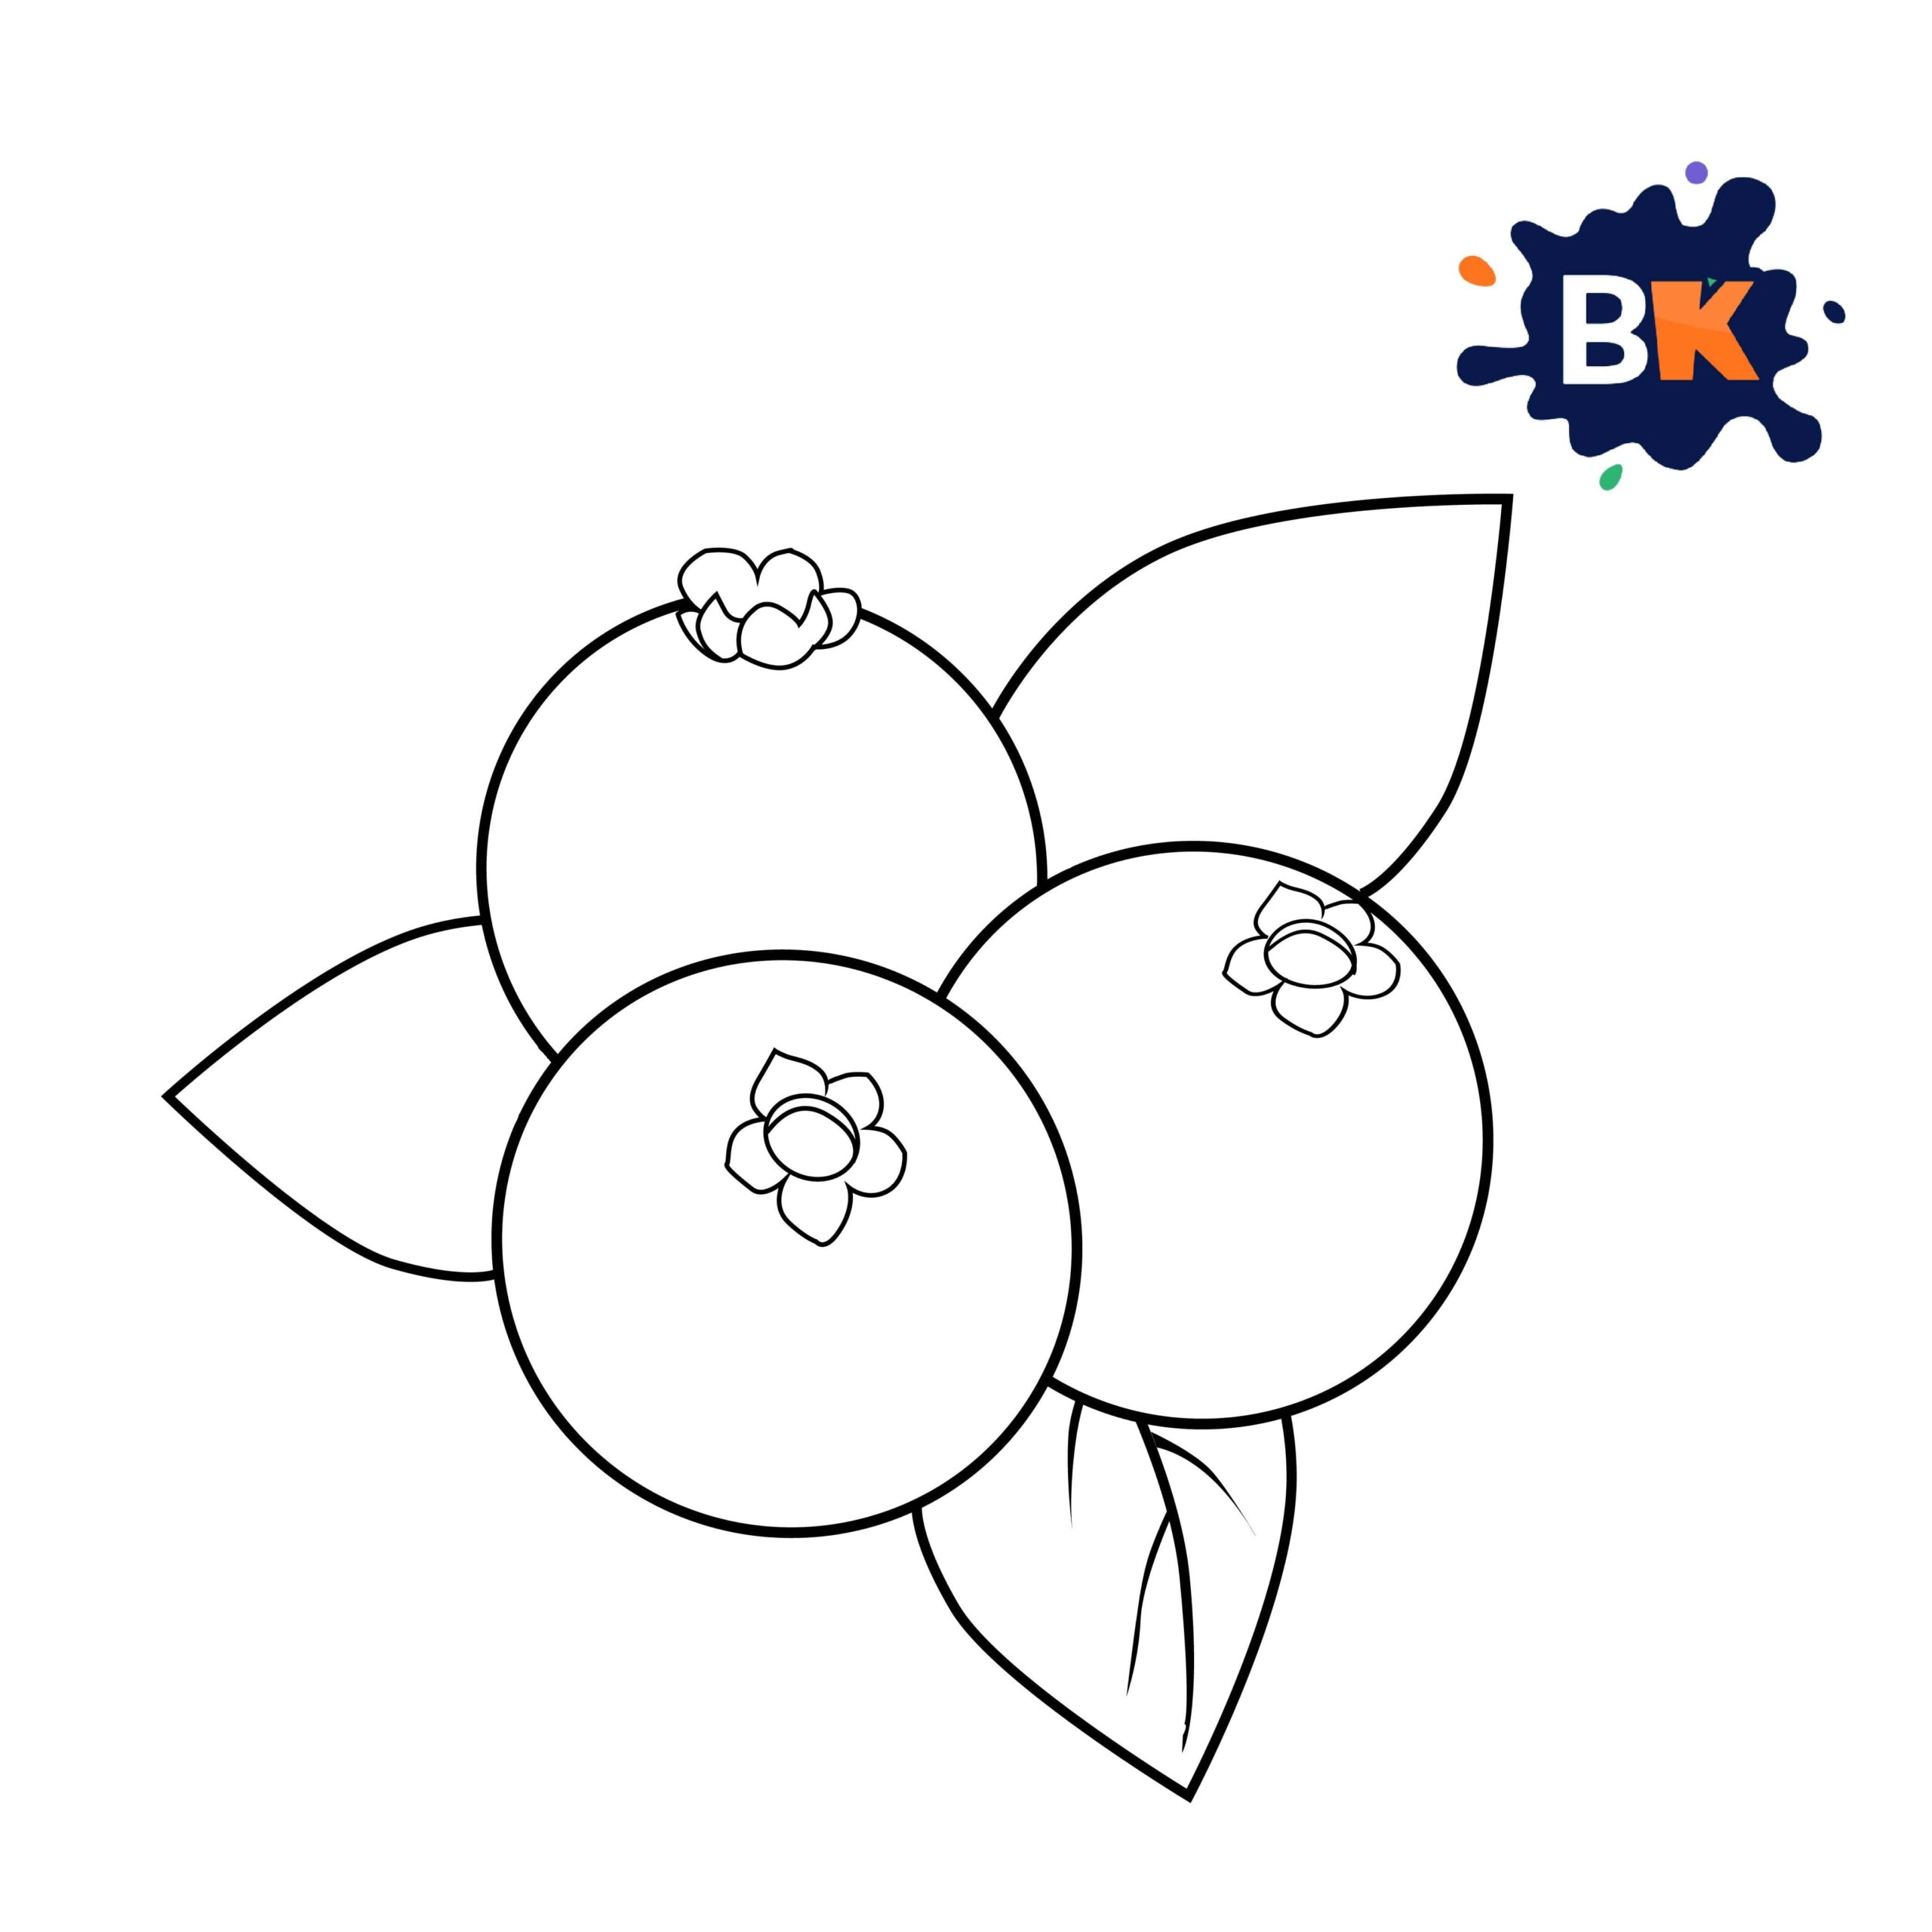
Draw leaves emerging from behind the berries. Start with simple leaf shapes.

Step 7:
Draw details in the leaf.
Step 8:
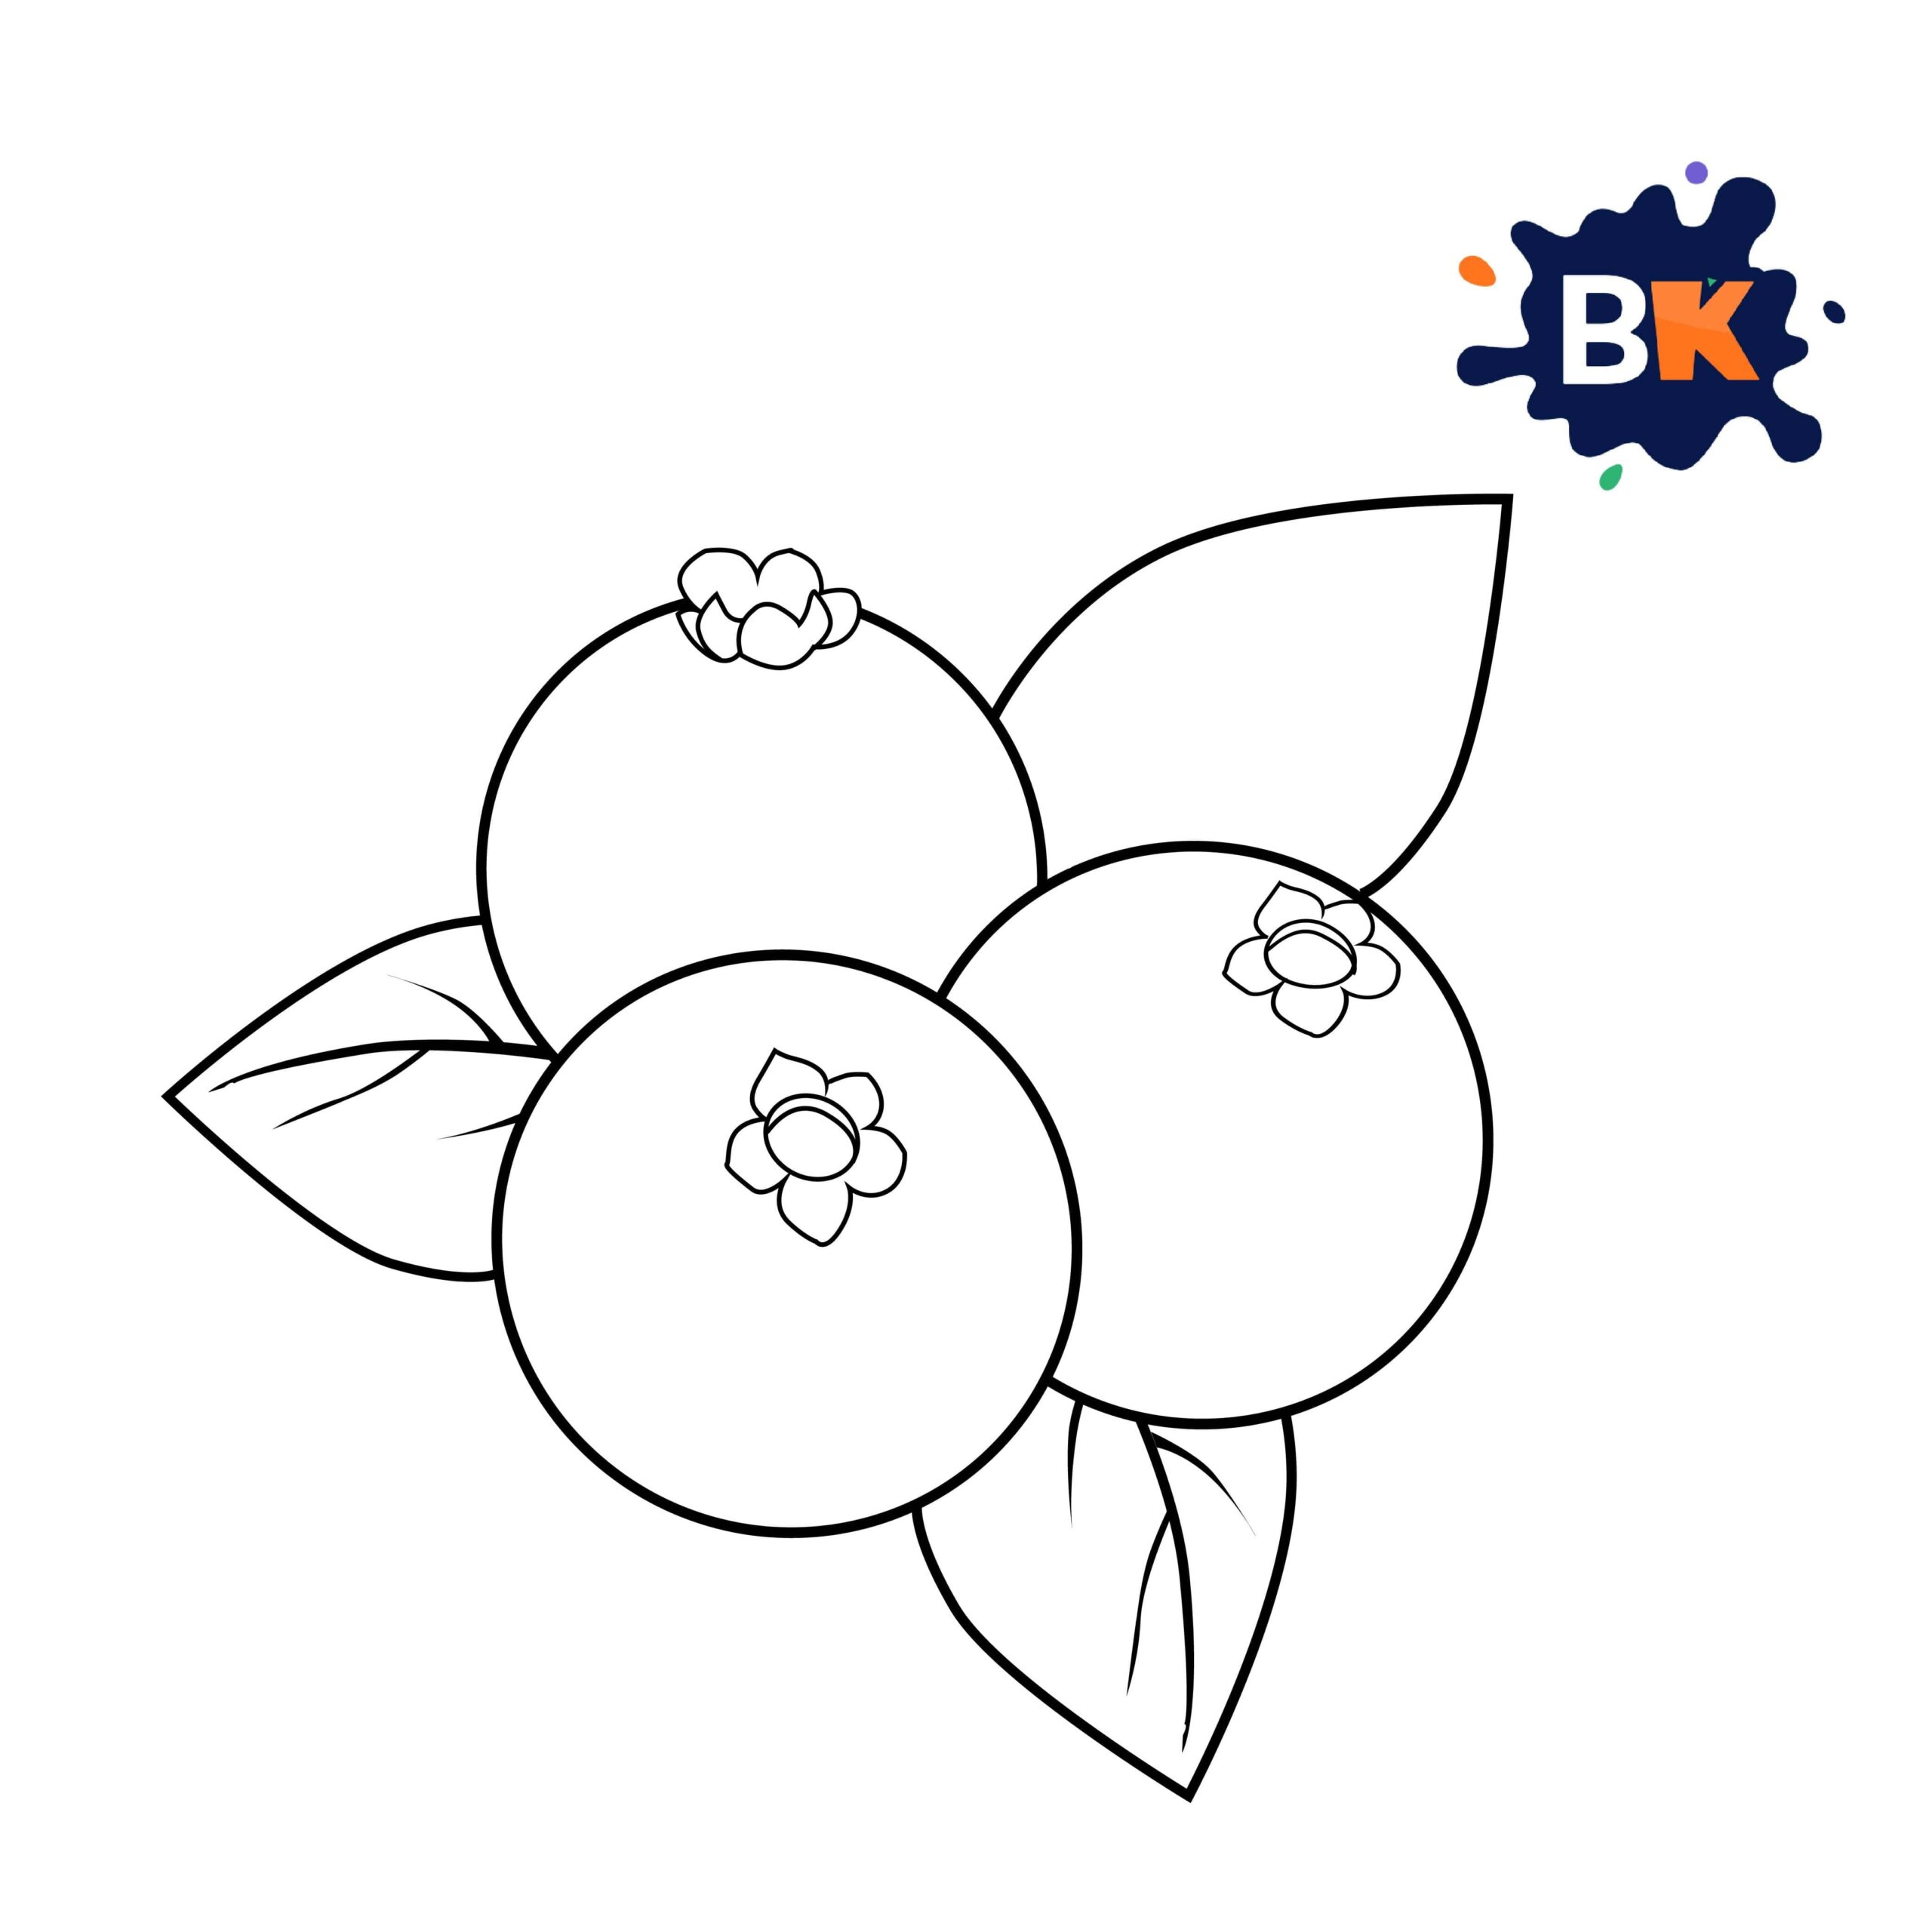
Refine the edges of the leaves, giving them a more defined and realistic shape.
Step 9:
Add final details to the leaves, like the central vein and texture to make them look more lifelike.

Step 10:
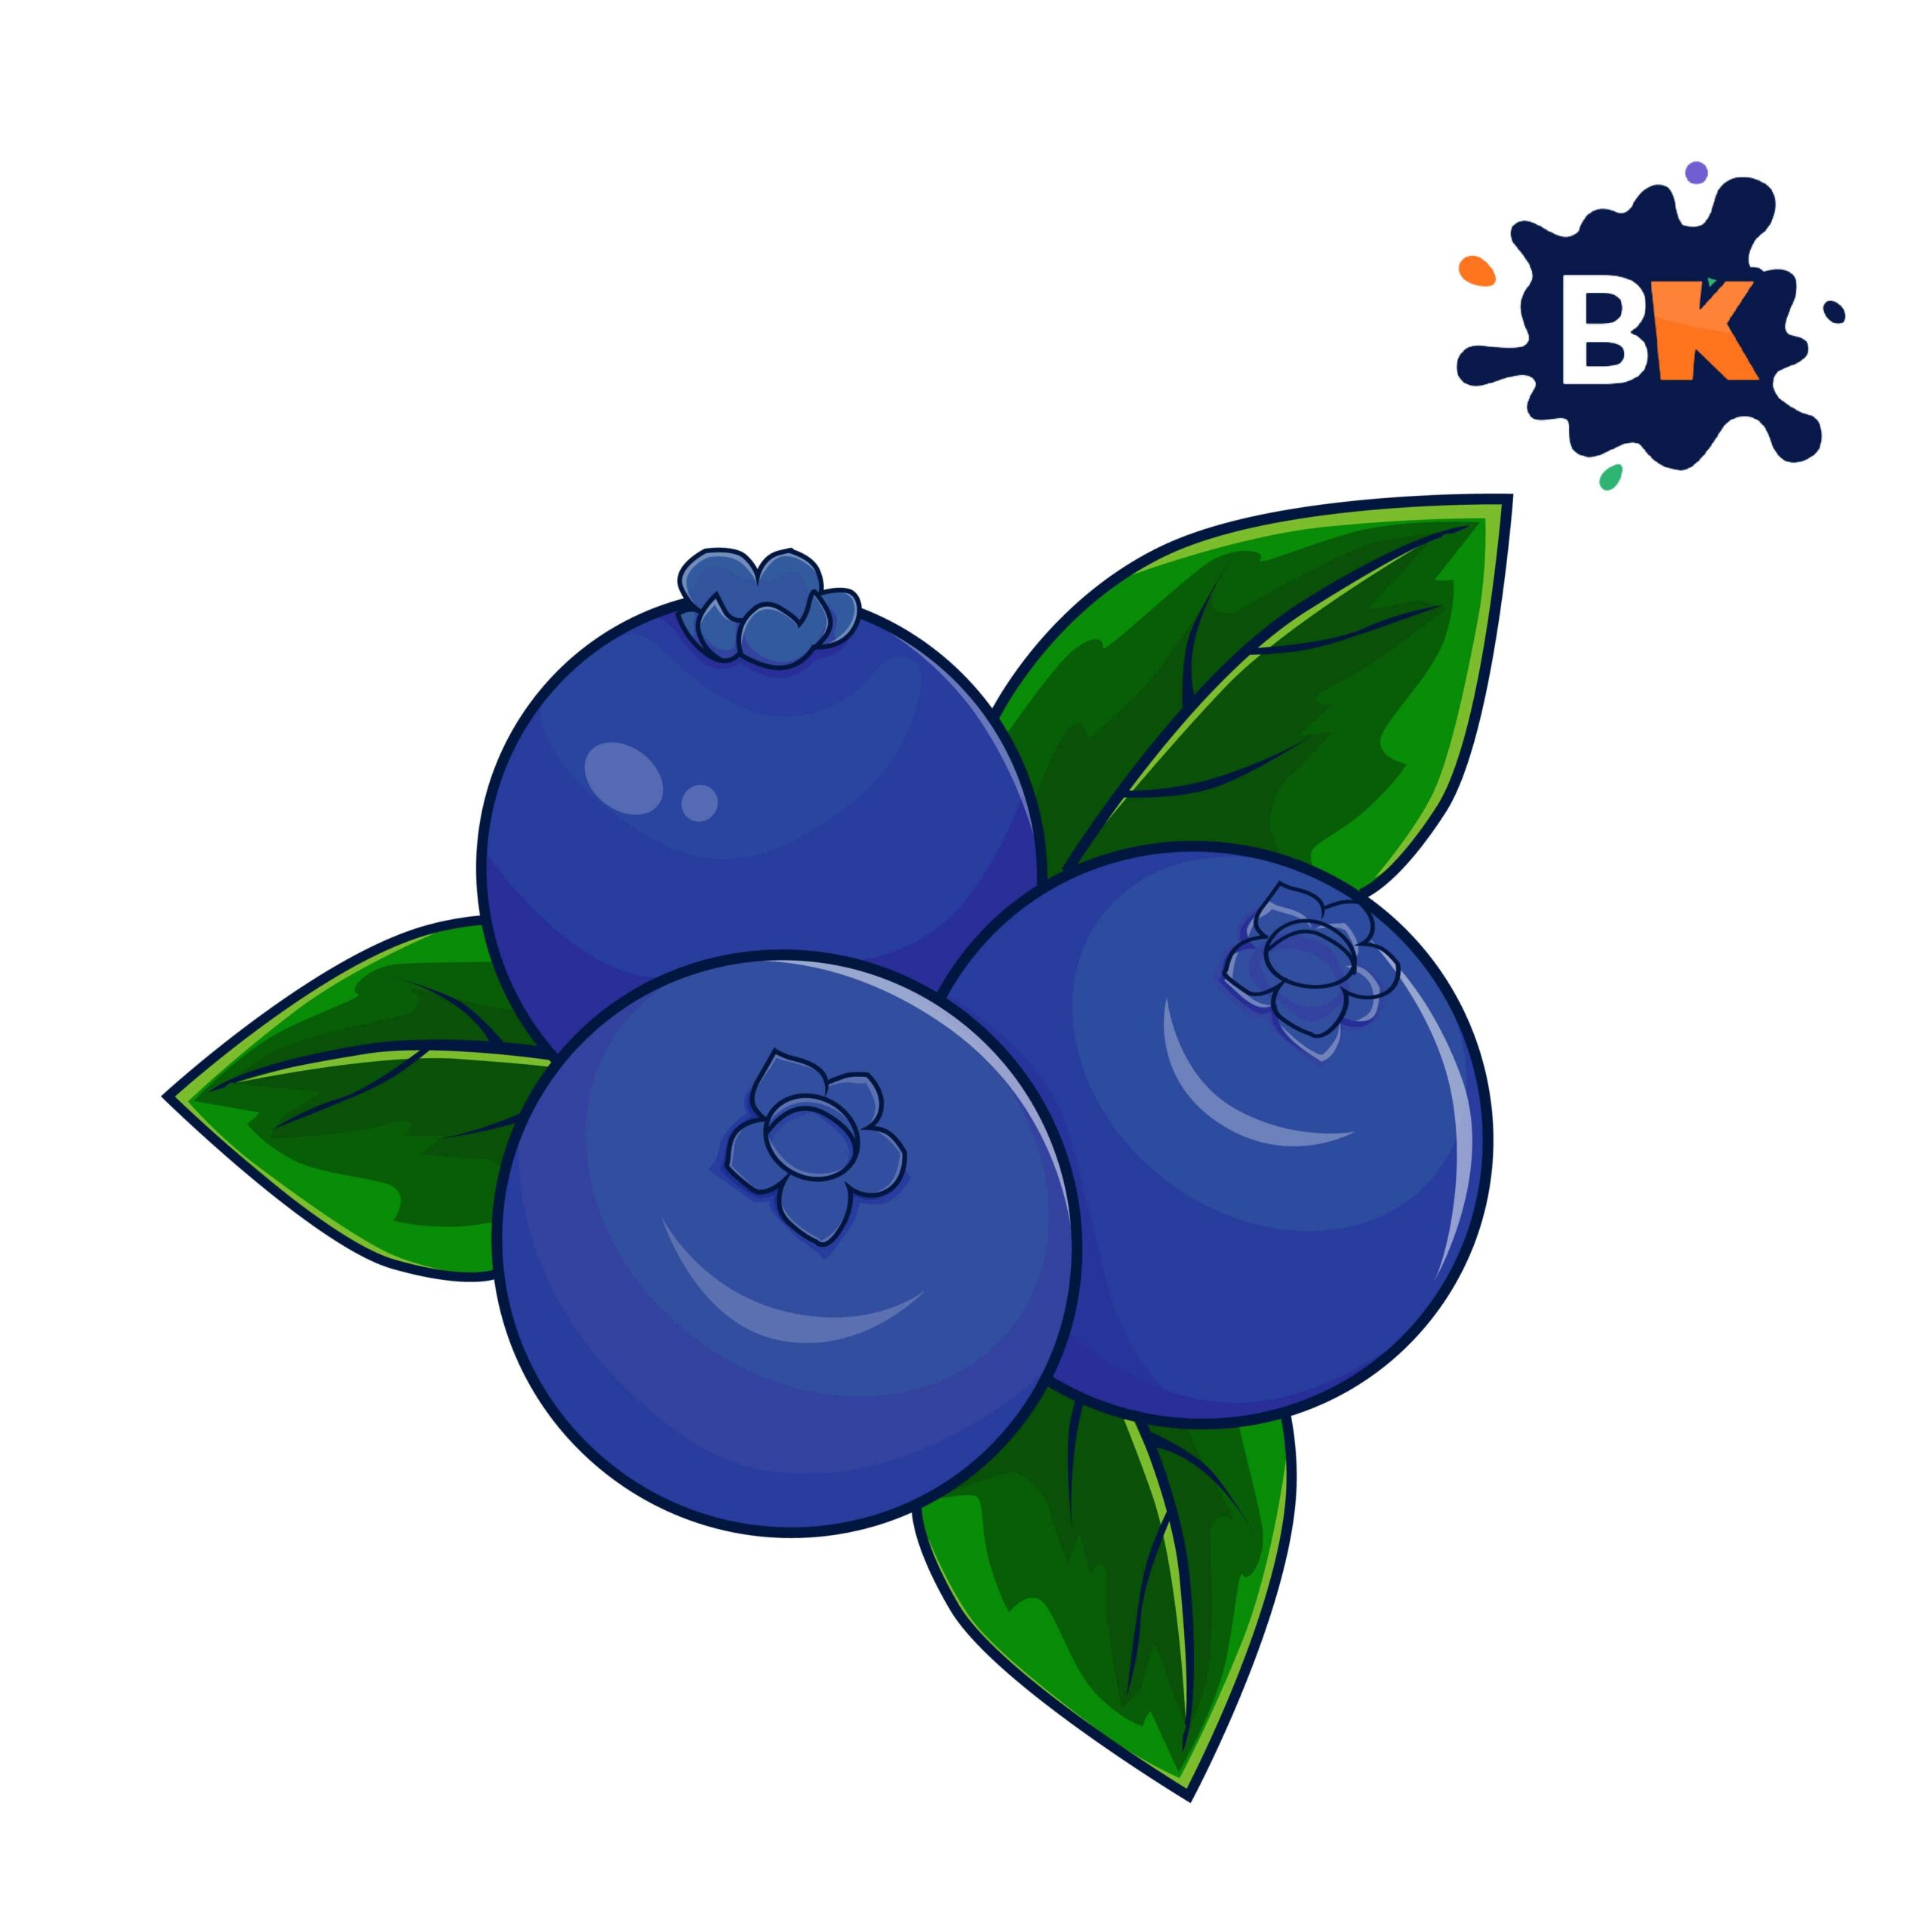
Color your blueberries with shades of blue, adding highlights for a shiny texture, and color the leaves green with darker green for the veins.
conclusion
Berry-picking through “How to Draw a Blueberry” has been a fruity adventure! Did they capture the round and juicy allure of this delicious berry, or have you berry delighted with artistic joy?
Share your feedback. Your insights help our drawing guide stay as sweet and vibrant as the blueberry itself, with steps that make the creative process a berry good time! 🫐

I’m a former teacher (and mother of Two Childs) with a background in child development. Here to help you with play-based learning activities for kids. ( Check my Next startup Cledemy.Com)
