Hello, budding artists! Today, let’s step into the art of drawing with a focus on a simple and useful object the basket.
Grab your pencils, and let’s create a charming basket step by step. Whether you’ve seen baskets at picnics, in your home, or even in nature, we’re turning that everyday item into art.
Follow the easy instructions, and soon you’ll have your very own basket drawing, ready to hold all your creative ideas. So, let’s weave our way into this drawing adventure together! 🧺🎨
how to draw a basket
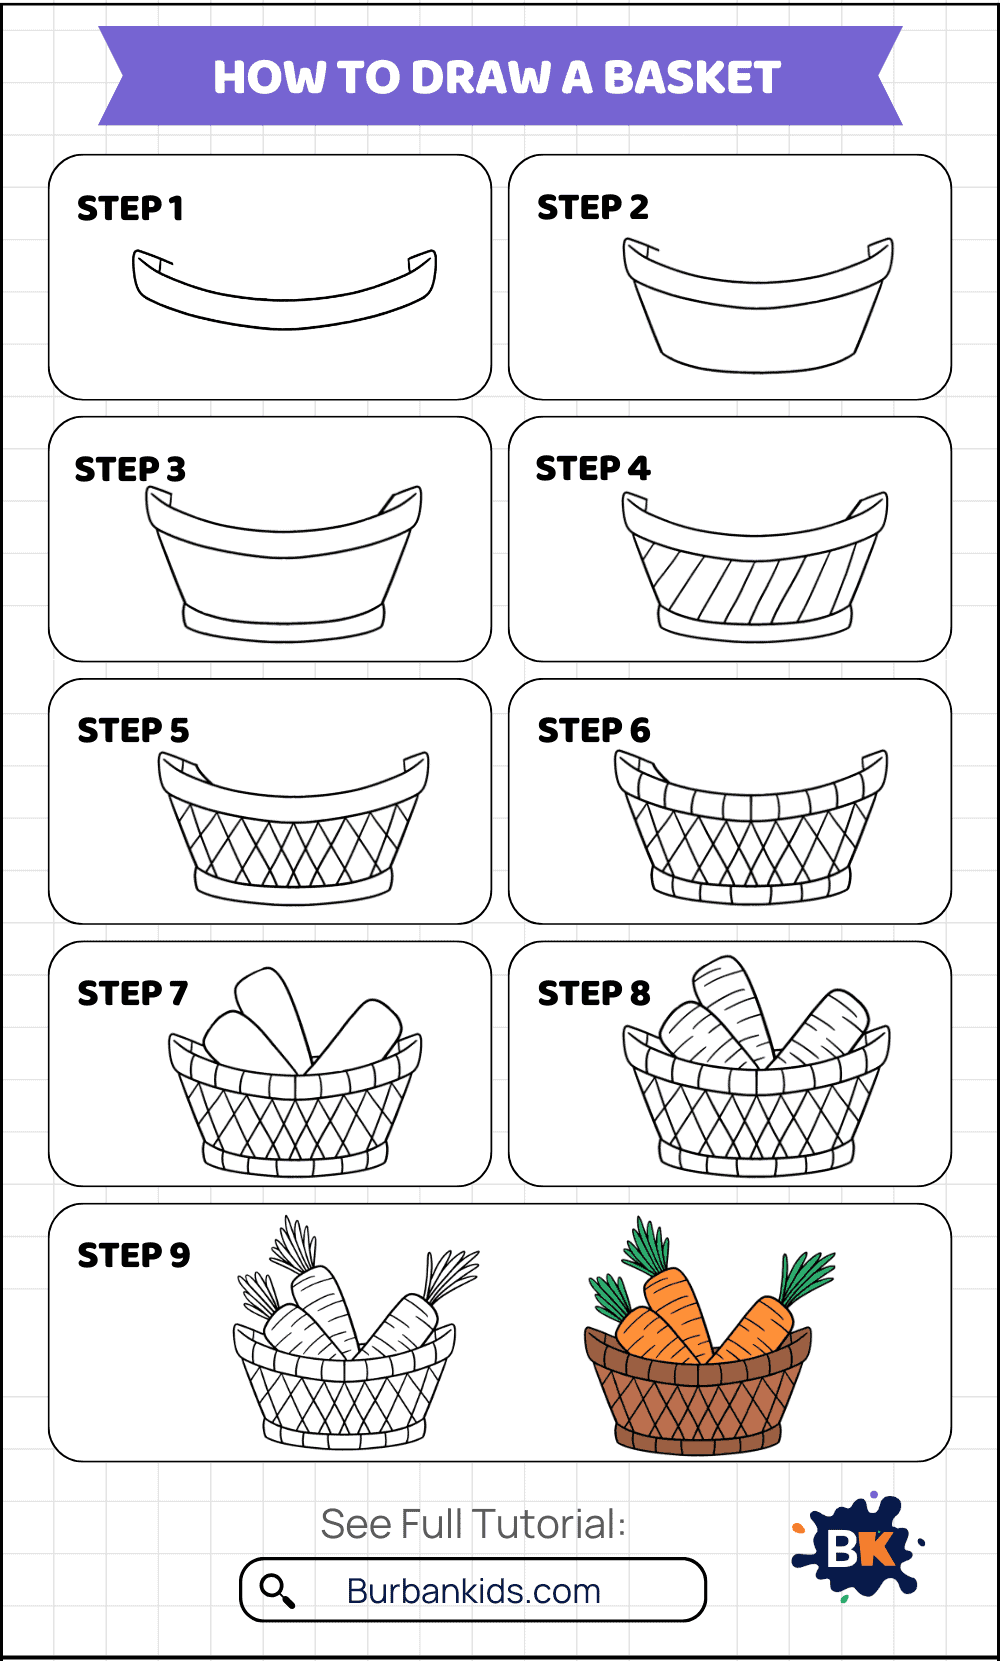
Step 1:
Start with a flat, curved line that will be the top edge of the basket.

Step 2:
Connect the ends of the two curves with vertical lines to close off the shape of the basket’s brim.

Step 3:
Now, add the base of the basket by drawing a curved rectangle.

Step 4:
Now, draw a diagonal line in the middle part of the basket.

Step 5:
Now, draw diagonal lines again and create a cross sign in the middle part of the basket.

Step 6:
Now, add vertical lines on both ends of the basket.
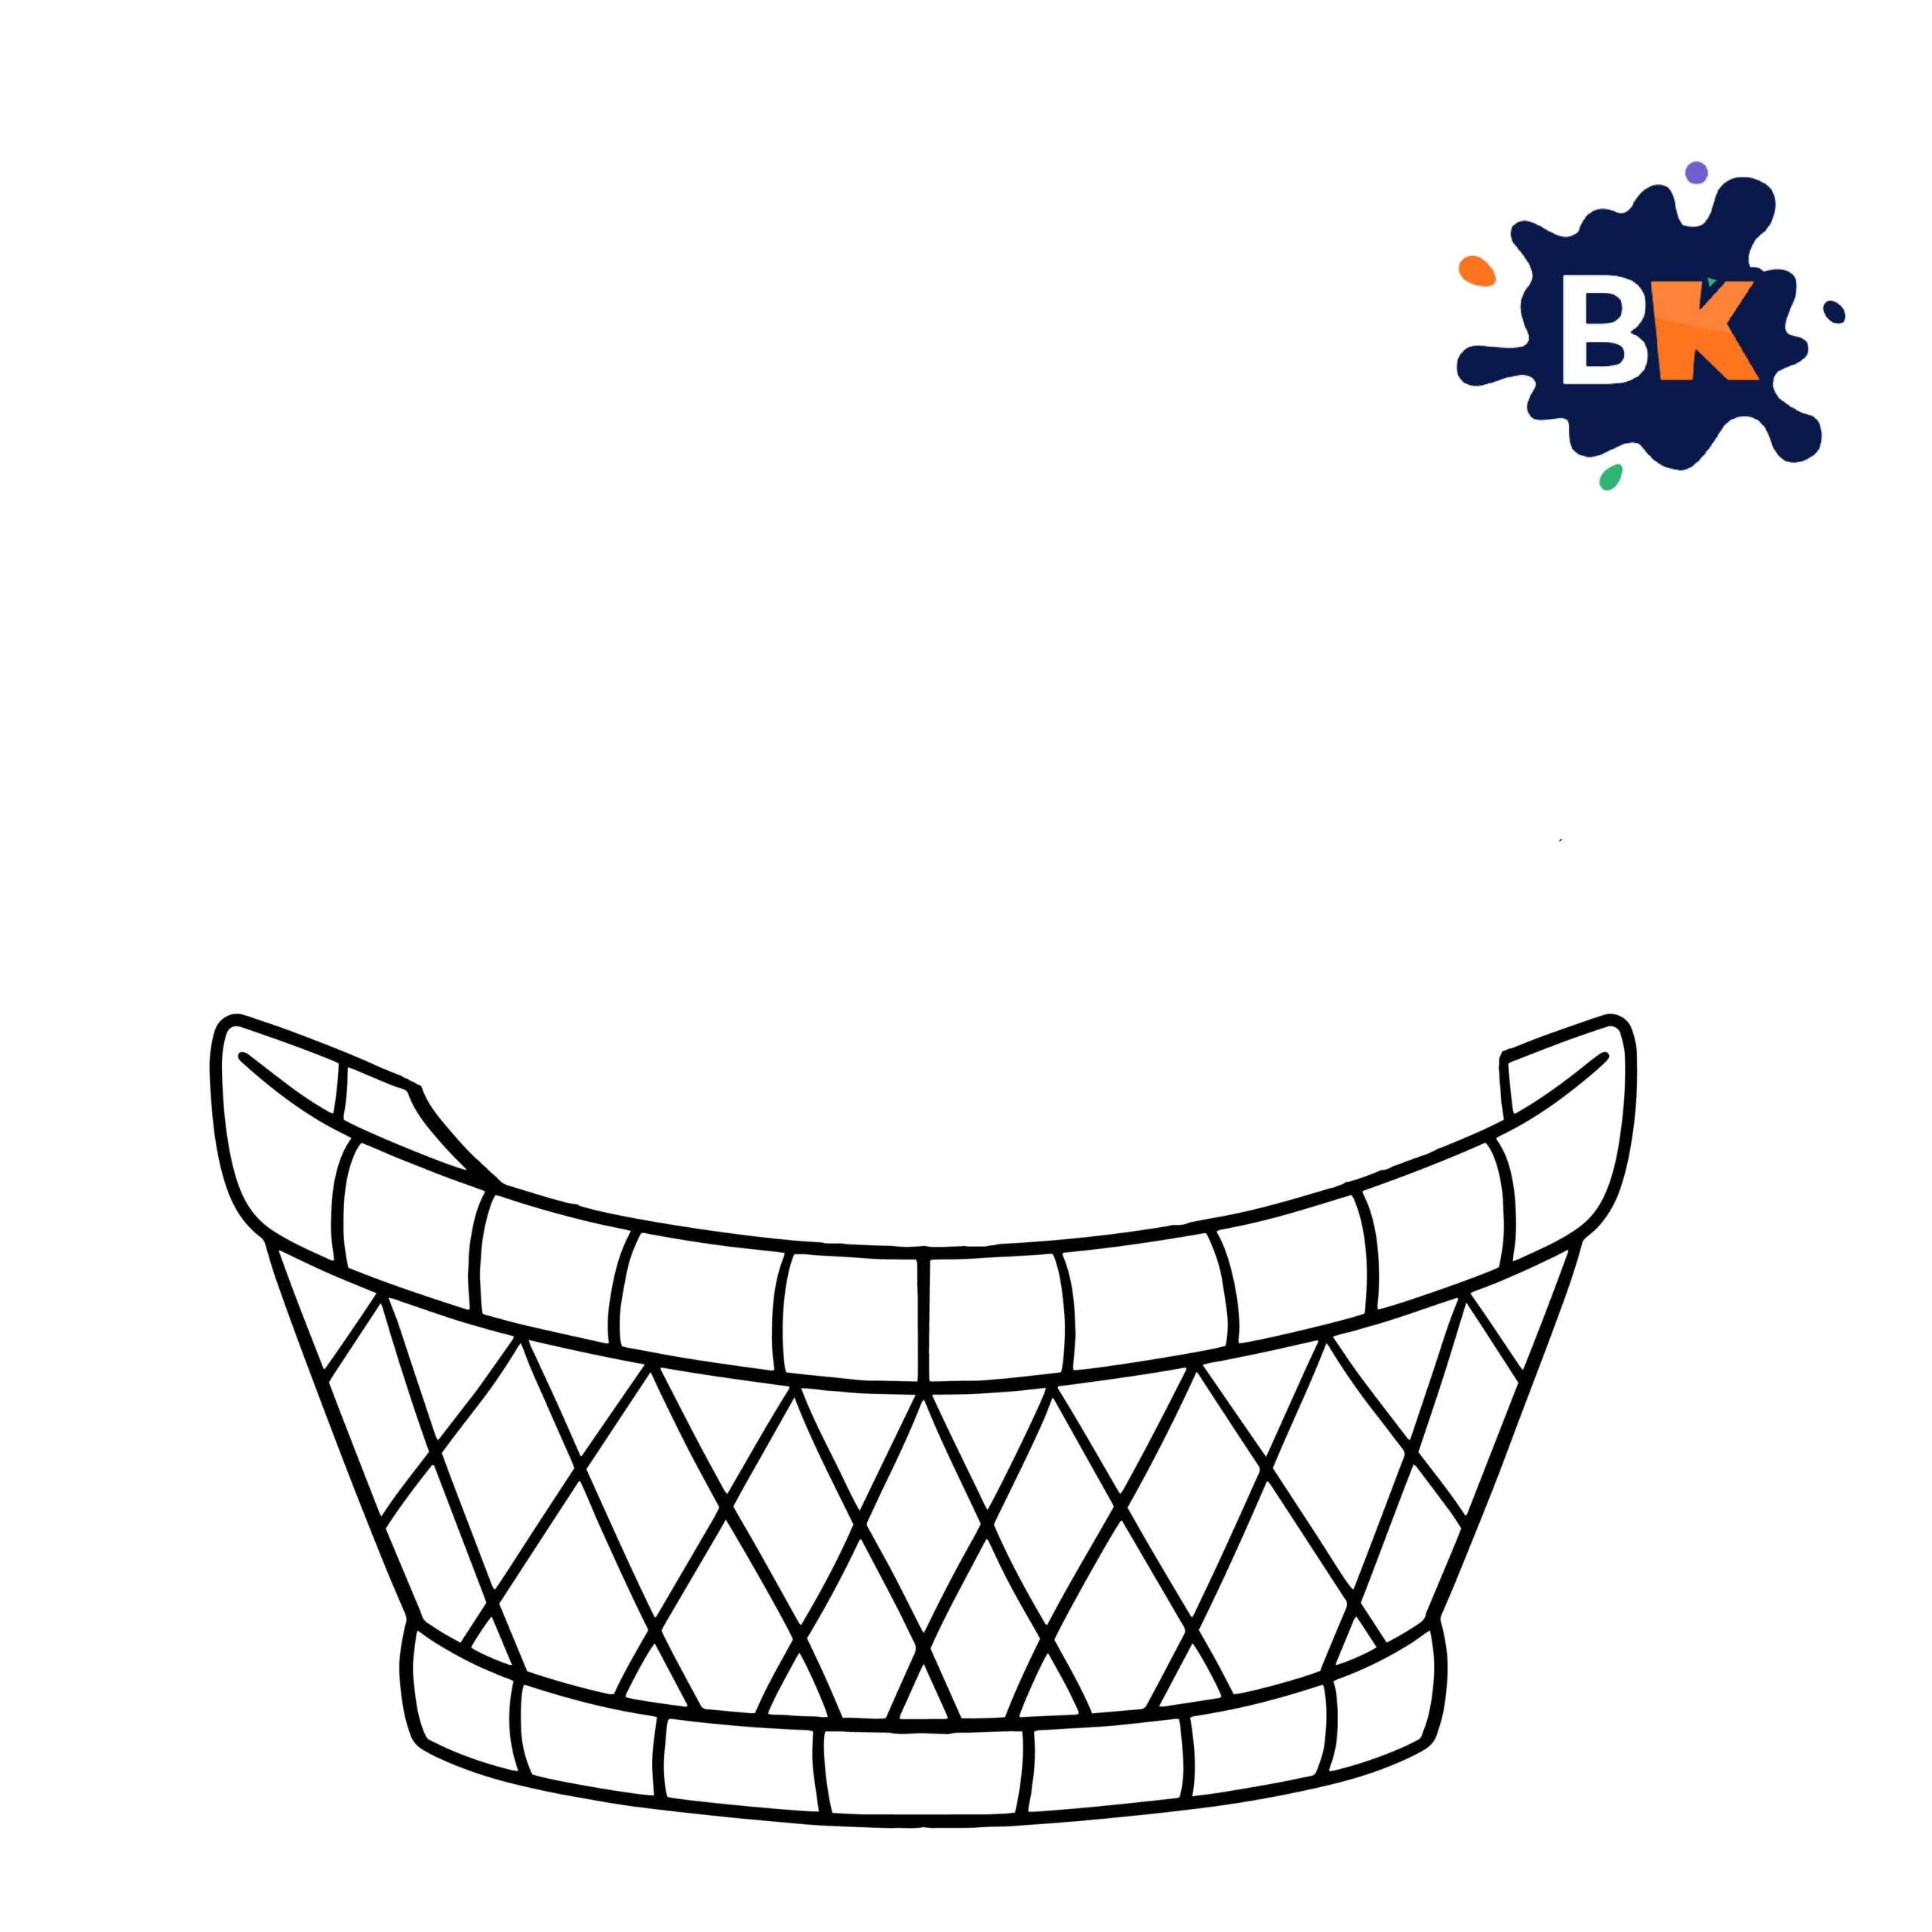
Step 7:
To represent the contents of the basket, such as vegetables or fruits, draw their outlines starting from the top of the basket, with some overlapping the edge to add depth.
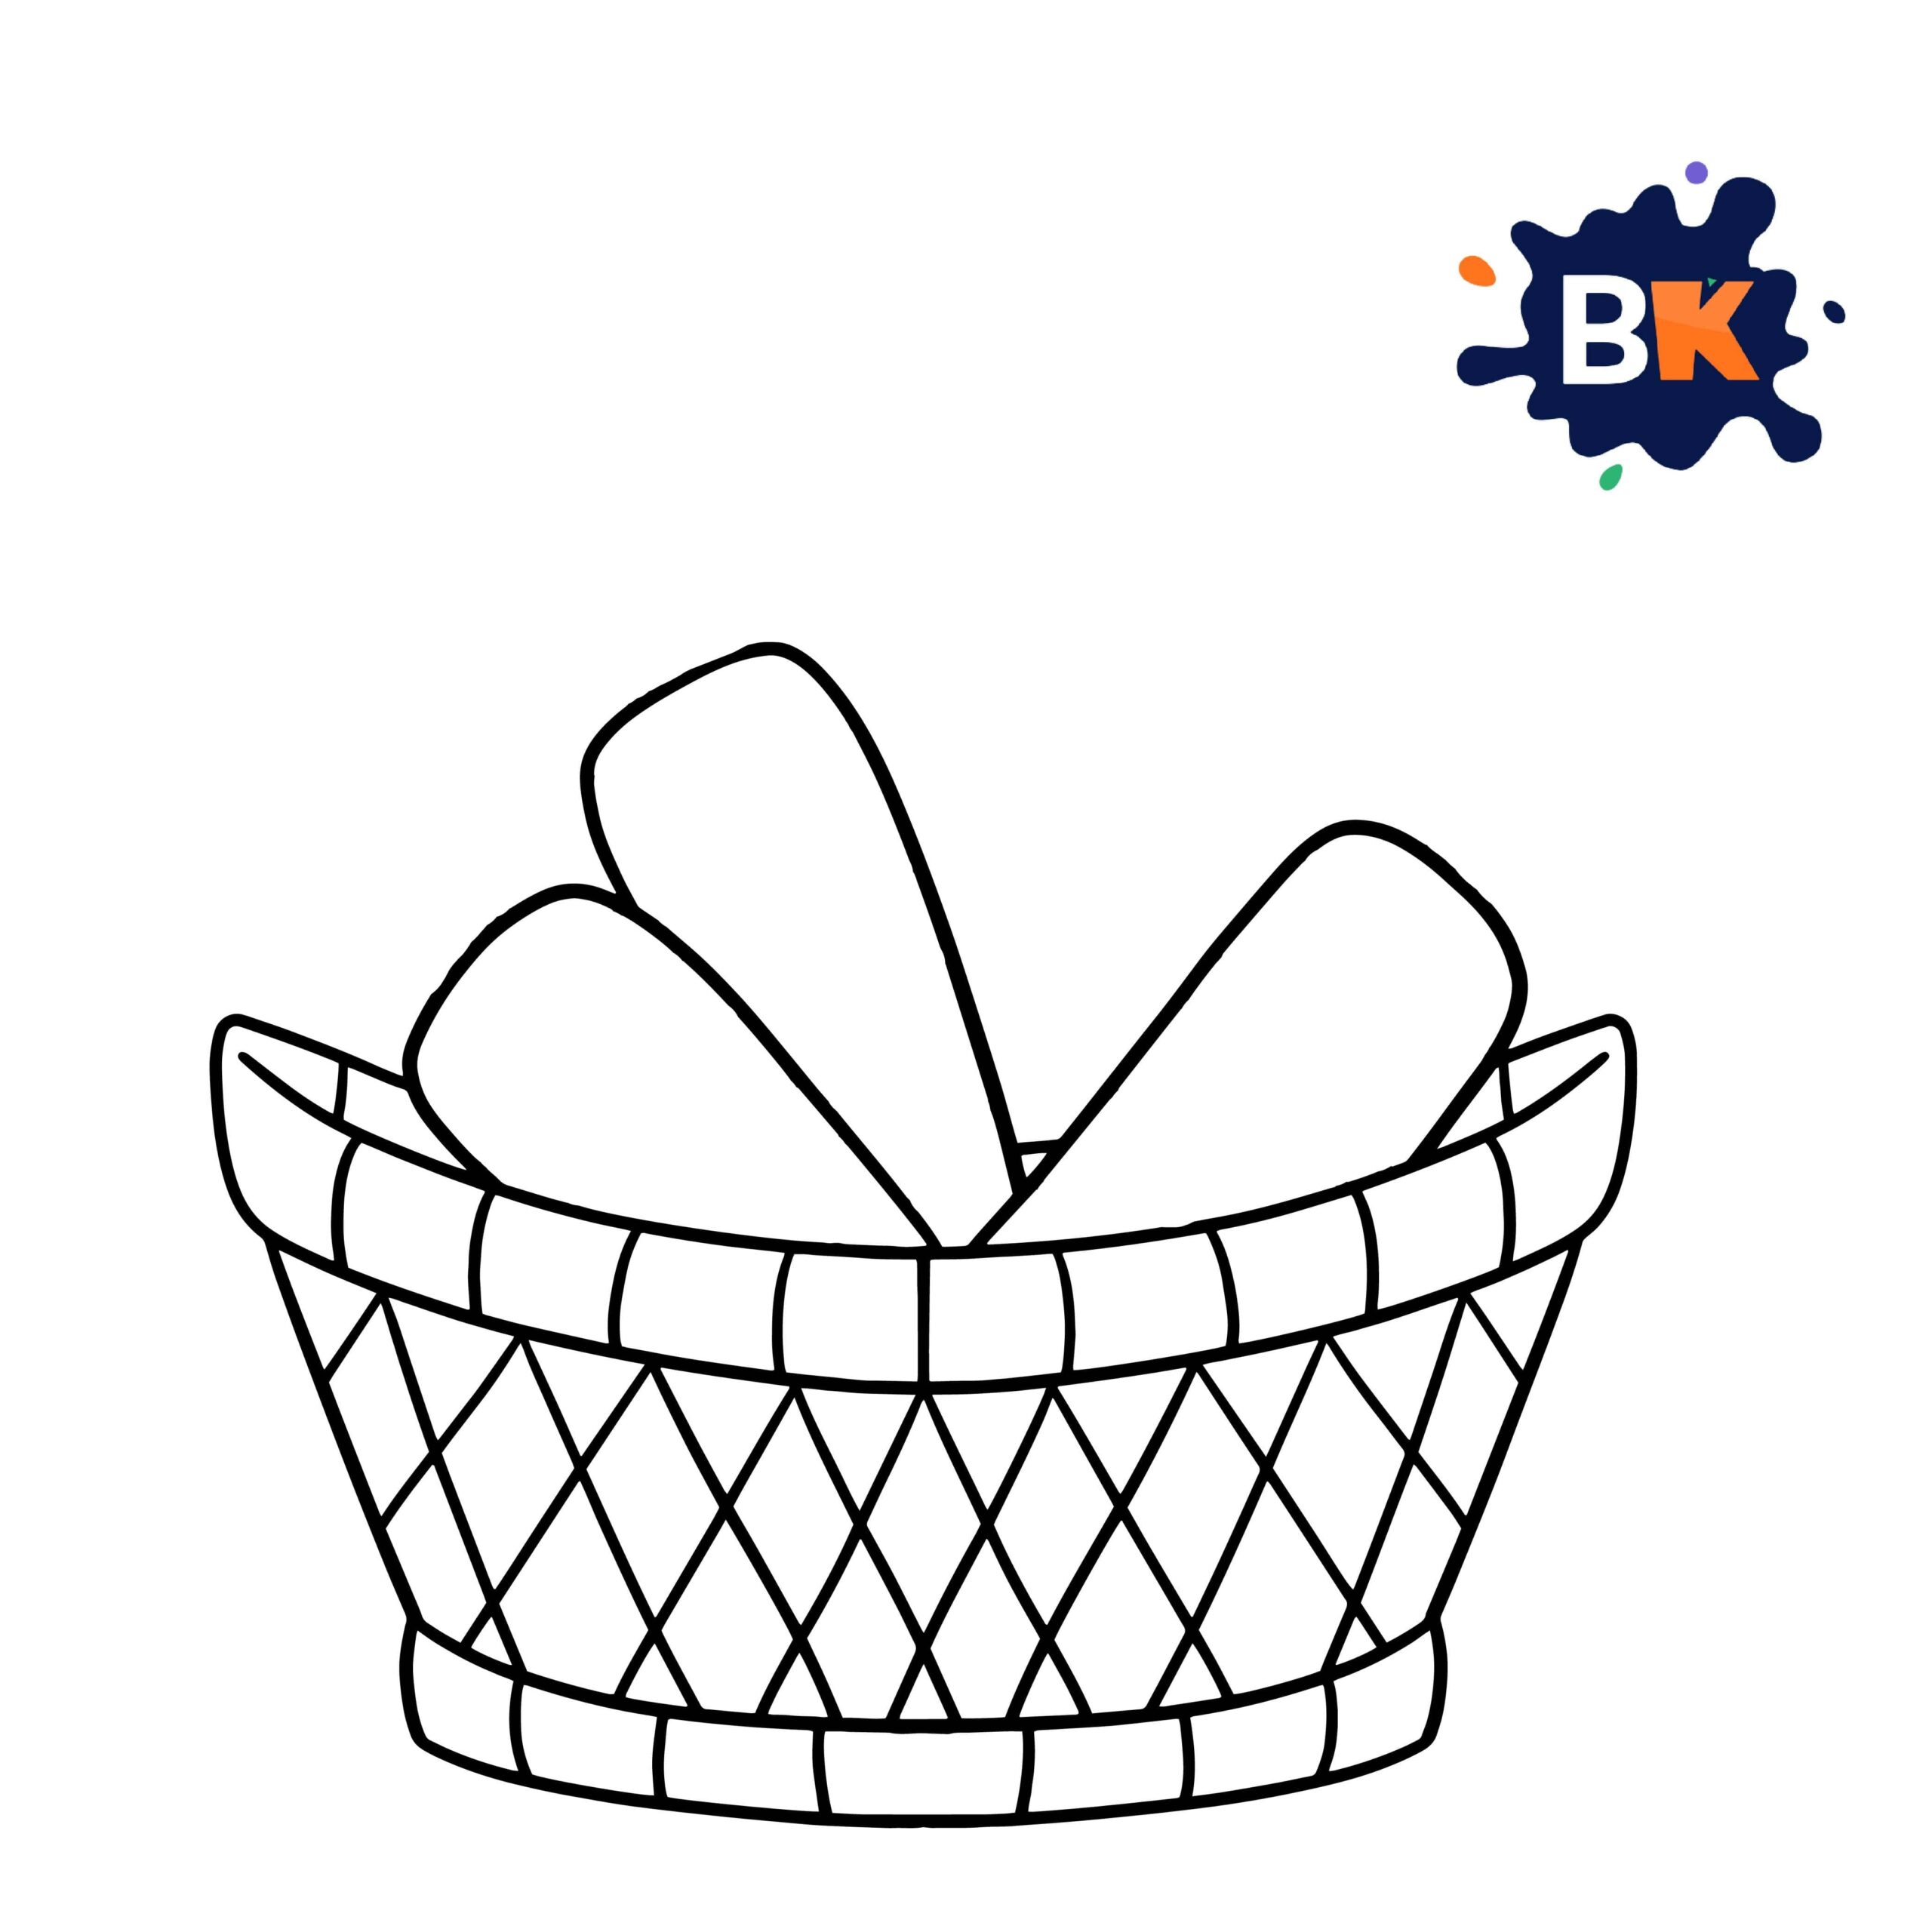
Step 8:
Add details to the contents to make them recognizable, like lines on fruits or vegetables to indicate texture.
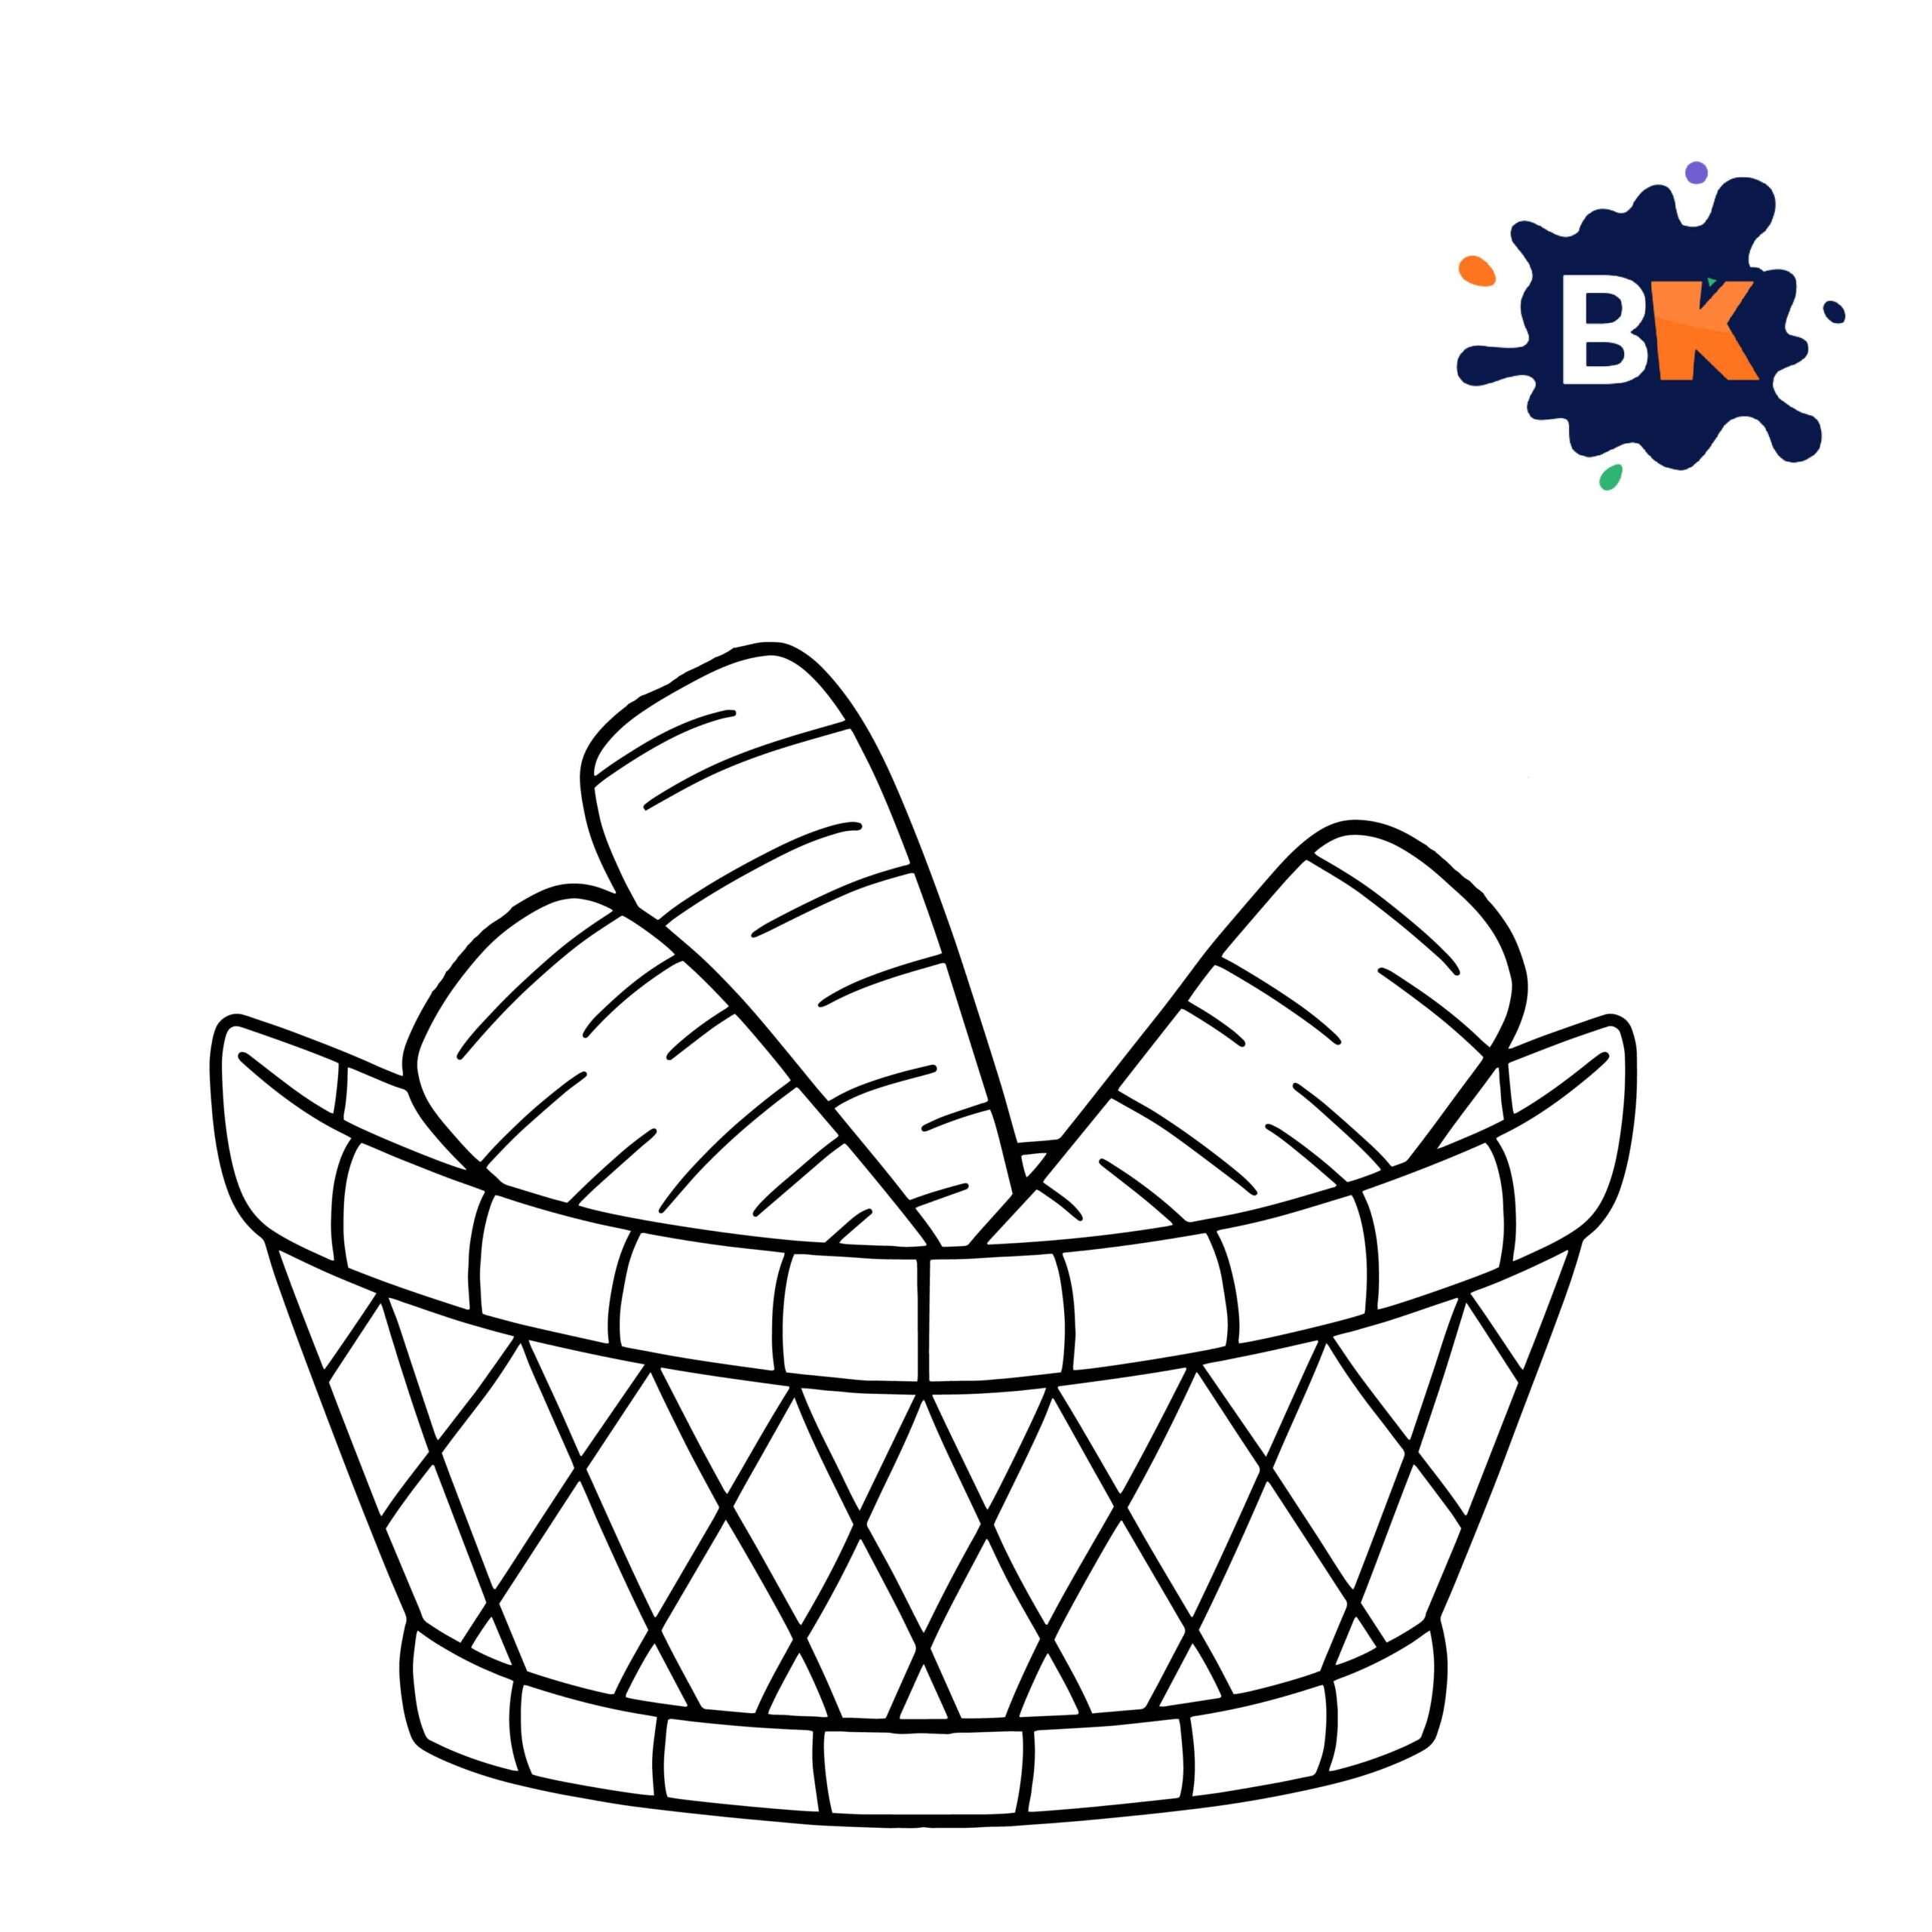
Step 9:
Now, draw the leafy part, resembling grass, on the top of the carrot.

Step 10:
Finally, color in your drawing using different shades like brown, orange, and green to add depth and dimension to both the basket and its contents.

conclusion
Drawing a basket is a simple and enjoyable task. Begin by sketching the rectangular shape of the basket, adding details such as the weave pattern.
Once your basket drawing is complete, share your artistic creation with us. Enjoy the creative process and happy drawing!

I’m a former teacher (and mother of Two Childs) with a background in child development. Here to help you with play-based learning activities for kids. ( Check my Next startup Cledemy.Com)
