At the age of 6, kids naturally have amazing potential for growth! Kids at this age are full of energy, curiosity, and creativity. There are many exciting activities to explore, sparking joy and learning along the way.
Try sensory bins to stimulate their senses, nature walks for outdoor fun, and water painting for creative expression. From imaginative games to hands-on crafts, this guide offers a variety of activities that bring joy and learning.
Enjoy the adventure with printables and reels made just for them!
Activities for 6 Years Old
Picking and Sorting Pulses Activity
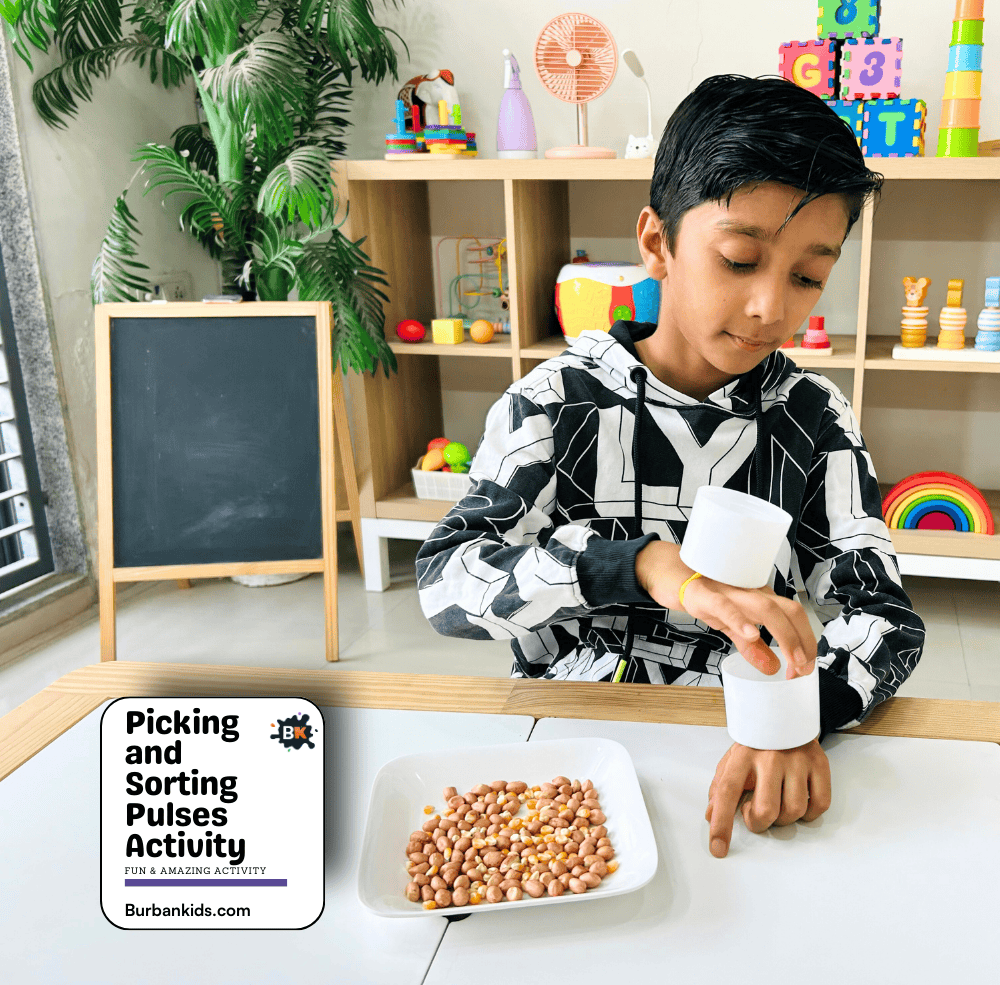
The “Picking and Sorting Pulses Activity” is an educational and enjoyable task that helps kids develop their hand-eye coordination and teaches them about different types of pulses.
Materials: Various pulses such as beans, lentils, and chickpeas, along with several small containers or bowls.
How to Do:
- Spread a variety of pulses on a large tray or a flat surface.
- Provide your child with small containers or bowls for sorting each type of pulse into.
- Ask the child to pick up one pulse at a time and sort it into the corresponding container based on its type, size, or color.
Polishing Nails Activity
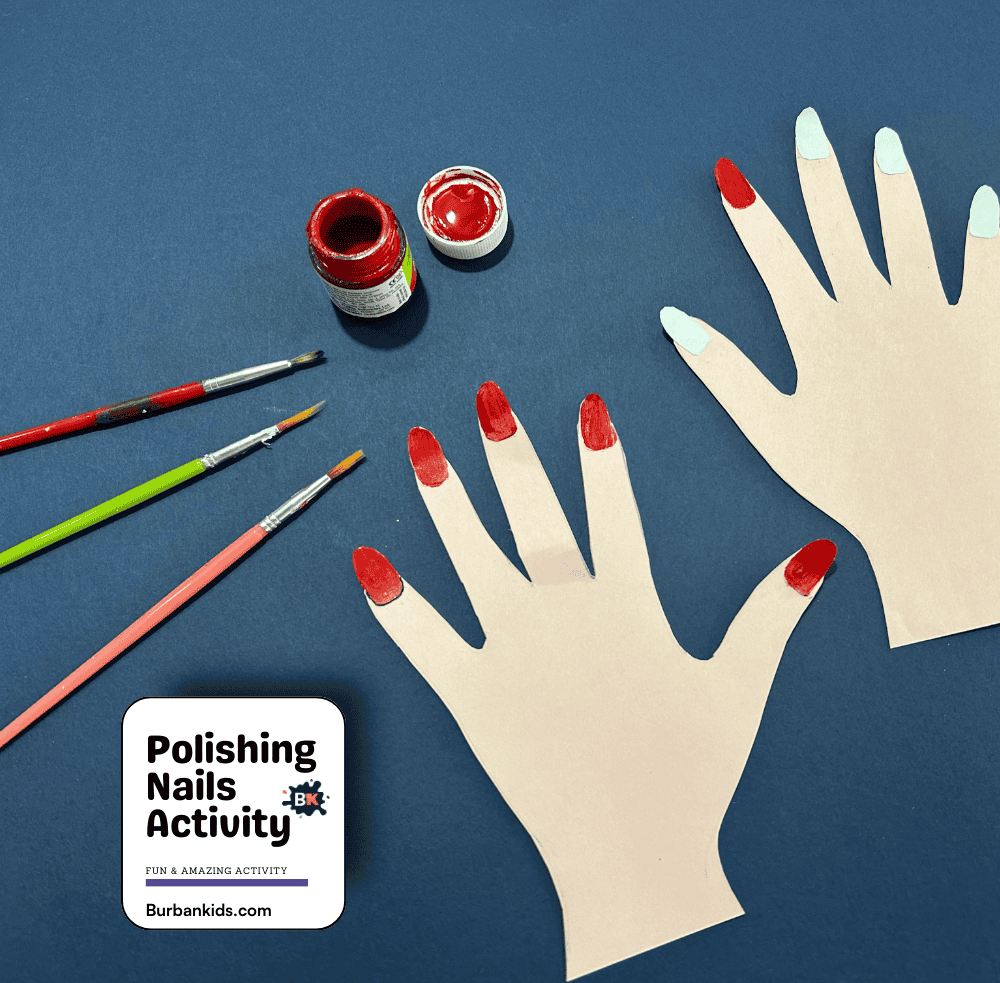
The “Polishing Nails Activity” is a creative and engaging craft that allows kids to practice their painting skills in a fun and mess-free way.
Materials: Paper cut-outs of hands, non-toxic paint or nail polish, and paintbrushes.
How to Do:
- Lay out the paper hand cut-outs on a flat surface, such as a table or a protective craft mat.
- Select the first color of paint or nail polish that your child wants to use.
- Using a paintbrush, carefully paint the nails on the paper hands. Encourage your child to try different designs, such as polka dots, stripes, or even little flowers.
Stone Art Activity
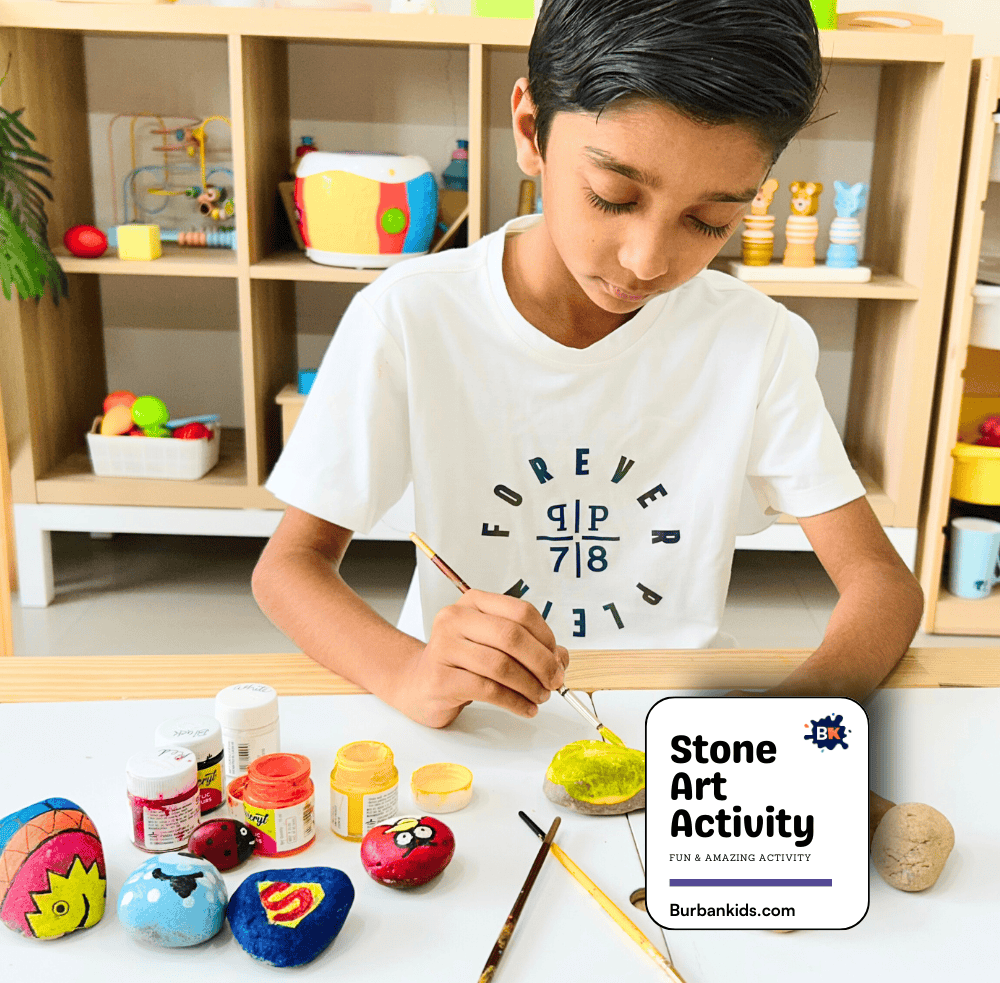
The “Stone Art Activity” offers a lovely way for children to express their creativity while exploring the tactile world of nature. Painting on stones can be a therapeutic and artistic pastime that not only fosters creativity but also helps in improving concentration and fine motor skills.
Materials: Smooth stones, acrylic paints in various colors and paintbrush.
How to Do:
- Start by choosing stones that are clean and dry. Smooth, flat stones are easier to paint on but feel free to use any shape or size.
- Apply a base coat of paint to the stones.
- Once the base coat is dry, use smaller brushes to add detailed designs or characters.
- Allow the paint to dry completely between layers if more than one coat is added.
Leaf Printing Activity
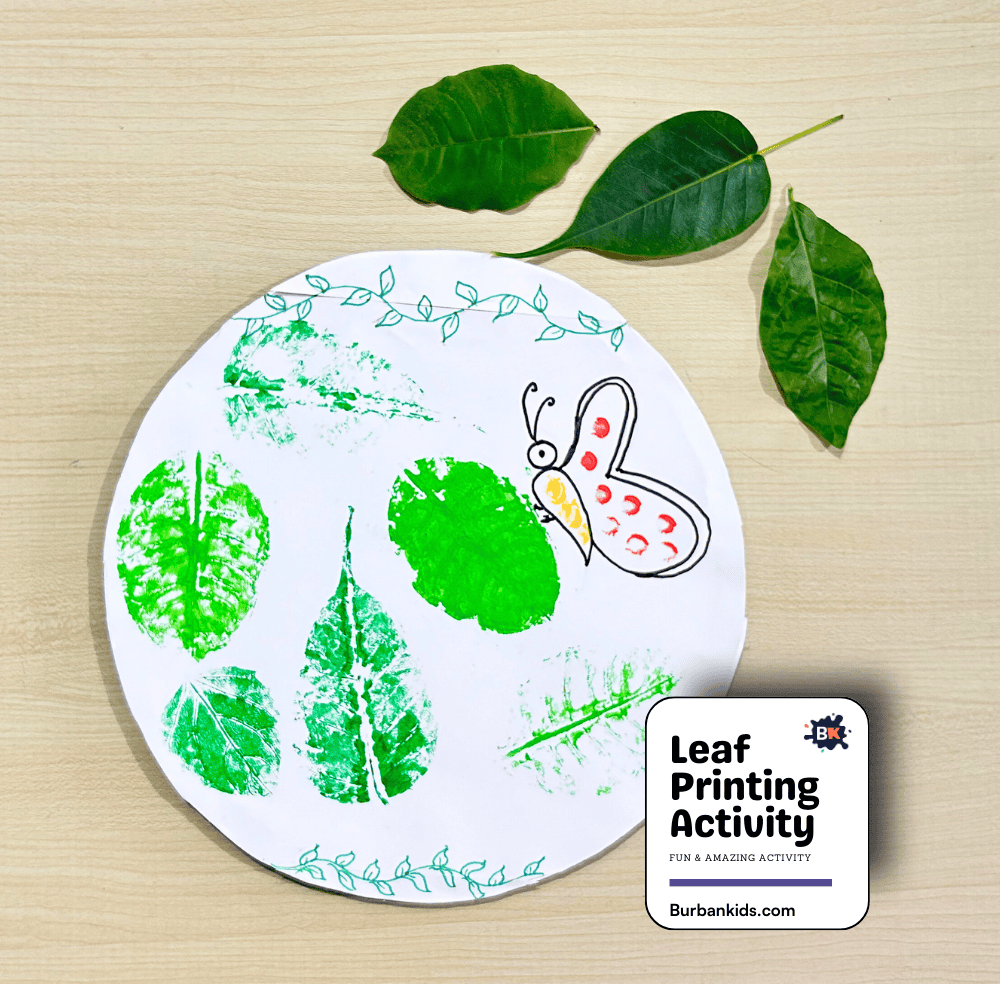
The “Leaf Printing Activity” is a fantastic way to explore nature while engaging in a fun art project. This activity is perfect for teaching children about different leaf shapes and textures, and it allows them to create unique artwork using elements from the environment.
Materials: Fresh leaves, paint, paper, and paintbrushes.
How to Do:
- Begin by gathering several different leaves, preferably ones with distinct veins and shapes, for more detailed prints.
- Using a brush, apply a thin coat of paint to the veiny side of a leaf. You can use one color or blend different colors for a multicolored effect.
- Carefully place the painted side of the leaf onto your paper. Press down gently but firmly to ensure all parts of the leaf contact the paper.
- Peel the leaf off slowly to reveal the print. Repeat the process with different leaves and colors to create a vibrant composition.
- Allow the prints to dry completely. You might also want to draw or paint additional elements around the leaf prints, like insects, birds, or scenery.
Days and Months Activity
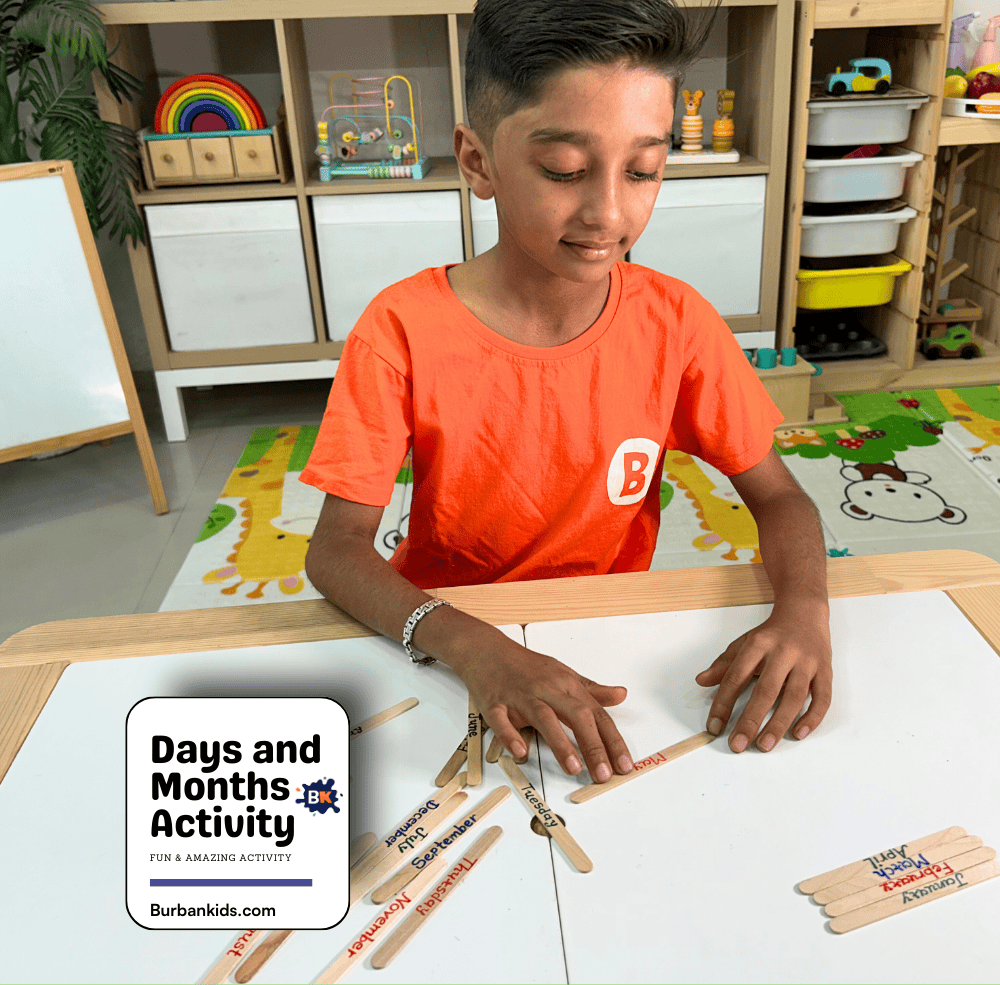
The “Days and Months Activity” is a practical and interactive way for children to learn about the days of the week and months of the year. This activity uses craft sticks labeled with days and months, providing a hands-on approach to organizing and understanding the concept of time.
Materials: Popsicle sticks and markers.
How to Do:
- Begin by writing the name of each day of the week on individual popsicle sticks. Do the same for the months of the year on separate sticks.
- Use different colors for days and months to help distinguish them.
- Mix up the sticks and ask your child to sort them, placing all the days in order and then all the months.
- Watch our reel for better guidance.
Making Popcorn Necklace Activity
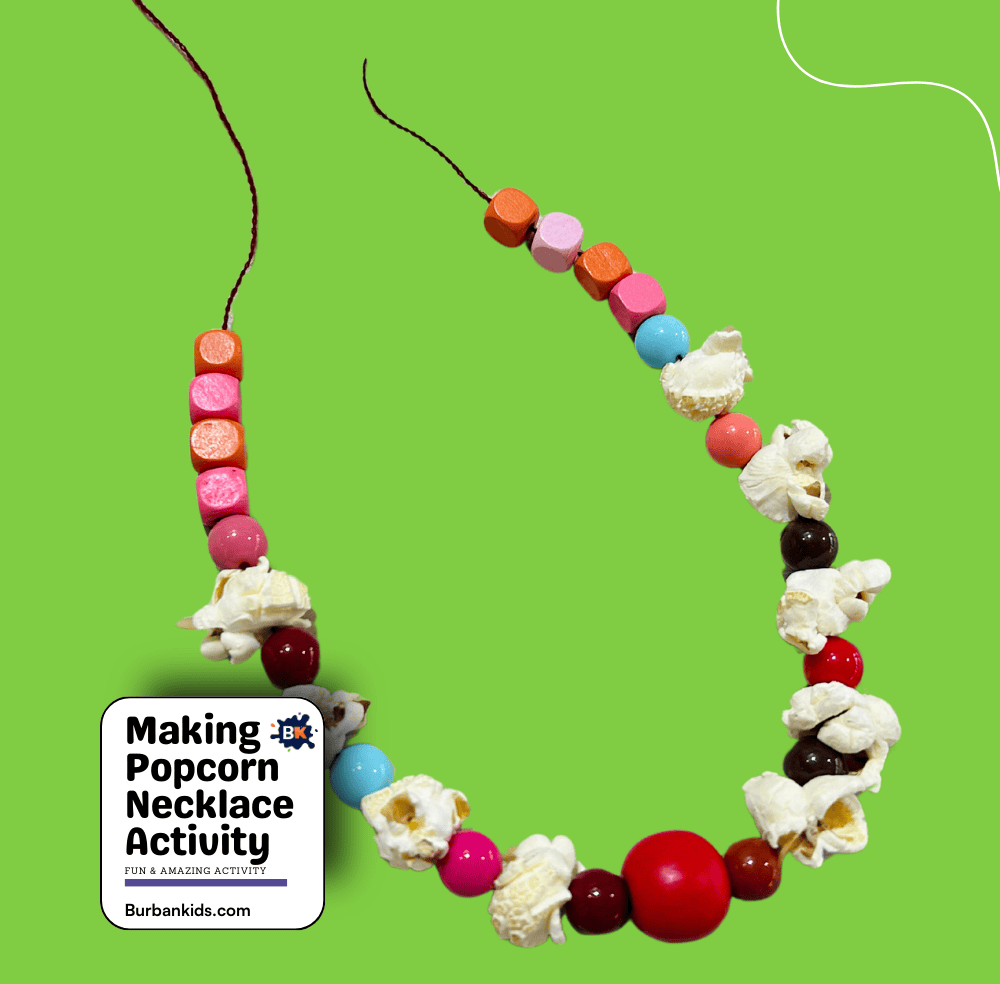
The “Making Popcorn Necklace Activity” is a fun and tasty craft project that combines creativity with snack time. This activity is great for parties, playdates, or a rainy day at home.
Materials: Popped popcorn and beads, along with a needle for threading.
How to Do:
- If using a needle, thread it through the string to make piercing the popcorn and candies easier. If not using a needle, simply use the string alone.
- Start stringing the popcorn and beads onto the string alternately, creating a pattern or random design as preferred.
- Continue until the necklace is long enough to fit over the head comfortably.
- Tie the ends of the string together securely to complete the necklace.
Brain Gym Exercise Activity
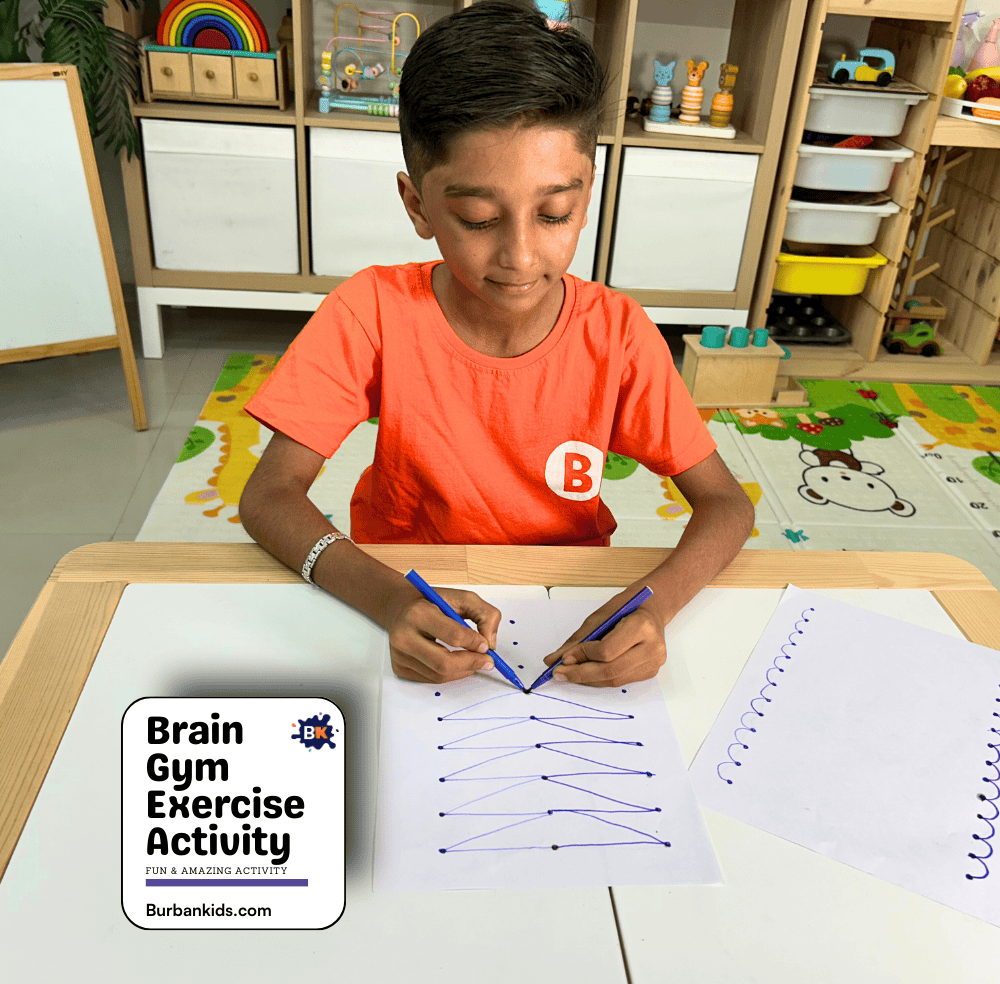
The “Brain Gym Exercise Activity” is designed to boost cognitive functions and improve fine motor skills in children. This activity involves drawing patterns and sequences that challenge the brain, making it a fun and educational exercise for kids of all ages.
Materials: White sheet and markers.
How to Do:
- Give your child a white sheet and marker.
- Start with simple exercises like drawing loops, zigzags, or waves across the page. Encourage using both hands alternately to enhance bilateral coordination.
- Progress to more complex patterns, such as mirrored shapes or synchronized drawings with both hands.
- My kid has performed this activity, watch for better understanding.
Matching Letters Activity
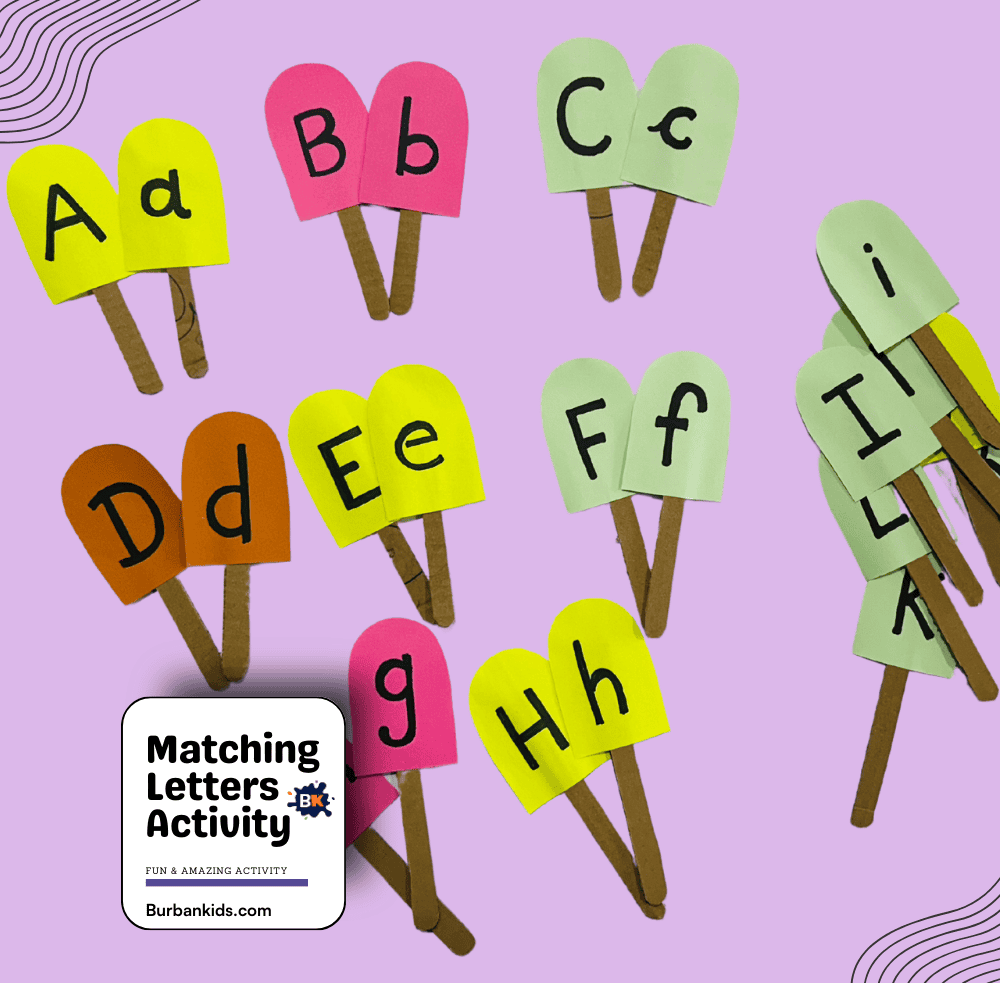
The “Matching Letters Activity” is a colorful and educational craft that helps children learn the alphabet by matching uppercase and lowercase letters. This simple activity is perfect for young learners to develop letter recognition skills and improve their understanding of the English alphabet.
Materials: Popsicle sticks, colored paper, markers, glue, and scissors.
How to Do:
- Cut the colored paper into any shape that easily fits on a popsicle stick.
- Write an uppercase letter on one shape and the corresponding lowercase letter on another shape.
- Glue each paper shape to the top of a popsicle stick, ensuring each pair has one uppercase and one lowercase.
- Mix all the sticks up and spread them out on a table or flat surface.
- Ask your child to find and match the uppercase and lowercase letters by pairing the sticks together.
- You can watch our reel to perform this activity better.
Shoe Lacing Activity
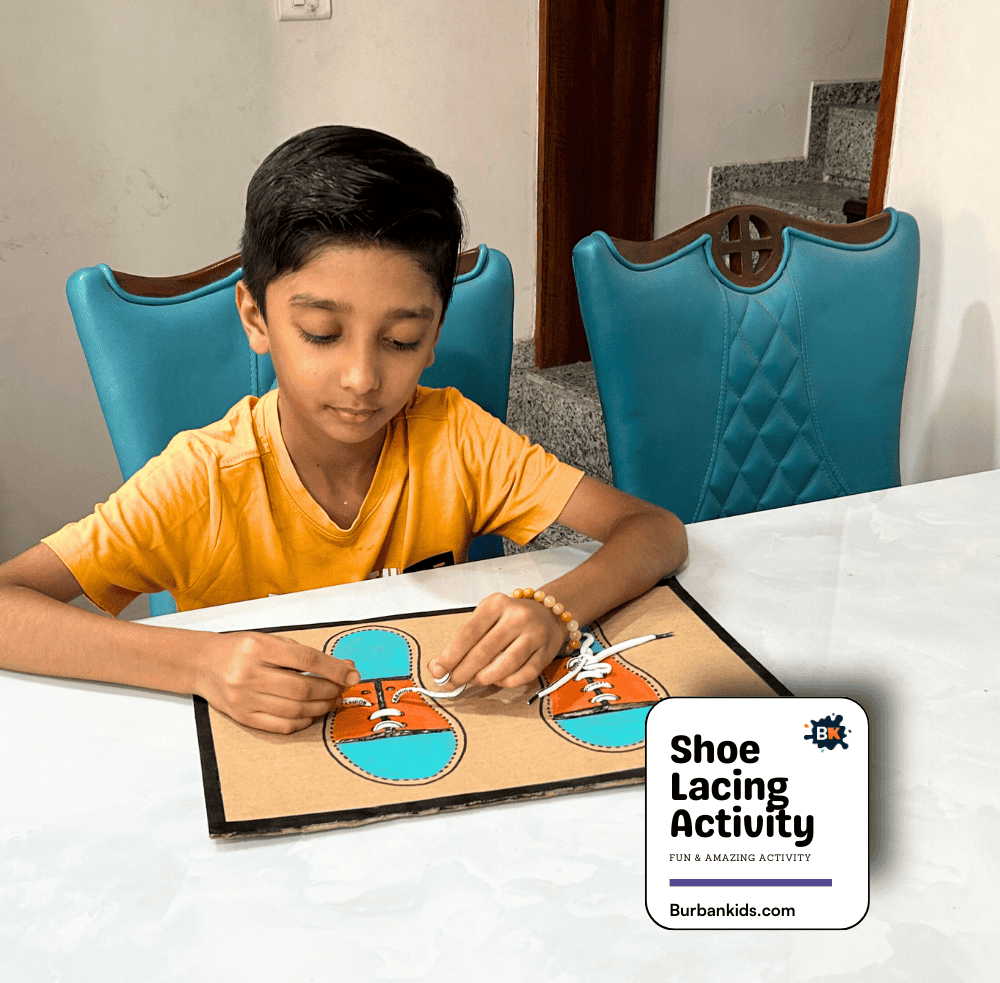
The “Shoe Lacing Activity” is an engaging and practical exercise designed to help children learn the essential skill of tying their shoes. This activity not only improves fine motor skills but also boosts confidence and independence in young learners.
Materials: Cardboard cutouts of shoes with holes punched for laces and actual shoe laces.
How to Do:
- Start by providing your child with a cardboard cutout of a shoe that has pre-punched holes.
- Take a shoelace and show your child how to thread it through the holes starting from the bottom-most holes.
- Demonstrate the basic “cross and loop” method of tying laces, where you cross the laces, pull them tight, make a loop with each end, cross the loops, and pull through to form a bow.
- Encourage your child to practice this motion under your guidance, correcting gently and praising their attempts.
- Watch our reel for better guidance.
Grouping Activity
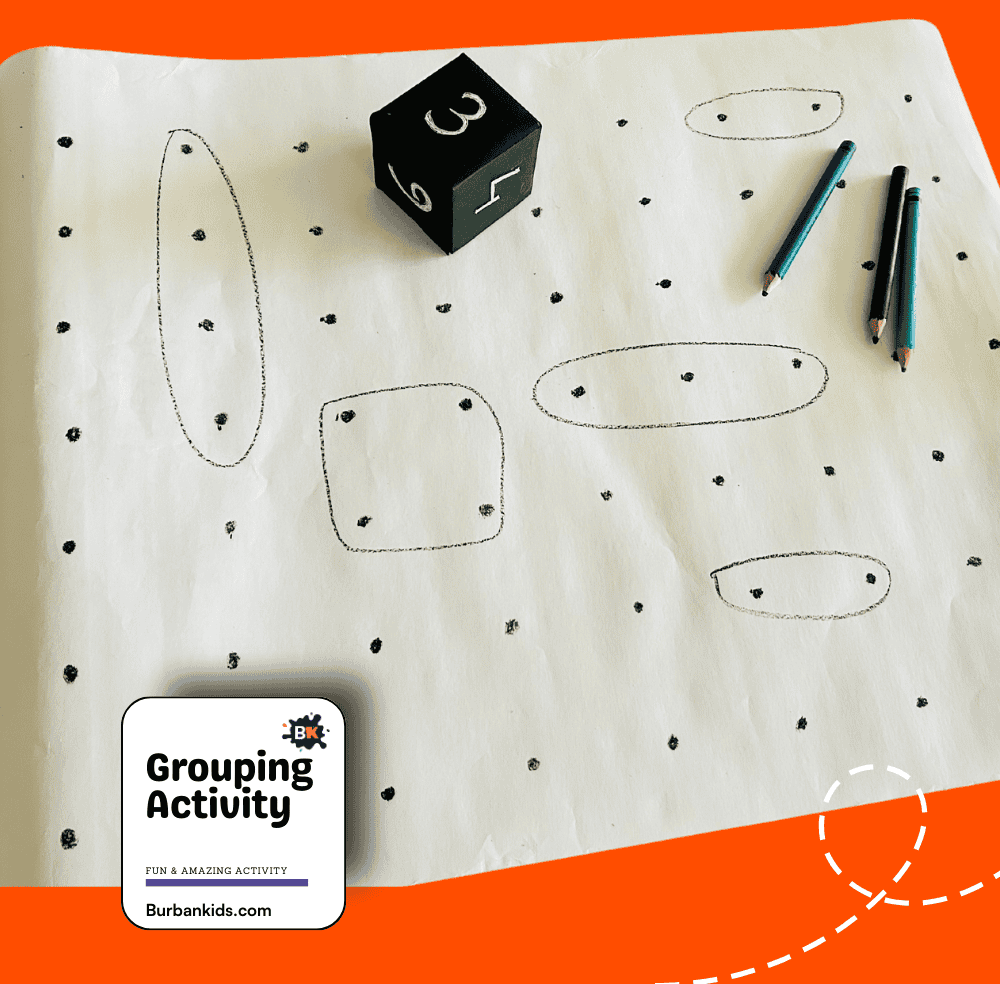
The “Grouping Activity” is a fun and educational game that helps children develop their categorization and sorting skills.
Materials: A large white sheet, color pencils, and a dice.
How to Do:
- Draw dots on the white sheet.
- Define the criteria for each group. For example, one group could be for round objects, another for square objects, and so on.
- Have your child roll the dice or spin the spinner to select objects randomly (if using). Then, ask them to draw an object in the correct outline based on the defined criteria.
- To know better, watch our reel.
Complete the Santa Activity
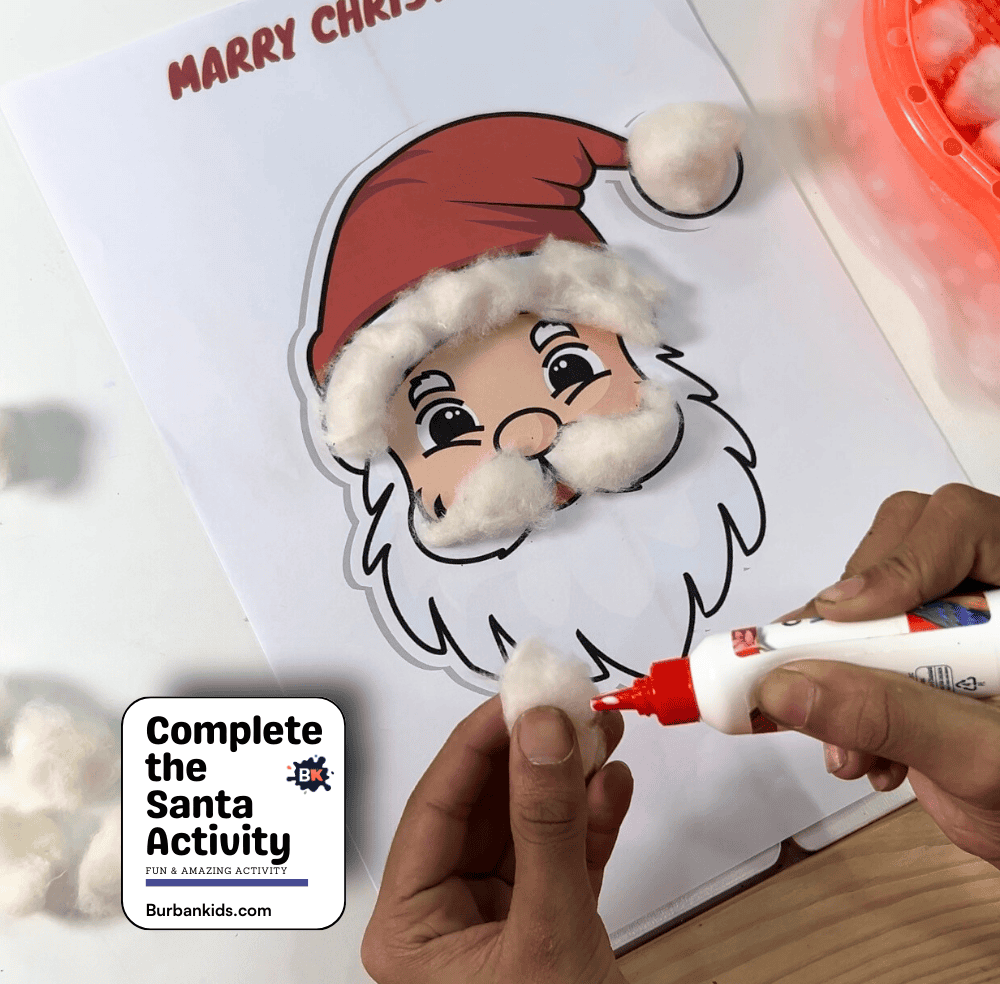
The “Complete the Santa Activity” is a lovely and festive craft that encourages children to engage in a creative project by finishing a Santa Claus picture.
Materials: A printed Santa Claus outline on paper, cotton balls, and glue.
How to Do:
- Provide your child with the Santa Claus outline and the craft materials.
- Show your child how to apply glue to the parts of Santa that should have a beard.
- Encourage your child to stick cotton balls or craft pom-poms onto the glued areas to create a fluffy texture.
- You can watch our reel, which my kid performed.
Math Magic Activity
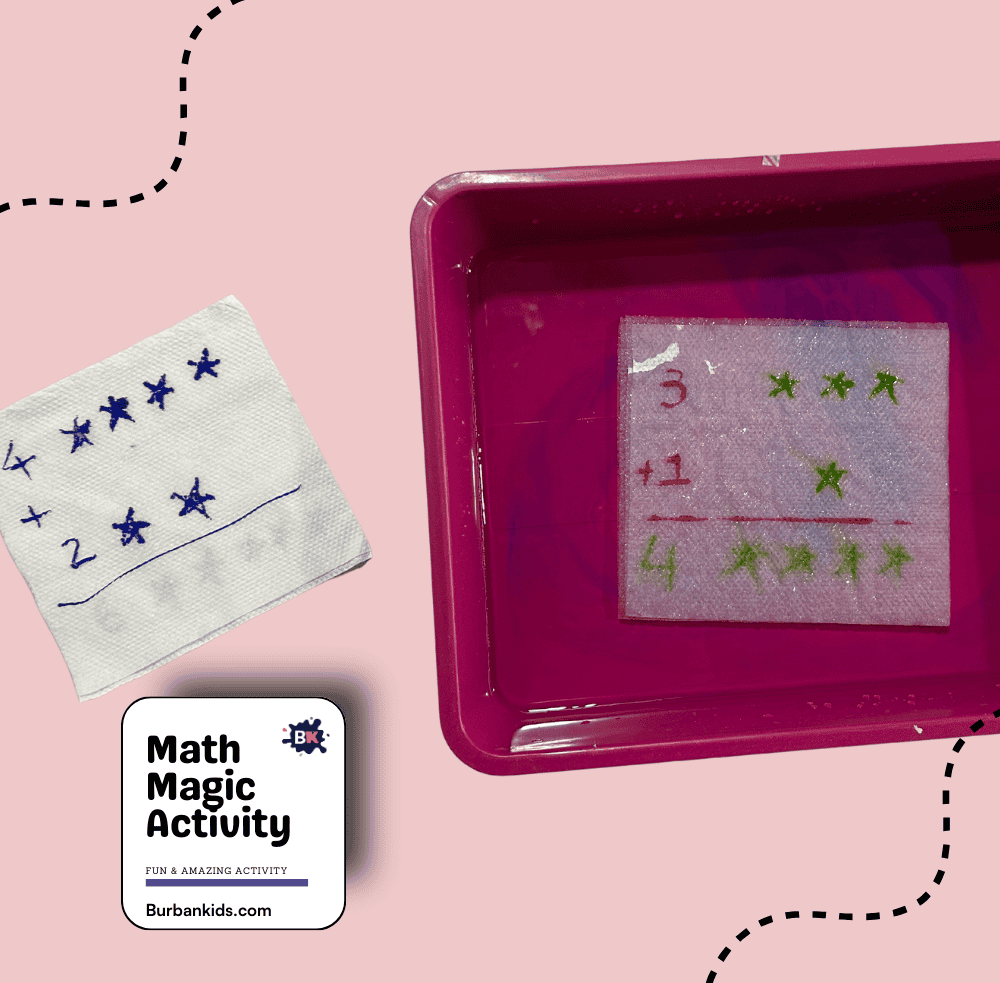
The “Math Magic Activity” combines simple arithmetic with a fun and interactive element that makes learning numbers exciting. This activity is designed to help children understand basic math concepts through a visual and hands-on approach.
Materials: A tray, tissue, markers, and water.
How to Do:
- Write simple math problems on tissue paper with a marker.
- Place the tissue in the tray. The math problems should be visible and not too crowded.
- Slowly pour water into the tray without submerging the tissue completely. The water will make the paper slightly transparent and might create a ‘magical’ reveal of hidden answers or instructions.
- Ask your child to solve the math problems and use the small objects to count or represent numbers if needed.
- Watch our reel for better guidance.
Drawing Activity
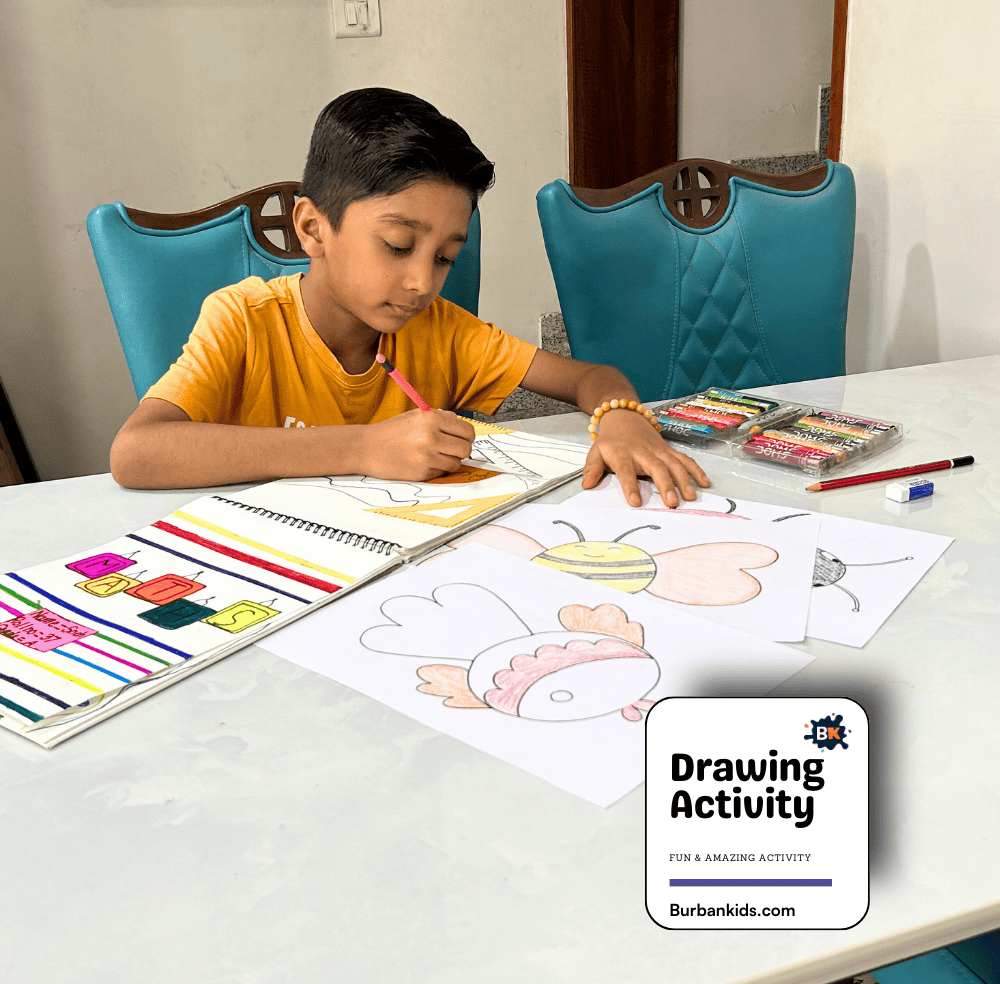
The “Drawing Activity” is an excellent way for children to express their creativity and improve their artistic skills. This activity involves drawing and coloring various figures, which can help to improve fine motor skills, focus, and imagination.
Materials: Drawing sheets, crayons, as well as an eraser and sharpener.
How to Do:
- Provide your child drawing sheet.
- You can either let them choose what they want to draw or provide them with a theme or specific object as a challenge. For example, ask them to draw their favorite animal or a scene from a story.
- Encourage them to use different colors and techniques to fill in their drawings, such as shading or blending.
Direction Learning Activity
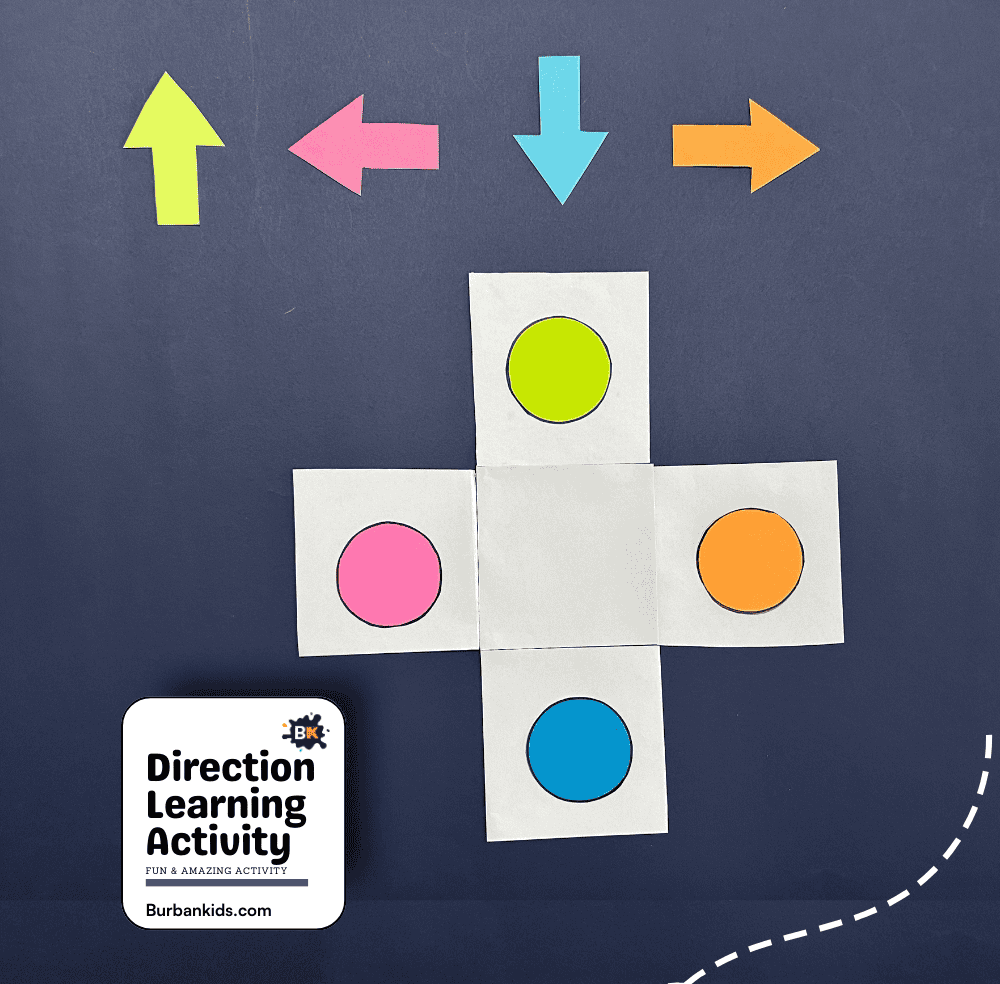
The “Direction Learning Activity” is designed to teach young children about basic directions and spatial awareness. This engaging and educational activity uses simple visual cues to help kids understand concepts such as up, down, left, and right, enhancing their ability to follow directions and comprehend positional language.
Materials: White sheets, colored papers, scissors, and glue.
How to Do:
- Cut out the round shape from the colored paper and also cut the different directions from it.
- Arrange the colored arrows pointing in the respective directions up, down, left, and right.
- Cut the white sheet on a plus shape and place it on a table.
- Ask your child to place each arrow pointing towards its corresponding circle based on the directions given. For instance, the orange circle could be ‘right,’ the pink circle ‘left,’ etc.
- My kid has performed this activity, watch for better understanding.
Make Popcorn Bowl Activity
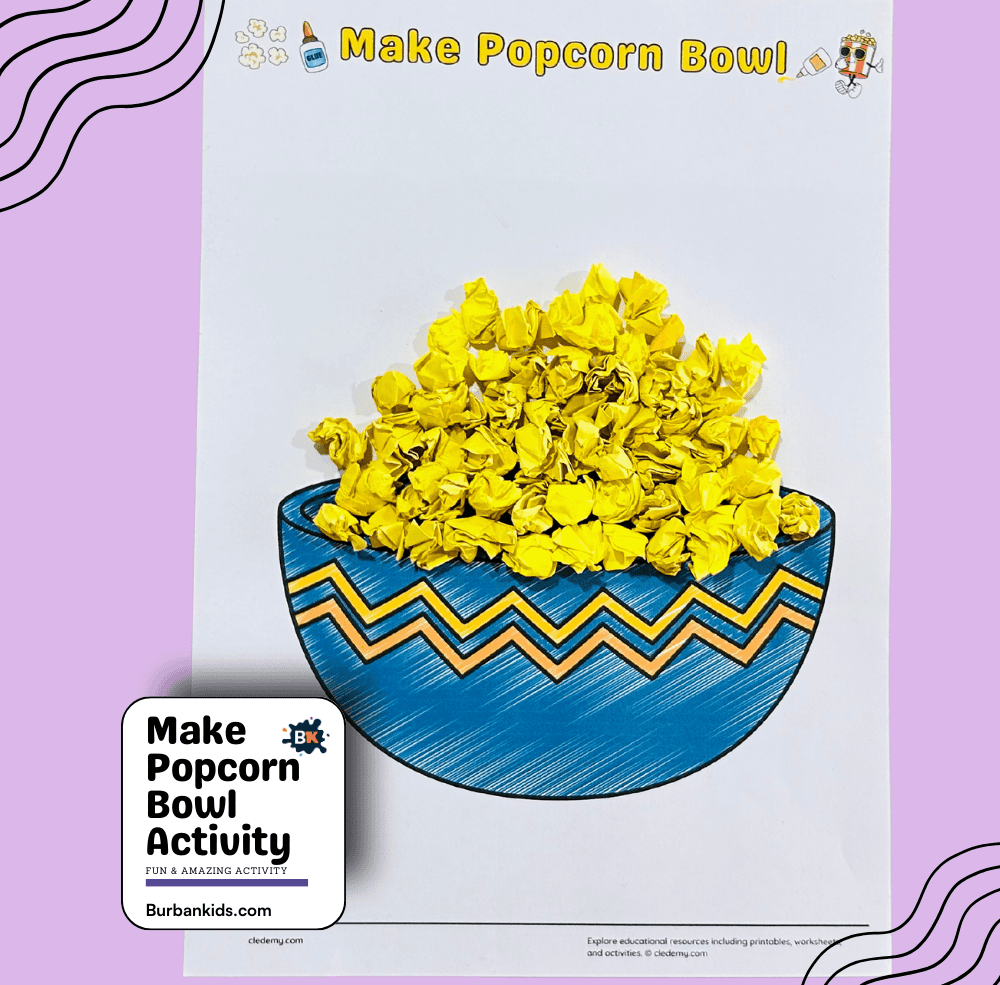
The “Make Popcorn Bowl Activity” is a fun and creative craft that combines art with snack time. This activity allows children to design and decorate their own popcorn bowls, making snack time extra special.
Materials: A printable sheet of a bowl and yellow paper, along with glue for assembly.
How to Do:
- Give your child a paper bowl sheet.
- Next, let your child scrunch up some yellow paper into small balls.
- Then, have them stick the balls onto the paper bowl using glue.
- You can watch our reel to perform this activity better.
Number Matching Activity
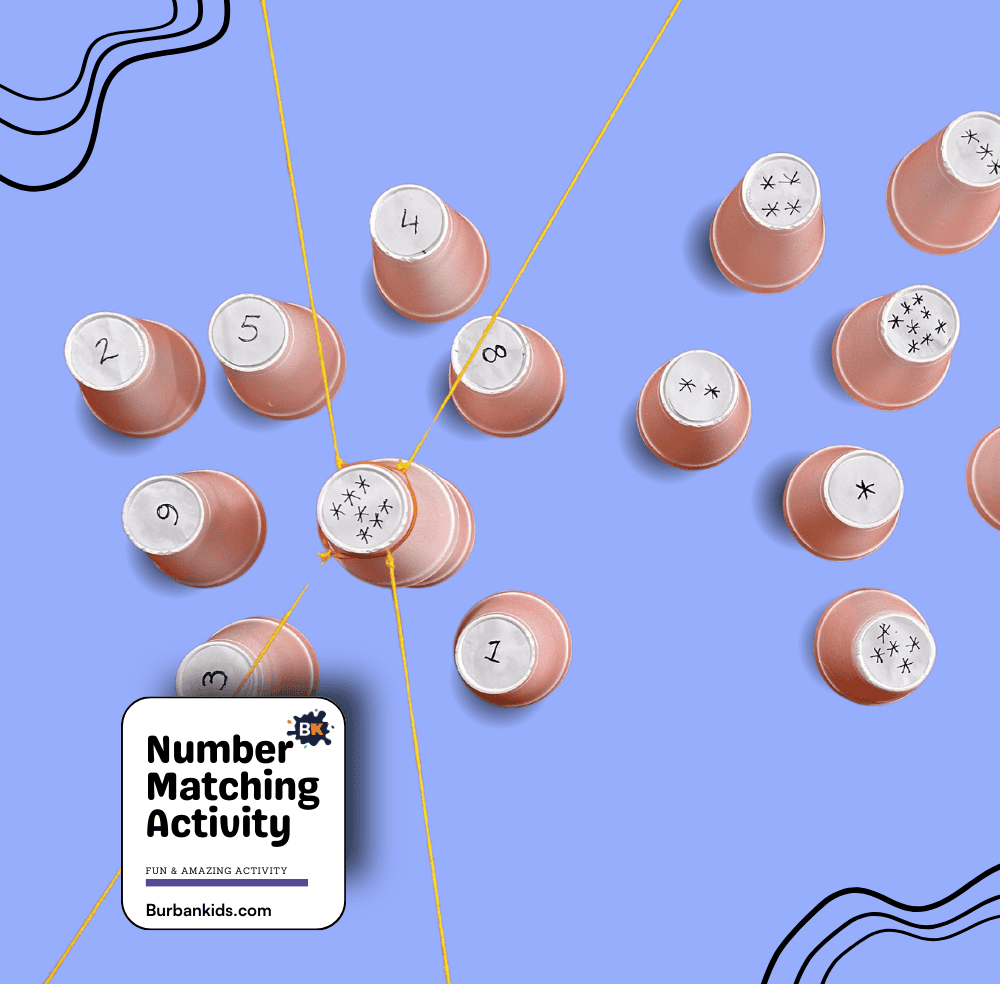
The “Number Matching Activity” is an excellent way to help young learners develop their number recognition and counting skills. This game-like activity engages children in matching numbers to a corresponding set of symbols or objects, reinforcing their understanding of quantities and number sequences.
Materials: Disposable paper cups, markers, rubberband, and yarn.
How to Do:
- Use the marker to draw shapes and numbers on the bottom of the cups.
- Now, tie the yarn to the rubberband so your child can use it like a rope to pick up the cup.
- Ask your child to use the yarn rope to try to find a cup with the same shape or number.
- Watch our reel for better guidance.
Building and Balancing Activity
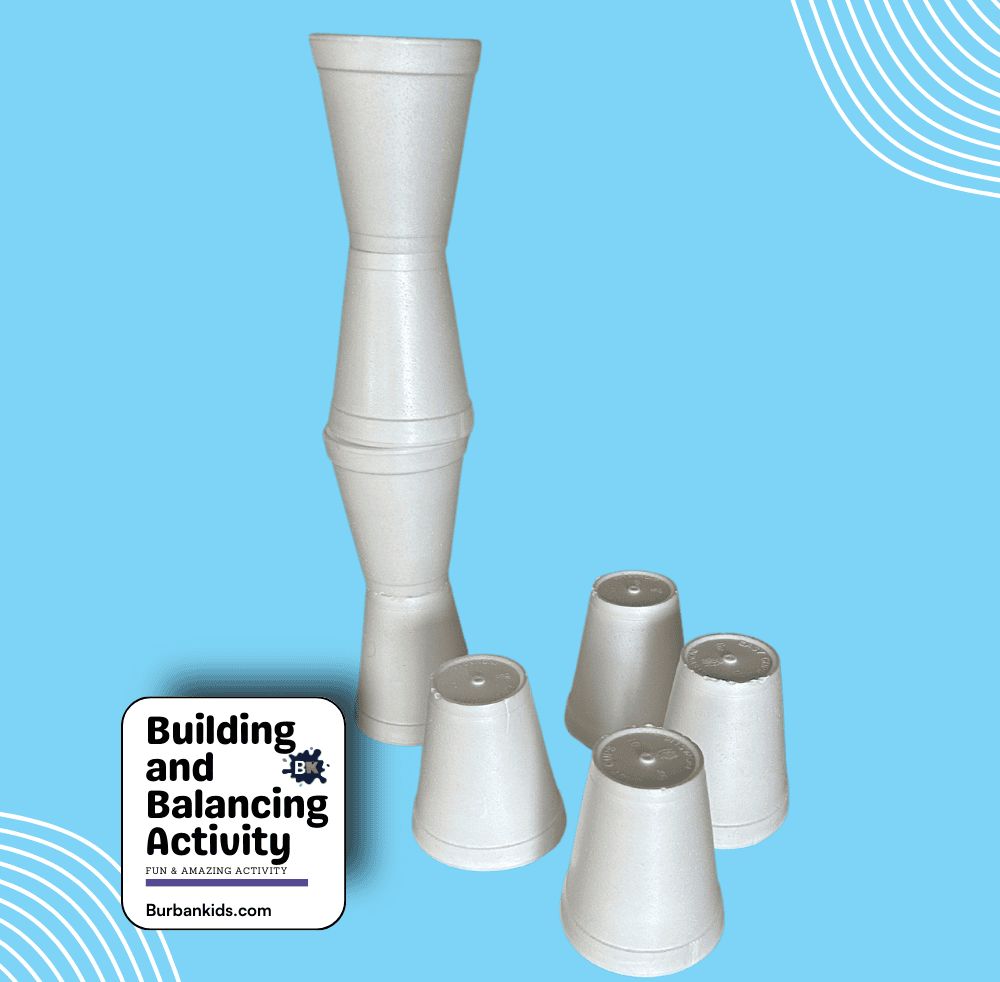
The “Building and Balancing Activity” is a fantastic way for children to improve their motor skills and problem-solving abilities. Using simple materials like cups, this activity challenges kids to build structures that require precision and balance.
Materials: Plastic or paper cups.
How to Do:
- Start with a flat surface where the cups can be easily stacked.
- Show your child how to place one cup upside down and then balance another cup on top of it.
- Encourage them to experiment with different formations, such as a vertical tower, a pyramid, or a more complex structure.
- To know better, watch our reel.
CVC Words Activity
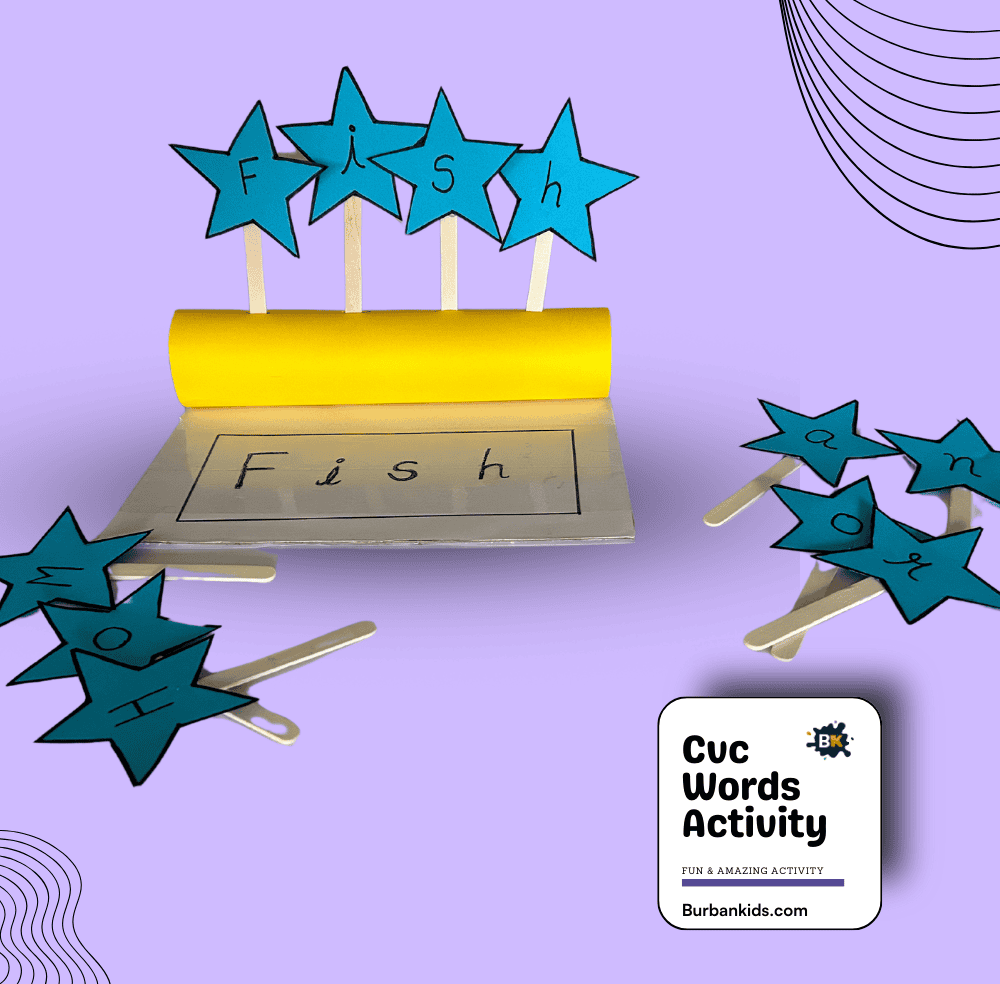
The “CVC Words Activity” is a fun and educational way to help young learners recognize and practice consonant-vowel-consonant (CVC) words. This interactive craft activity encourages children to spell and understand basic words through hands-on learning.
Materials: Star-shaped cutouts, popsicle sticks, colorful papers, markers, and a base stand or a box with slots for holding the craft sticks.
How to Do:
- Prepare the star-shaped cutouts and write a single letter on each. Ensure you have enough letters to form several CVC words.
- Attach each star to the top of a popsicle stick.
- Arrange the base stand or box on a flat surface. If it doesn’t have slots, you can make them using a cardboard box and a knife (adult supervision required).
- Show your child how to place the popsicle sticks in the correct order to spell CVC words like “cat”, “dog”, “sun”, etc., by inserting the sticks into the slots.
Hand Print Animals Activity
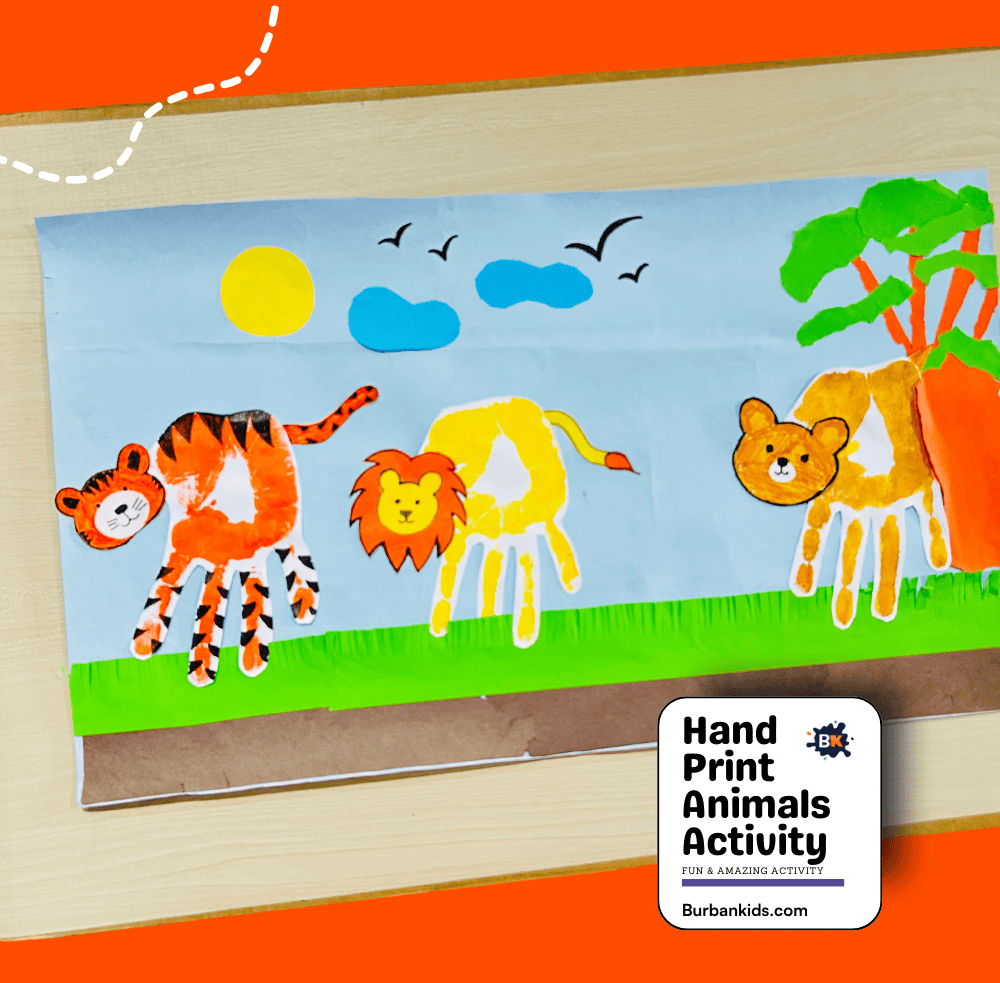
The “Hand Print Animals Activity” is a creative and engaging way for kids to explore art by using their hands to paint and create animal figures. This activity is excellent for developing motor skills, color recognition, and an understanding of animal shapes, all while having fun with paint!
Materials: Paints, large sheets of paper, paintbrushes, markers for details, scissors, glue, and colorful papers.
How to Do:
- Pour different colors of paint onto plates or trays.
- Help your child coat their hands in paint, using different colors for different animals.
- Guide them to press their painted hands onto the paper to create handprints.
- Once the handprints are dry, use markers to add details like eyes, noses, stripes, or spots to turn the handprints into various animals, such as lions, tigers, or bears.
- Also, tell them to add details like clouds, trees, and grass using colorful paper.
- Encourage your child to think about what features each animal has, like a mane for the lion or stripes for the tiger, and add these features to the handprints.
Paper Plate Craft Activity
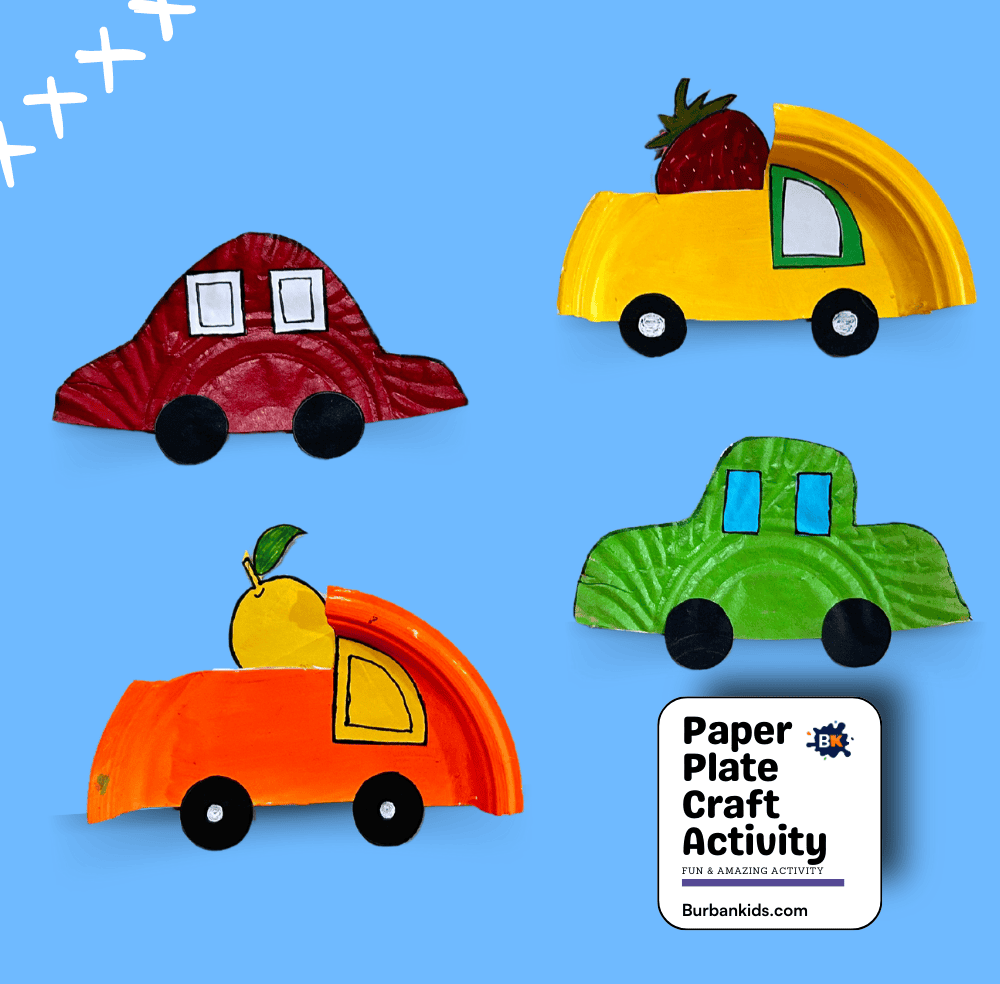
The “Paper Plate Craft Activity” is a fun way for kids to create colorful and playful vehicles using simple materials. This activity encourages creativity and helps develop fine motor skills as children cut, paint, and assemble their own car designs.
Materials: Paper plates, paints, paintbrushes, scissors, construction paper, glue, and markers.
How to Do:
- Start by cutting the paper plates into shapes that resemble the body of a car. You can cut out a semicircle for the car body and leave space for the wheels.
- Paint the paper plate pieces in bright colors and let them dry. You can add multiple coats to achieve a vivid look.
- Cut out circles from black construction paper for the wheels.
- Glue the wheels to the body of the car.
- Once the basic car is assembled, encourage children to add details such as windows, headlights, and doors with markers or paint.
- For added fun, glue objects like fruit or small toys on top to create themed vehicles, like a fruit delivery truck or an animal safari jeep.
Make Pom Pom Launcher Activity
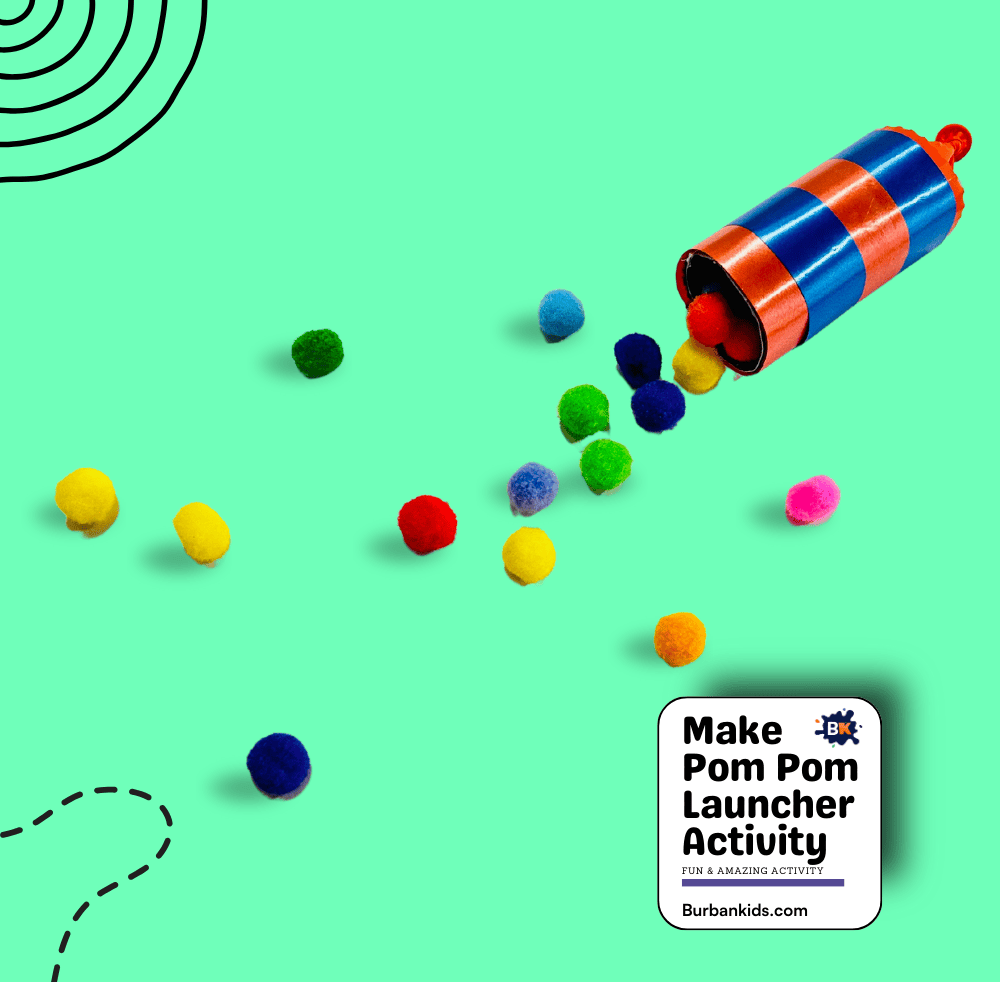
The “Make Pom Pom Launcher Activity” is a creative and fun STEM project that combines crafts and basic physics. Children can build their own launchers and explore concepts like force and motion through play.
Materials: Toilet paper roll, a balloon, and pom poms, along with decorative adhesive tape.
How to Do:
- Take a toilet paper tube or a plastic pipe and ensure it’s clean and smooth.
- Cut the narrow end of a balloon off and tie the wide end into a knot.
- Stretch the cut end of the balloon over one end of the tube. Secure it with tape or a rubber band to ensure it stays firmly in place.
- Decorate the tube with decorative adhesive tape to personalize the launcher.
- Place a pom pom inside the tube from the opposite end of the balloon.
- Pull back on the knotted end of the balloon and then release to launch the pom pom.
Feed the Rabbit Activity
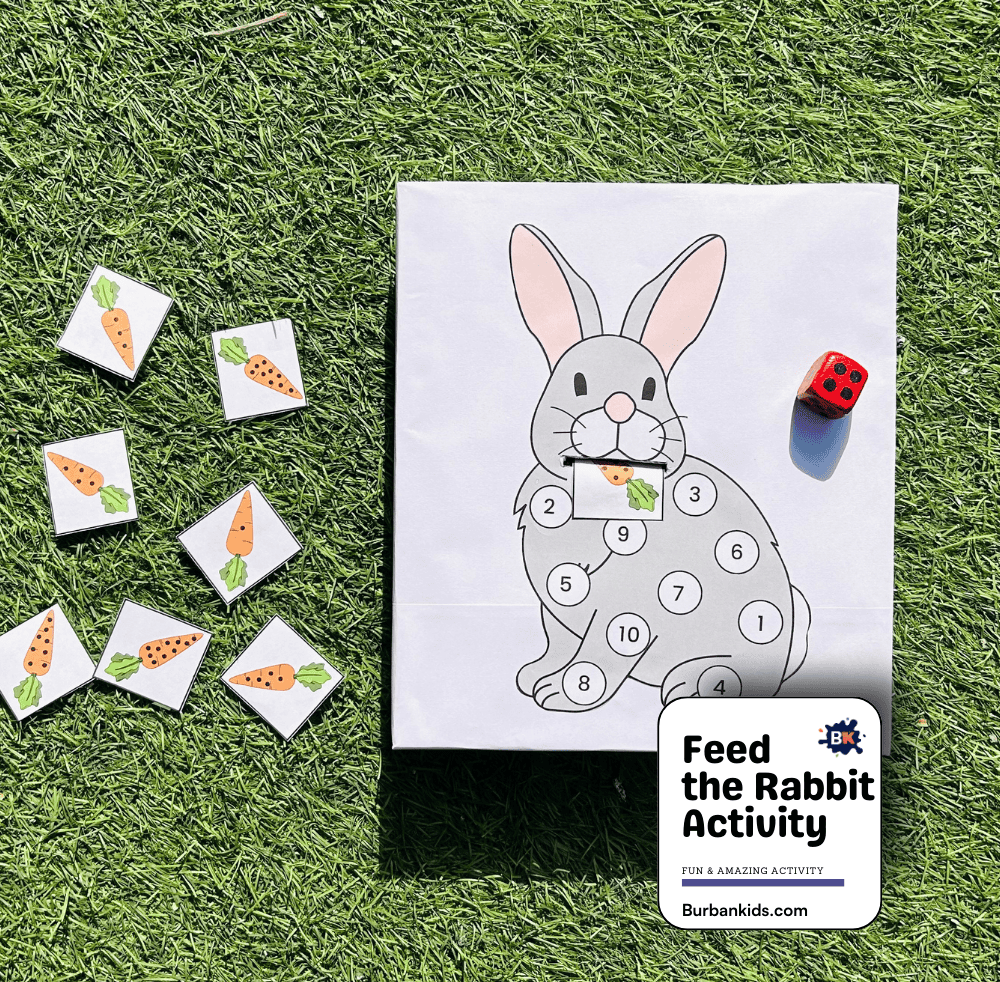
The “Feed the Rabbit Activity” is an engaging and educational game that helps young children practice number recognition and counting. Kids will enjoy “feeding” the rabbit while learning basic math skills and improving their hand-eye coordination.
Materials: A large rabbit drawing with numbered spots and small carrot cutouts with corresponding numbers or dots, along with a dice and a box.
How to Do:
- Give your child the rabbit drawing box.
- Give the child the carrot cutouts, each marked with a number that corresponds to numbers on the rabbit.
- Have the child roll the dice and find the carrot with the matching number or count of dots.
- The child then “feeds” the rabbit by placing the correct carrot on the matching numbered spot.
Healthy vs Junk Food Activity
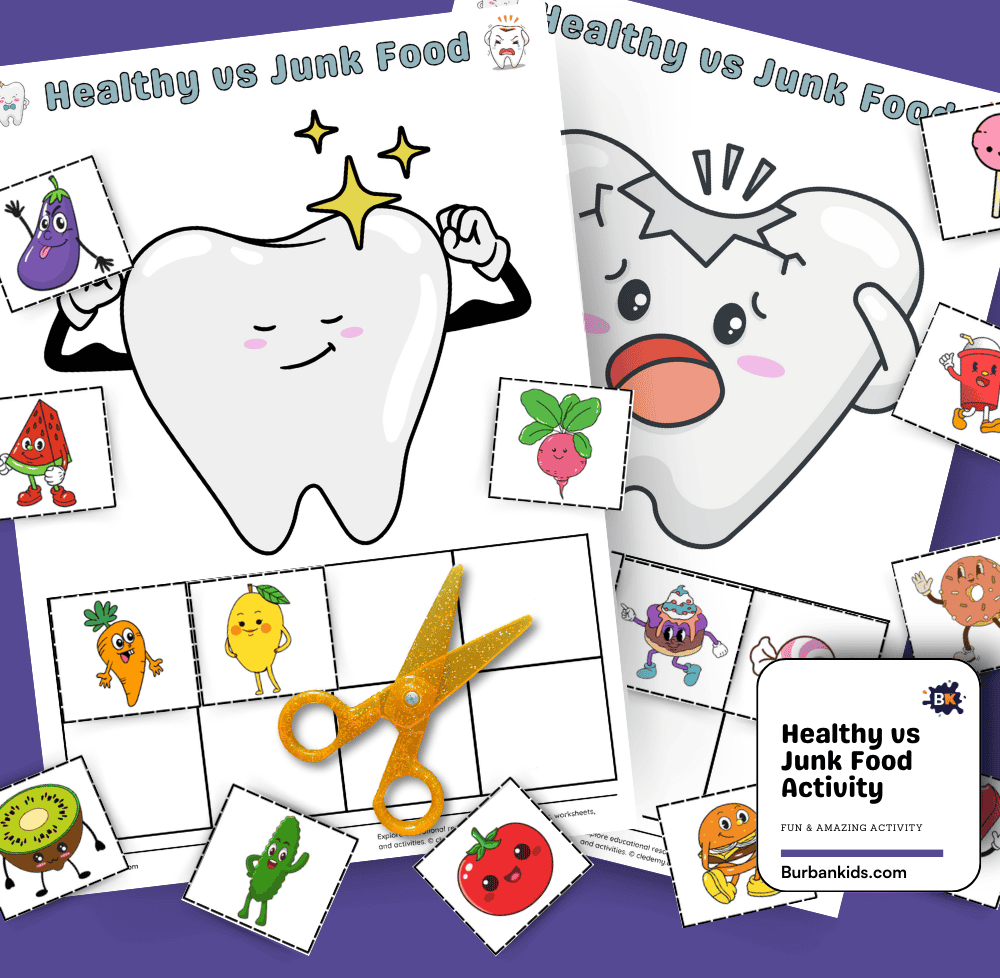
The “Healthy vs Junk Food Activity” is an educational and interactive way to teach children about nutrition and the differences between healthy and unhealthy foods. This sorting game helps kids understand food choices and their impact on health, including dental health.
Materials: Printed images of various foods, both healthy and unhealthy, along with scissors and glue.
How to Do:
- Prepare by printing out images of different foods, including fruits, vegetables, fast food items, sweets, and beverages.
- Cut out the food images and mix them up.
- Lay out “Healthy” and the other “Junk Food printable in front of your child,
- Ask the children to sort the food images into the appropriate categories by placing them on the correct mat.
- You can watch our reel, which my kid performed.
Light & Heavy Activity
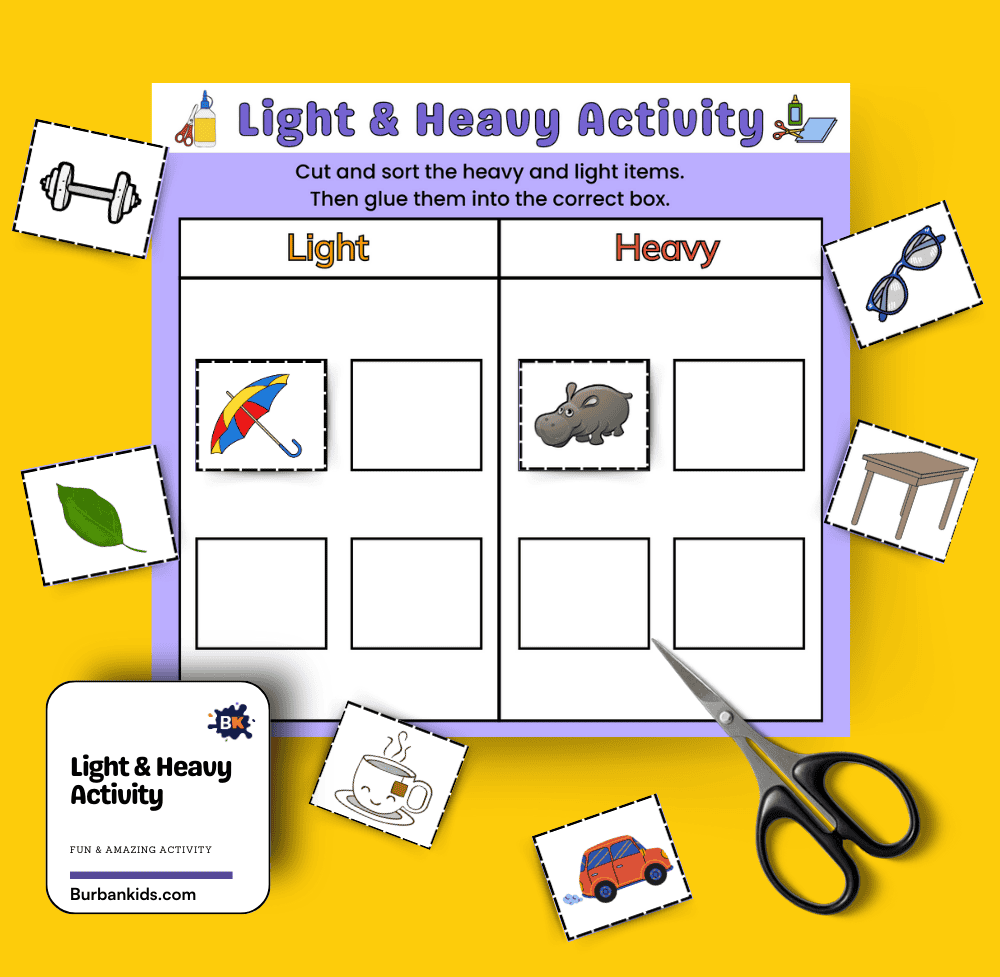
The “Light & Heavy Activity” is a sorting and categorization game designed to teach children about the concepts of weight and comparison.
Materials: A Light & Heavy Activity printable featuring images of items for classification, along with scissors and glue.
How to Do:
- Begin by presenting the pre-printed worksheet to the child, explaining the two categories: Light and Heavy.
- Provide the child with scissors and the printed images of items.
- Instruct the child to cut out the images carefully.
- Guide the child to sort each cut-out image into the correct category on the worksheet, deciding whether each item is typically light or heavy.
- Once sorted, the child can glue the images into the designated box on the worksheet.
CVC Word Search Activity
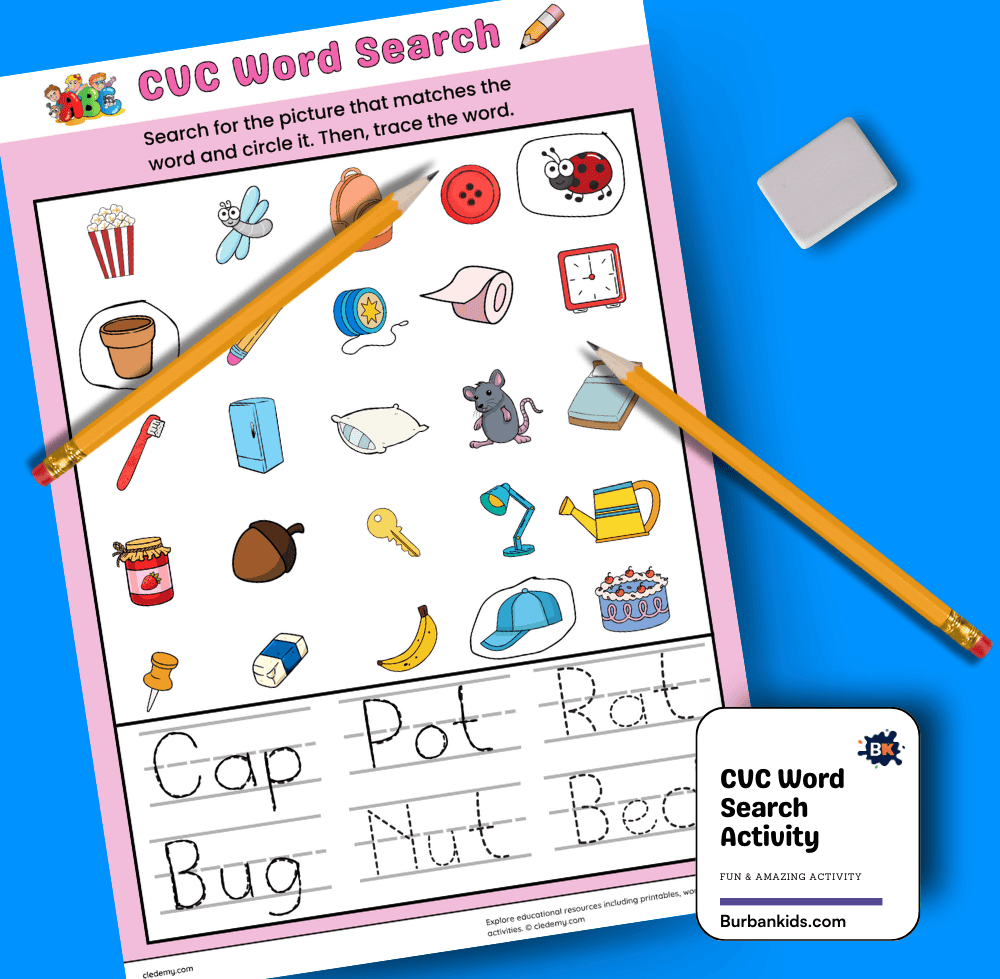
The “CVC Word Search Activity” is a wonderful educational exercise that helps young learners develop their reading and spelling skills. This activity focuses on CVC (Consonant-Vowel-Consonant) words, which are crucial for building foundational reading abilities in early education.
Materials: A CVC word search worksheet, pencils, and an eraser.
How to Do:
- Provide the child with the CVC word search worksheet.
- Explain the task: the child needs to find the picture that matches each word listed.
- Once the child identifies the correct picture, they should circle it on the grid.
- After circling the picture, instruct the child to trace the word on the worksheet to practice writing and reinforce spelling.
Big & Small Activity
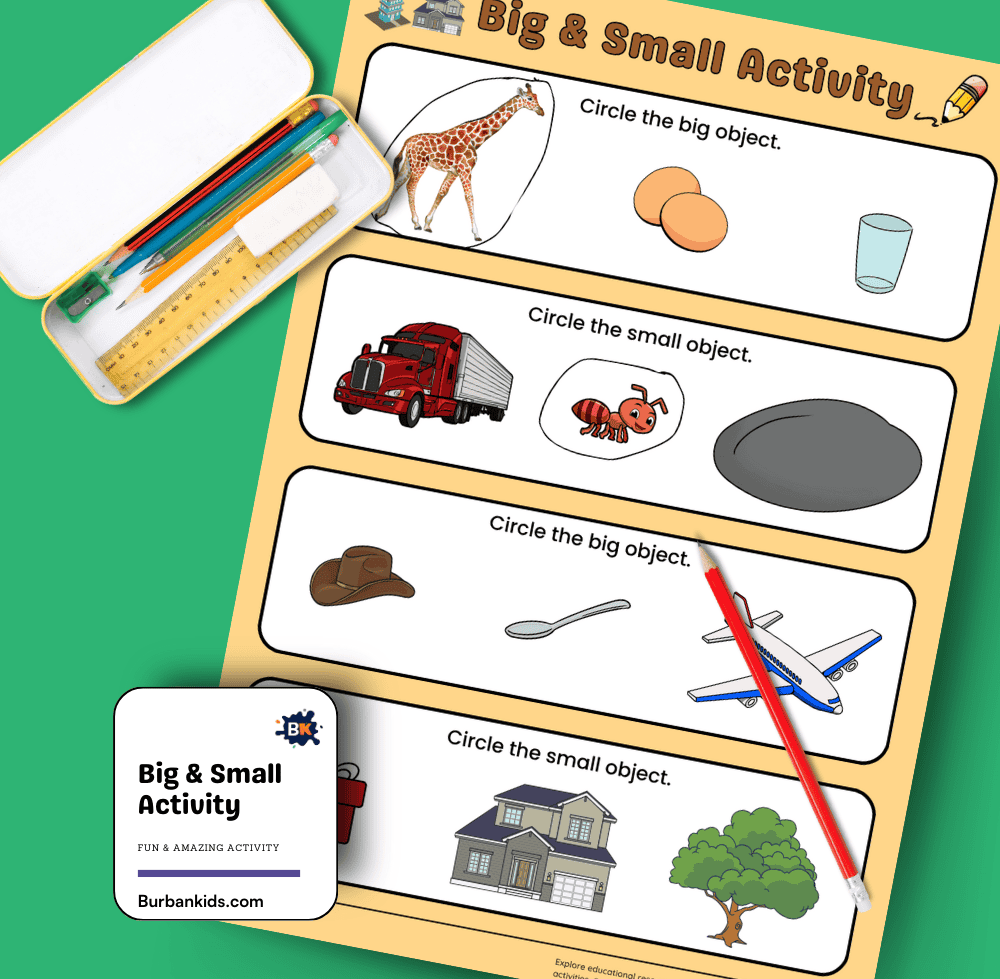
The “Big & Small Activity” is a simple and interactive way to teach young children about size comparison. This activity helps them understand the concepts of big and small by visually comparing objects and identifying their relative sizes.
Materials: A big and small activity worksheet simply uses our printable, along with pencils and an eraser.
How to Do:
- Provide your child with the Big & Small Activity worksheet.
- Explain the task: for each pair of objects, they need to circle the bigger object and then the smaller object.
- Let the first pair how to identify which object is larger and which is smaller.
Weather Activity
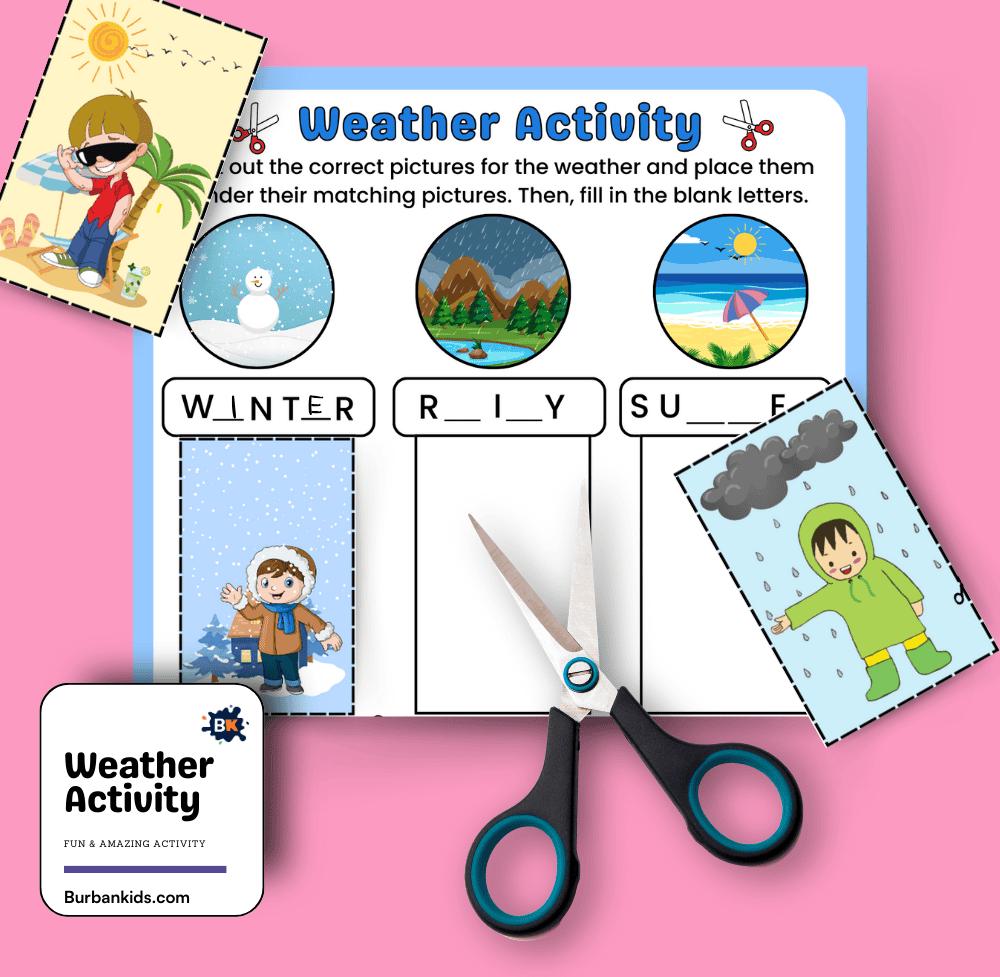
The “Weather Activity” is a colorful and interactive worksheet designed to teach children about different weather conditions and seasons through a fun cut-and-paste activity.
Materials Used: A weather activity worksheet, scissors, glue, and pencils.
How to Do:
- Start by explaining the different types of weather and seasons shown on the worksheet. Discuss how the weather changes with each season and what kind of activities are suitable for each.
- Provide scissors and guide the children on how to carefully cut out the pictures that represent different weather conditions.
- Instruct them to match each cut-out picture with the correct season depicted on the worksheet. For example, a snowy picture would match with ‘WINTER’.
- Once they have placed the pictures correctly, they should glue or tape them onto the worksheet in the designated spots.
- Encourage the children to fill in the missing letters in the names of the seasons and weather types, such as filling in the blanks to spell ‘RAINY’ or ‘SUMMER’.
Same & Different Activity
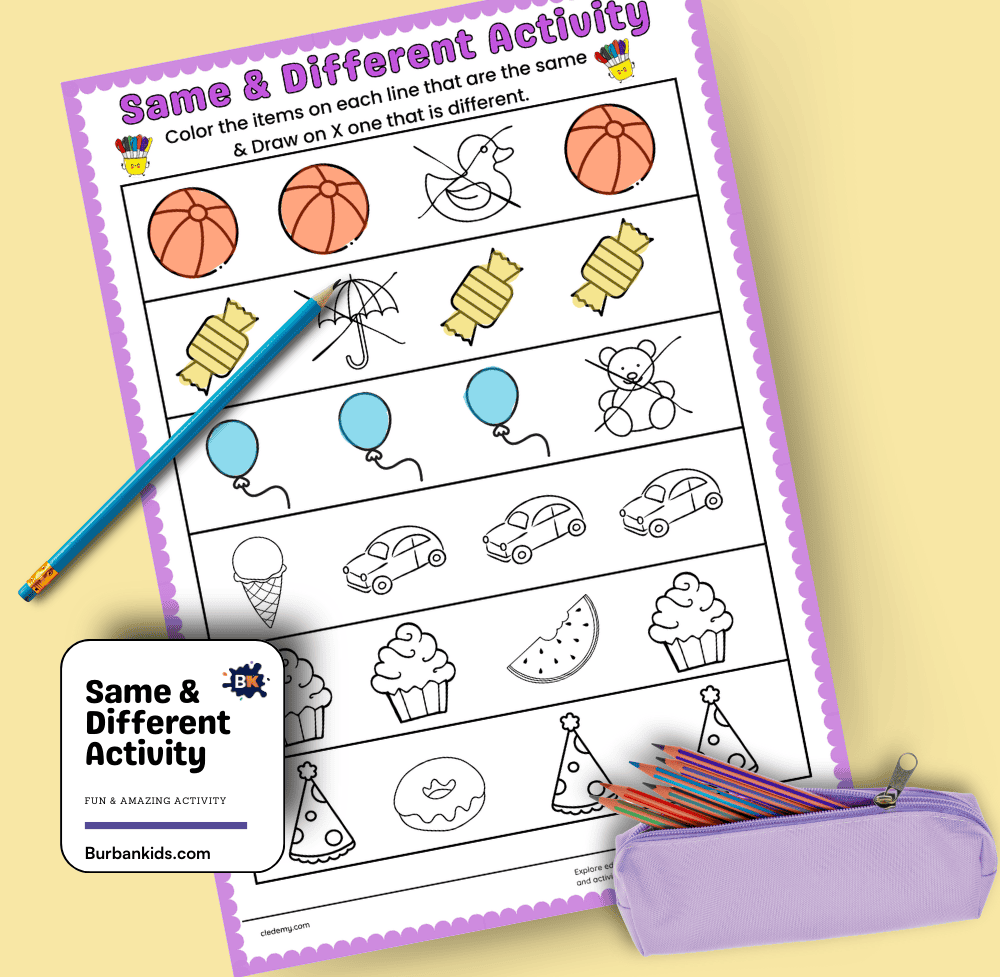
The “Same & Different Activity” is designed to help children develop their observational skills and attention to detail by identifying similarities and differences between various items.
Materials: Colored pencils and a regular pencil for the Same & Different Activity worksheet.
How to Do:
- Provide the child with the worksheet and coloring tools.
- Explain the task: In each row, there are items that look similar and one that is different. The child needs to color the items that are the same and draw an X on the one that is different.
- Allow your child to proceed through the worksheet on their own, offering help as needed to ensure they understand the task.
Indoor Scavenger Hunt Activity
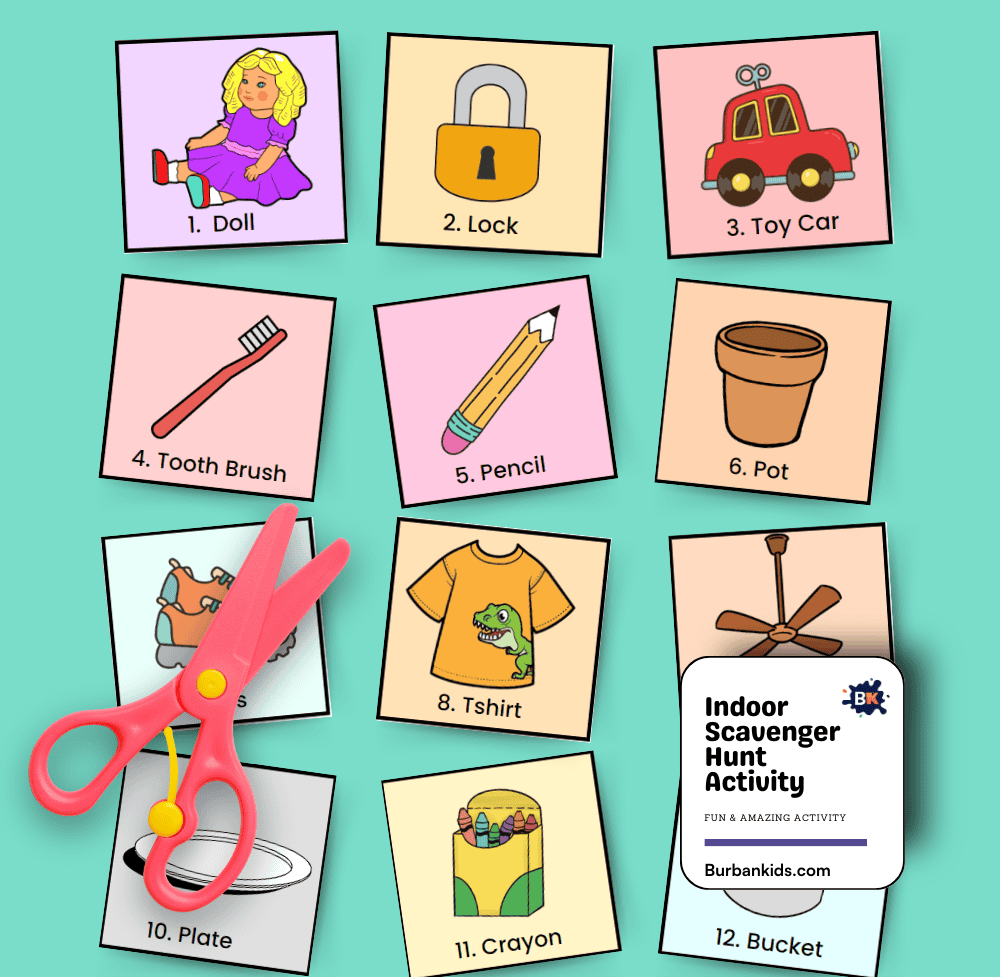
The “Indoor Scavenger Hunt Activity” is a dynamic and fun game that encourages children to explore their surroundings at home while engaging in a playful search for everyday items. This activity is excellent for developing observation skills, promoting physical activity, and fostering problem-solving abilities.
Materials: Scavenger hunt cards and a basket or bag for item collection.
How to Do:
- Prepare the scavenger hunt cards by either using a pre-made set or creating your own with pictures of items to be found around the house.
- Spread the cards out and explain the rules to the children: each card has a picture of an item they need to find somewhere inside the house.
- Give each child or team a basket or bag to collect their items.
- Start the hunt! Children should pick a card and then race to find the corresponding item. Once an item is found, it can be placed in their basket and the child returns to pick another card.
- Continue until all items on the cards have been found or set a time limit to increase the challenge.
Missing Letters Activity
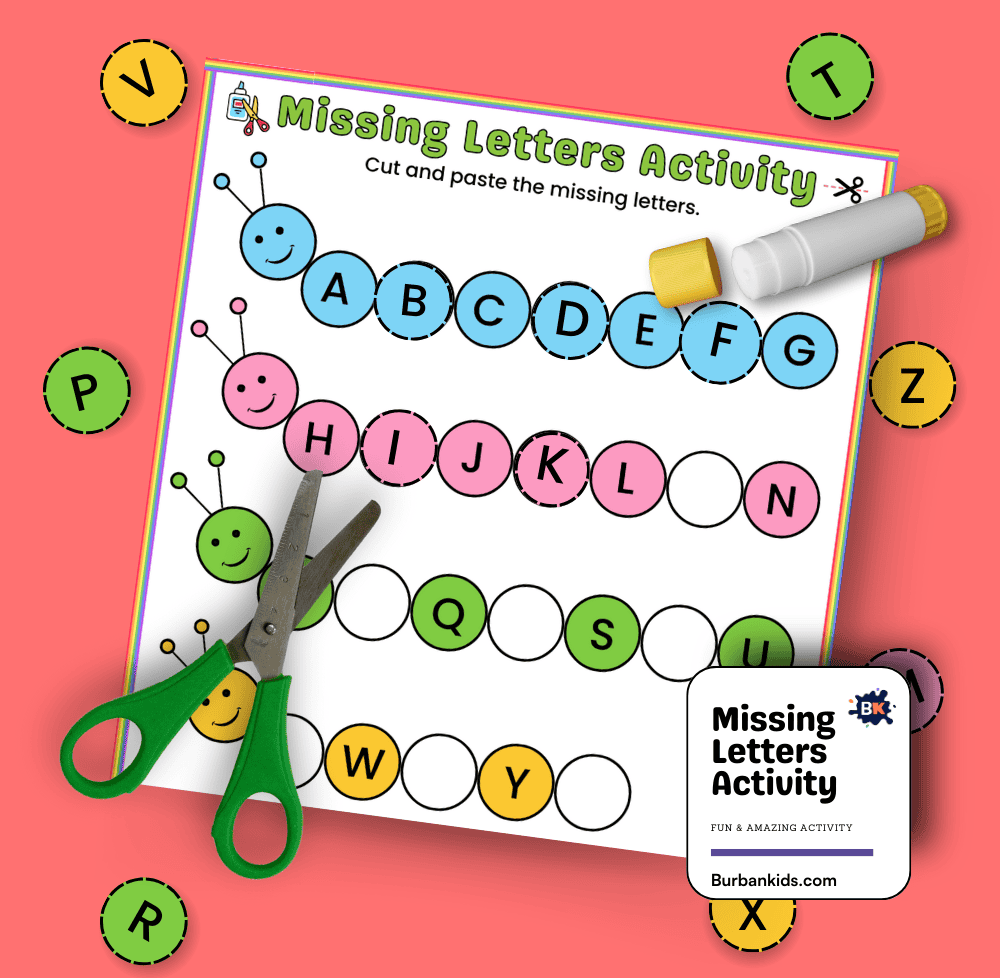
The “Missing Letters Activity” is an educational exercise designed to help young learners recognize and sequence the letters of the alphabet.
Materials: A Missing Letters Activity worksheet or printout our printable, scissors, glue, and extra paper with missing letters printed on it.
How to Do:
- Give your child our worksheet.
- Give them a separate sheet with the missing letters printed out.
- Instruct the child to cut out the missing letters carefully with the scissors.
- Once all the letters are cut out, ask the child to match the letters to the corresponding blanks in the sequence on the worksheet.
- The child should glue the letters into the correct positions to complete the alphabet.
Opposite Activity
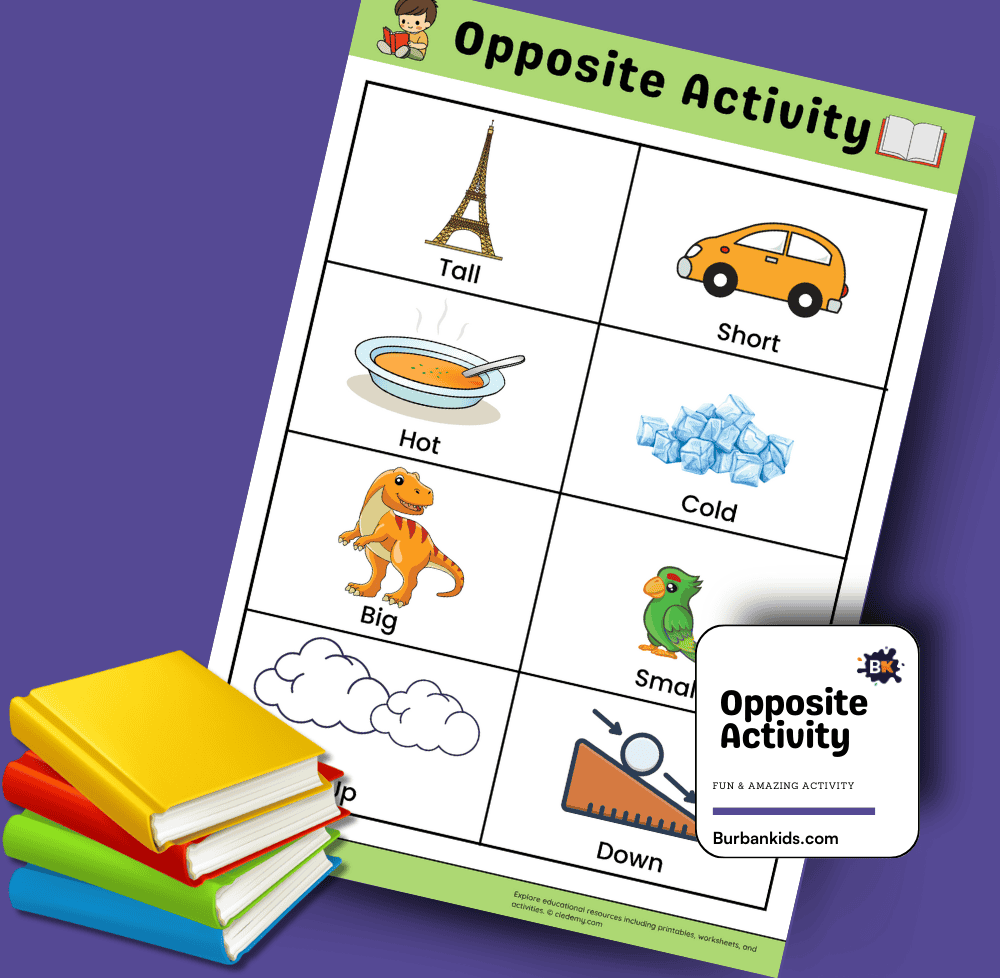
The “Opposite Activity” is a visually engaging and educational worksheet designed to help children understand and identify opposites.
Materials: Opposite activity worksheet.
How to Do:
- Present the worksheet to the child, which displays pairs of opposites along with pictures illustrating each word (e.g., tall/short, hot/cold).
- Explain the concept of opposites to the child, demonstrating with the first few examples on the worksheet.
- Ask the child to look at each pair of images and discuss what each picture represents.
- Go through each set of opposites together, discussing why these items are considered opposites and how their meanings differ.
Spot The Difference
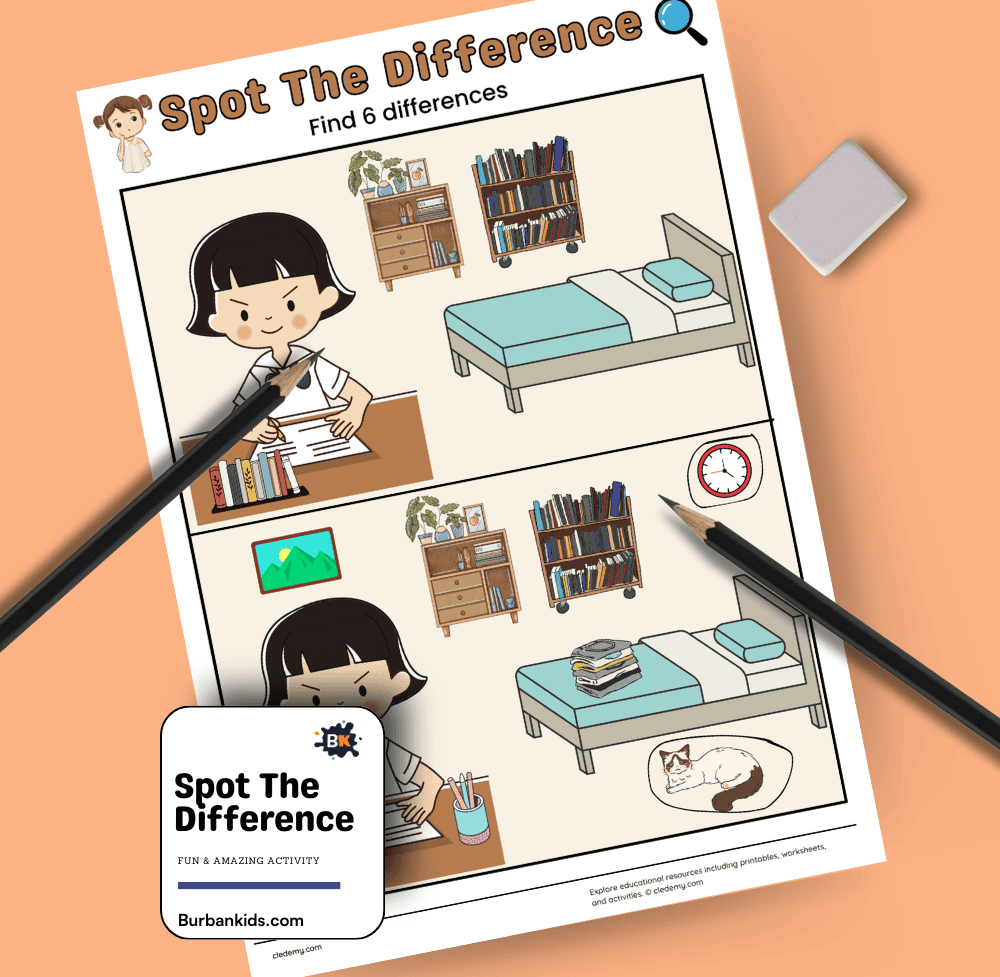
The “Spot The Difference” activity is an engaging visual puzzle that helps develop a child’s attention to detail, concentration, and observation skills.
Materials: A Spot The Difference worksheet along with a pencil and an eraser.
How to Do:
- Provide the child with the “Spot The Difference” worksheet, which features two seemingly identical images side by side with small differences.
- Explain the task: the objective is to find and circle all the differences between the two images.
- Set a limit for how many differences there are to find to give a clear goal (e.g., find 6 differences).
- Let the child examine the images and circle the differences as they spot them. Encourage them to look closely at details such as colors, shapes, and objects that might be added, removed, or changed in some way.
Additions Activity
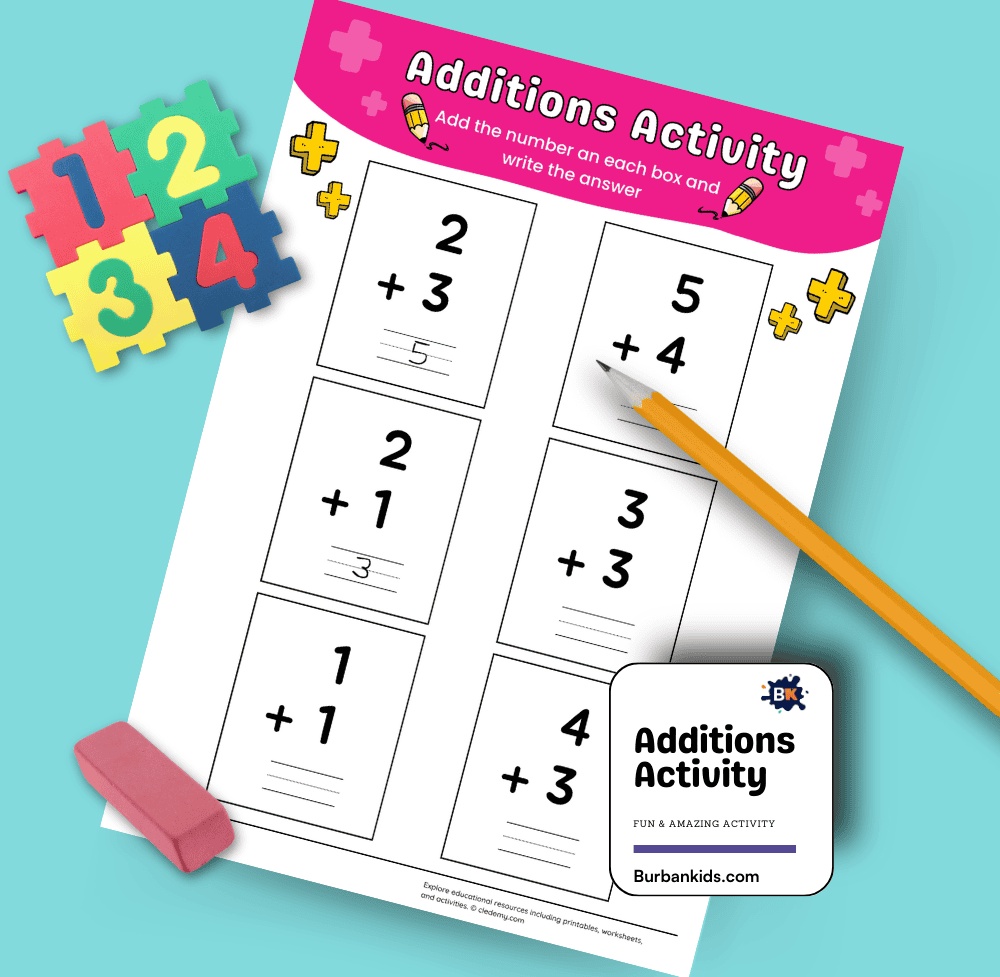
The “Additions Activity” is a straightforward and educational worksheet designed to help young learners practice and enhance their basic addition skills.
Materials: An addition worksheet with simple problems, along with a pencil and an eraser.
How to Do:
- Provide the child with the additions worksheet.
- Explain the concept of addition if the child is not already familiar with it, demonstrating how to add two numbers together to find the sum.
- Instruct the child to solve each addition problem on the worksheet by writing the correct answer in the space provided.
- Encourage the child to count out loud or use their fingers if necessary to solve the problems, reinforcing their understanding of addition.
Before After Number Activity
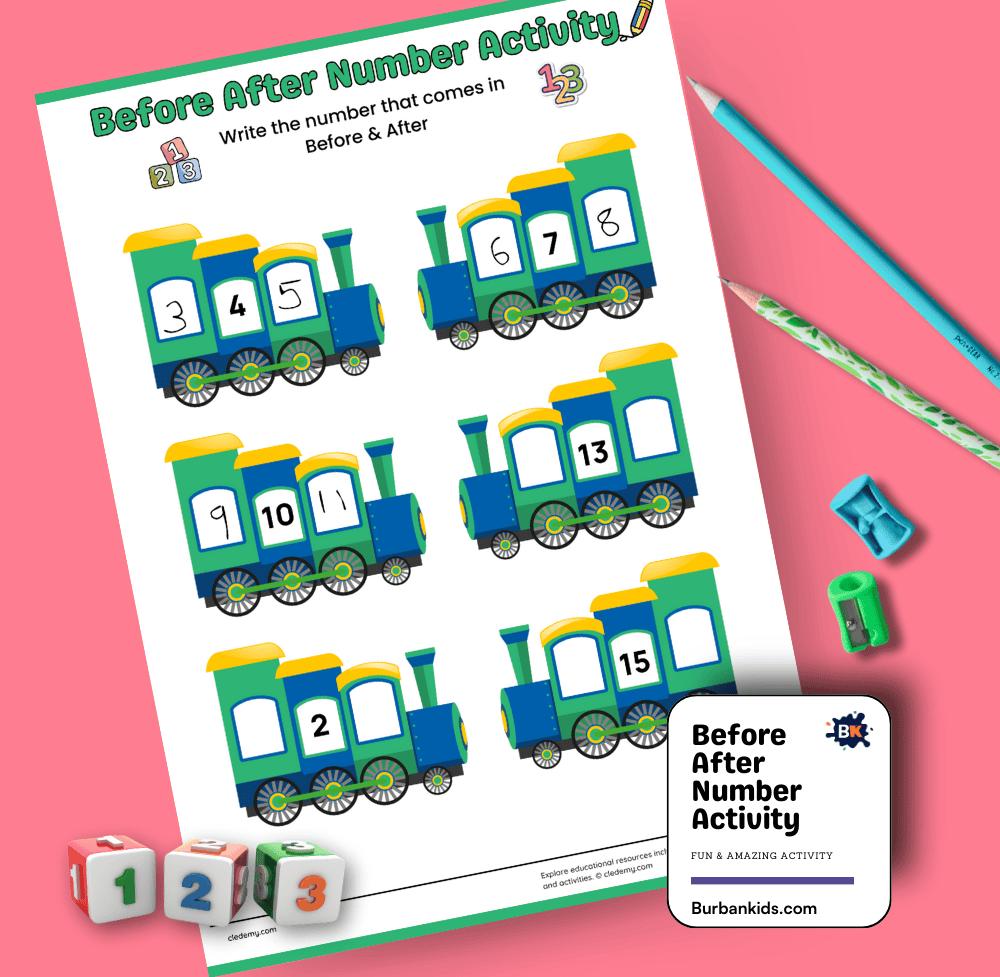
The “Before After Number Activity” is a delightful and educational worksheet designed to help young learners understand the sequence of numbers. This activity focuses on identifying which numbers come before and after a given number, which is crucial for developing numerical order skills and enhancing number recognition.
Materials: An activity worksheet…for that use our printable, a pencil, along with an eraser.
How to Do:
- Present the child with the worksheet.
- Explain that the task involves writing the number that comes before and the number that comes after the given number in the sequence.
- Start with an example to demonstrate how to determine the missing numbers. For instance, if the train shows a number 10, ask the child what number comes just before 10 and what comes just after.
- Allow the child to complete the worksheet by filling in the missing numbers in the blank spaces.
Maze Activity
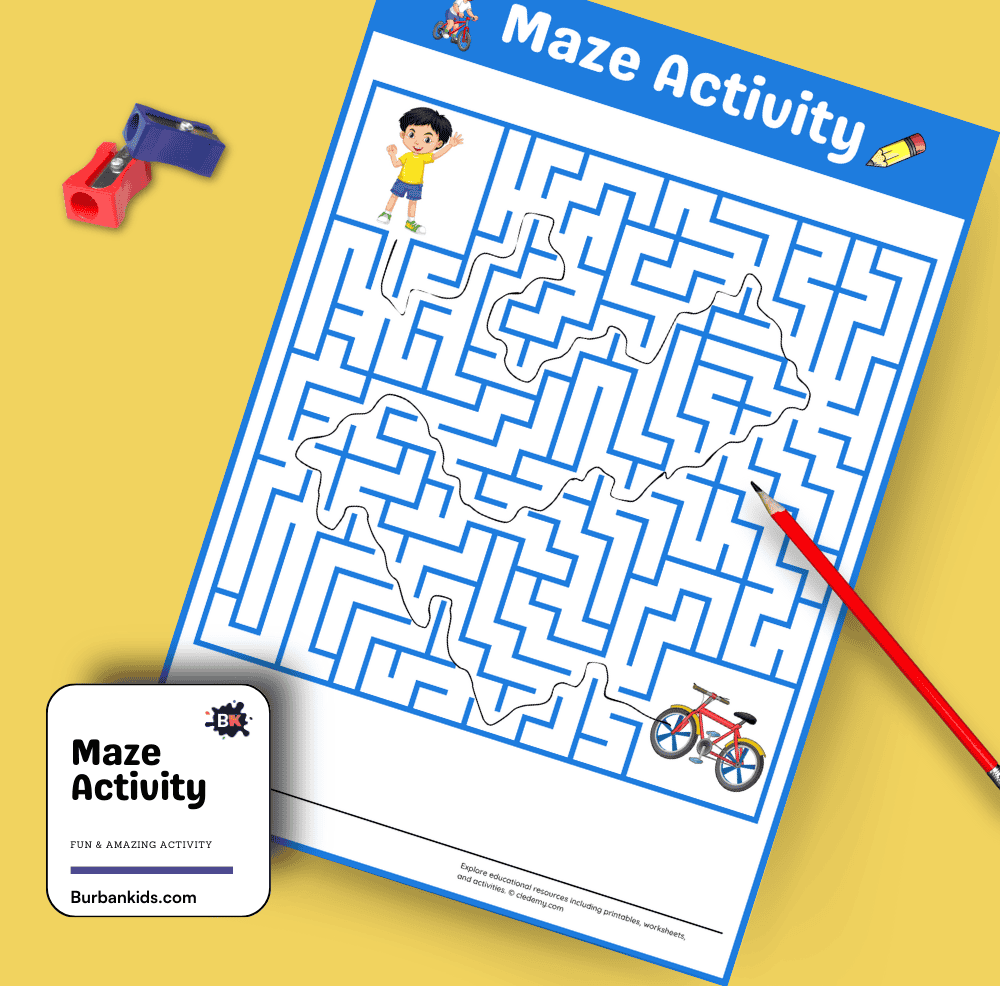
The “Maze Activity” is a fantastic way for children to enhance their problem-solving and critical thinking skills. As they navigate through the twists and turns of the maze, they develop spatial awareness and decision-making abilities.
Materials: A maze worksheet, a pencil, and an eraser.
How to Do:
- Provide the child with the maze worksheet, which features a starting point and an endpoint.
- Explain the goal of the maze: to draw a line from the start to the finish without crossing any of the maze walls.
- Allow the child to start navigating the maze. Encourage them to think ahead and plan their route to avoid dead ends.
- If they reach a dead end, use the eraser to back up and try a different path.
Find And Count Activity
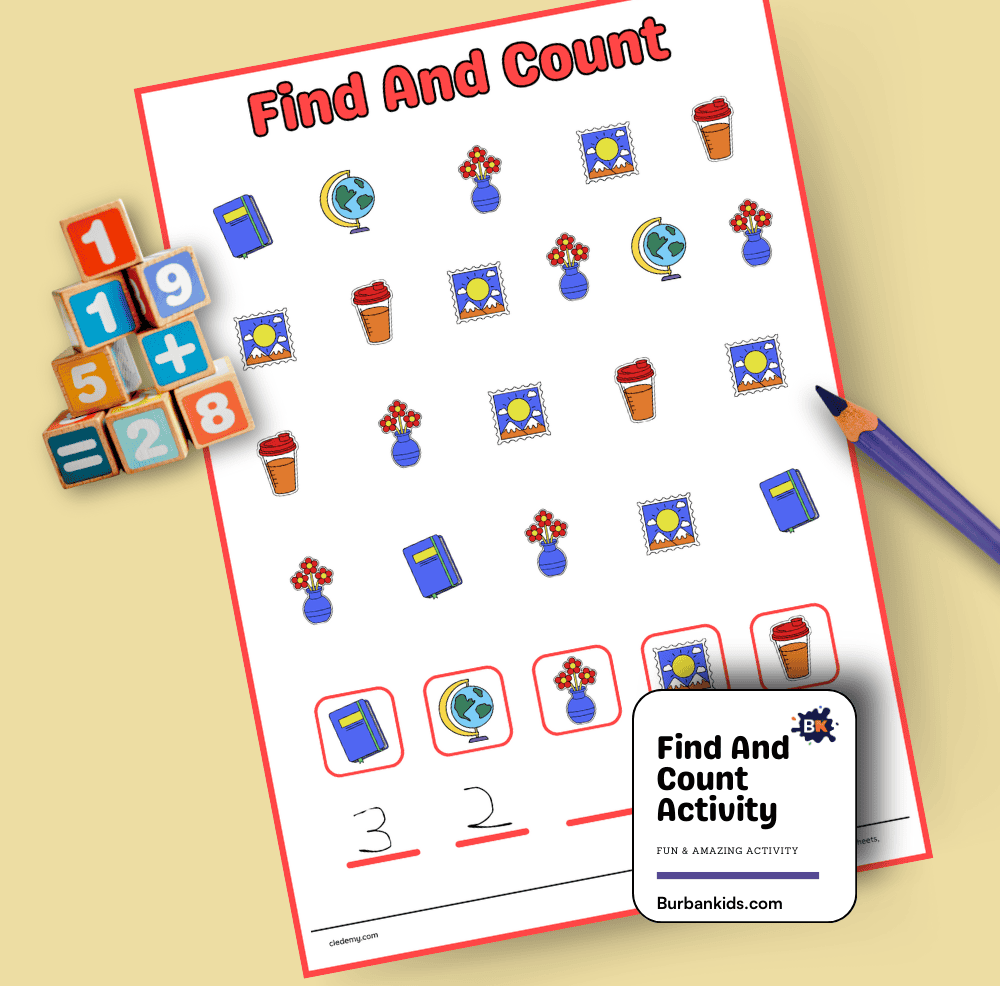
The “Find and Count Activity” is an educational exercise that combines the fun of a scavenger hunt with basic counting skills. This activity helps children develop attention to detail as they identify specific items and count them, enhancing both their observational abilities and numerical skills.
Materials: A “Find and Count Activity” worksheet and a pencil.
How to Do:
- Give the worksheet to your child. The worksheet features various images like books, globes, pots, and sunflowers, each appearing multiple times in a scattered layout.
- Explain the task: the child needs to find how many times each specific item appears on the sheet.
- Assign a specific item to start with, such as the globe. Ask the child to count all the globes and mark each one as they count to keep track.
- Once counted, instruct the child to write the total number of globes next to the picture of the globe at the bottom or side of the worksheet.
- Repeat the process for each type of item on the worksheet.
Rhyming Activity
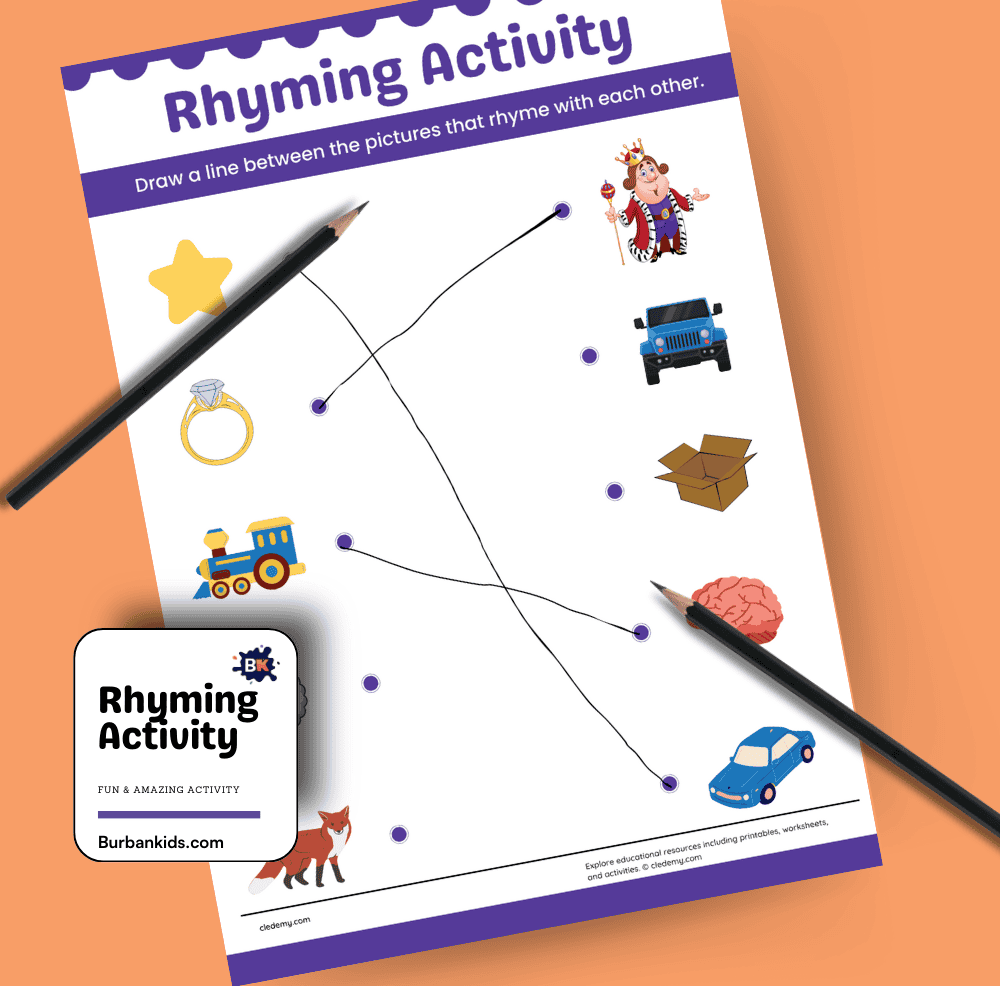
The “Rhyming Activity” is a fun and interactive worksheet that helps young learners understand and recognize rhyming words through matching pictures. This activity supports phonemic awareness, an essential skill in early reading development, by encouraging children to listen for and identify sounds that are the same at the end of different words.
Materials: Rhyming activity worksheet and Pencil.
How to Do:
- Present the worksheet to the child, which displays pictures of various items such as a car, star, fox, box, and more.
- Explain that their task is to draw a line between pictures that rhyme. Clarify what “rhyme” means if necessary words that have the same ending sound.
- Start by demonstrating with one pair (e.g., star and car) to show how the end sounds match.
- Encourage the child to look at each picture, say the word out loud, and listen to the sounds, particularly the ending sound.
Puzzle Activity
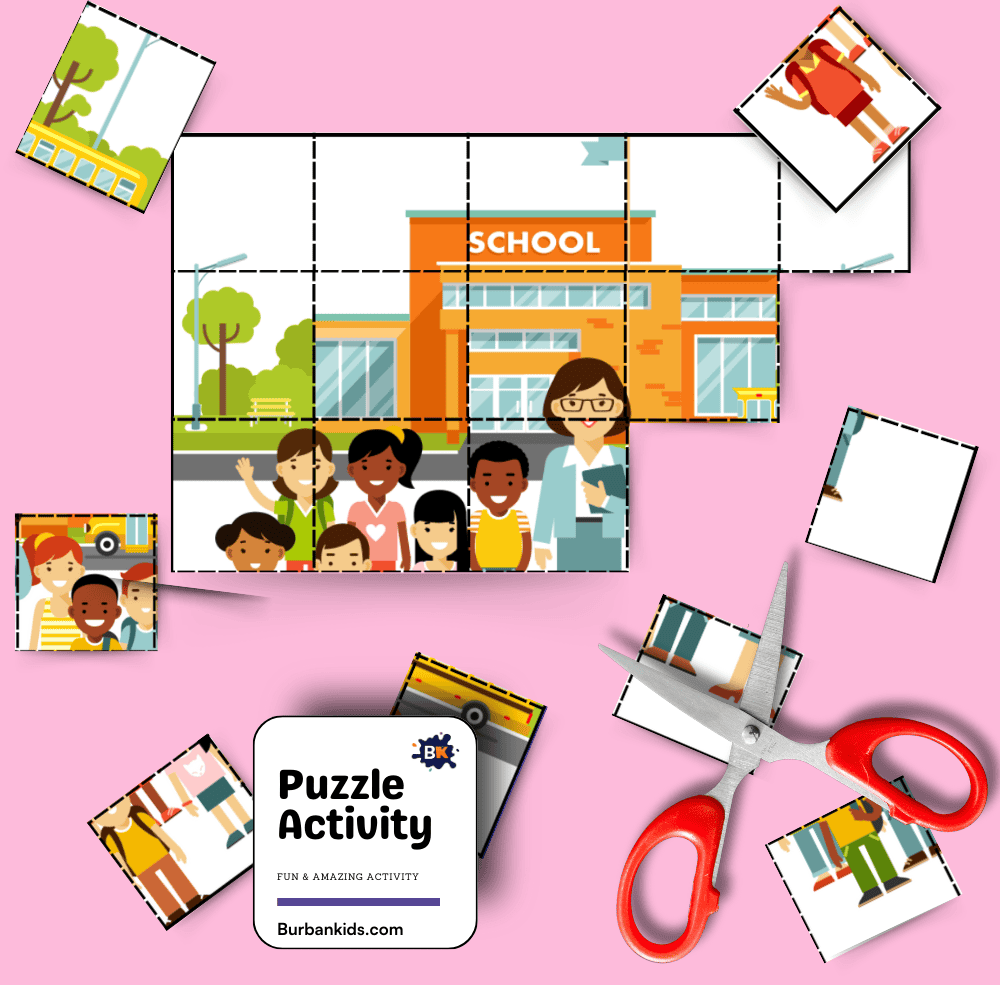
The “Puzzle Activity” is a creative and educational way to develop a child’s problem-solving skills and attention to detail. By assembling a puzzle that forms a complete picture of a school scene, children can enhance their spatial awareness, memory, and cognitive skills.
Materials: Puzzle activity sheet, Scissors
How to Do:
- If the puzzle pieces are not already cut, start by helping your child cut out the puzzle pieces along the dotted lines carefully using scissors.
- Shuffle the cut pieces to mix them up and then spread them out on a flat surface.
- Encourage your child to begin piecing the puzzle together. They might start by finding all the edge pieces to form the frame or identifying noticeable parts of the picture like windows, doors, or faces.
- As they work through the puzzle, encourage them to look at the shapes of pieces and the image details to determine where each piece might fit.
More & Less Activity
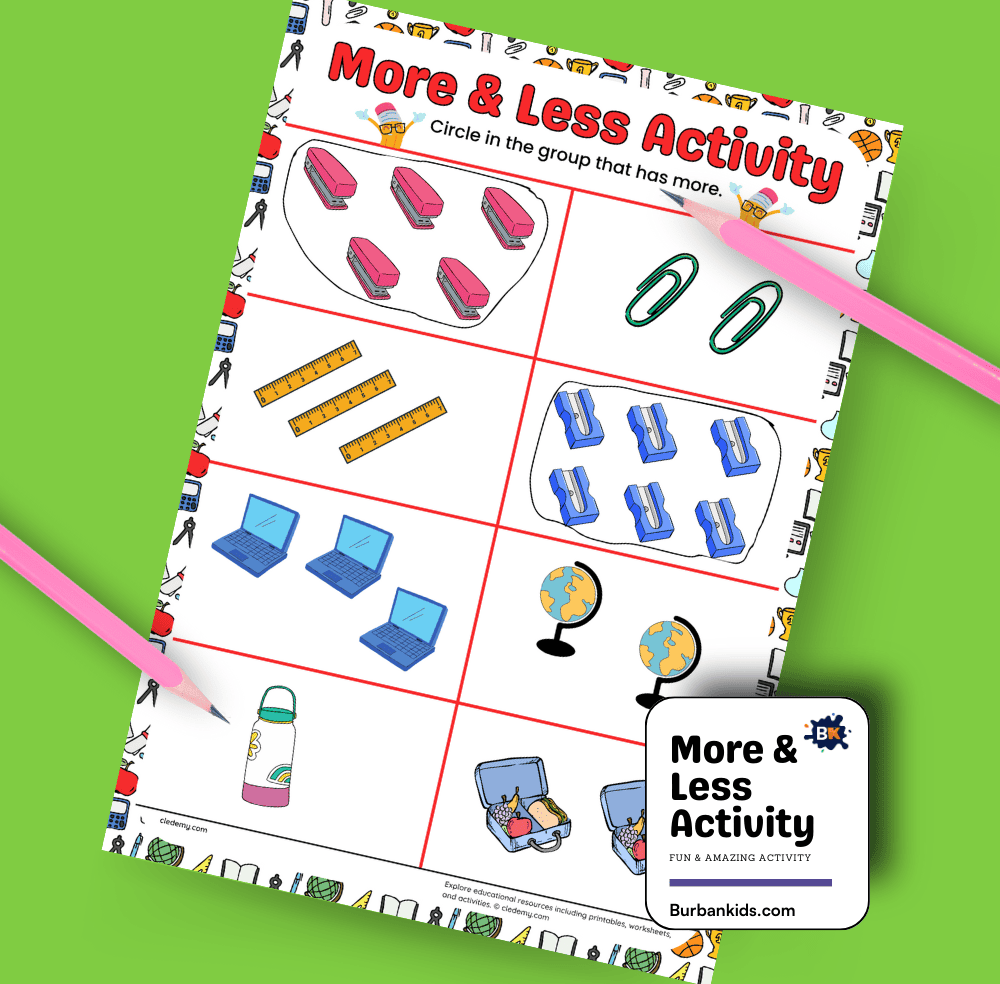
The “More & Less Activity” is a straightforward and effective way to teach young children basic counting and comparison skills. This activity encourages kids to identify which group of items is more or less, fostering early math skills and cognitive development.
Materials: A More & Less Activity worksheet and a pencil.
How to Do:
- Present the worksheet to your child. The worksheet features several pairs of boxes, each containing different counts of items like erasers, books, rulers, and more.
- Explain the concept of “more” and “less.” Demonstrate by pointing to two groups and counting the items in each, then circle the group with more items.
- Ask the child to continue with the next set of items. Encourage them to count out loud the items in each box.
- Once they determine which group has more, have them circle that group. Repeat for each set, and include some variations by asking which group has less.
Conclusion
My daughter loved doing these activities when she was a small and curious 6-year-old girl a few years ago, and I’m sure your little one will love doing these activities, too.
I hope you enjoy reading the above list of hands-on and engaging activities that you can do with your 6-year-olds.
Please leave a comment below if you have more activities to add to the list or have any questions for me to answer I would love to hear from you! ❤️

I’m a former teacher (and mother of Two Childs) with a background in child development. Here to help you with play-based learning activities for kids. ( Check my Next startup Cledemy.Com)
